I spent thirty-four years watching people buy expensive, specialized shaping tools and high-tech dough scrapers, thinking a piece of stainless steel would suddenly teach them how to handle a ferment. They treat it like a mechanical process, but if you’re looking for a complete guide to shaping bread that relies on gadgets and fancy instructional videos, you’ve come to the wrong place. I remember my first decade in the bakery, standing before a wood-fired oven at four in the morning, realizing that no tool could replace the sensory feedback of my own skin against the dough. You don’t shape with your wrists; you shape with your intuition and the tension you feel under your palms.
I’m not here to show you how to make a loaf look like a piece of art for a social media feed. Instead, I’m going to teach you how to respect the dough’s structure so it actually survives the oven spring. We are going to talk about surface tension, the way a dough resists or yields, and why your hands are the only precision instruments you actually need. I’ll give you the honest truth about how to manipulate your dough without tearing it, because once you understand the movement, the recipe finally starts to make sense.
Mastering the Surface Tension Dough Technique
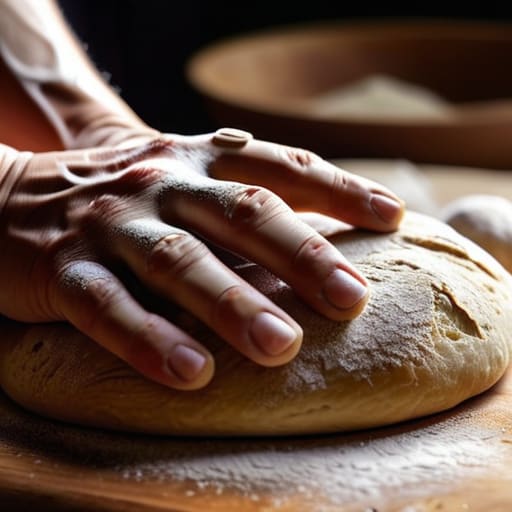
Now, if you want a loaf that actually stands tall instead of spreading out like a pancake on the tray, you have to master the surface tension dough technique. It isn’t about pulling or stretching the dough until it tears; it’s about creating a delicate, taut skin on the outside while keeping the interior soft and aerated. When I was working the early shifts, I learned that you don’t fight the dough. You use the friction of the work surface to coax it into shape. As you pull the dough toward you against the counter, you’ll feel it start to resist just a little bit. That resistance is your signal. That’s the skin tightening, and that is exactly what will hold the gases in place when the heat hits it.
Whether you are aiming for a round boule or a long, elegant batard, the principle remains the same. You are essentially building a structural cage. If you find yourself rushing this part because you’re eager to get it in the oven, you’ll end up with a flat loaf and a heavy heart. Listen to the dough. If it feels limp, it needs more tension; if it feels tight and angry, back off and let it rest.
Sourdough Shaping Methods for the Patient Soul
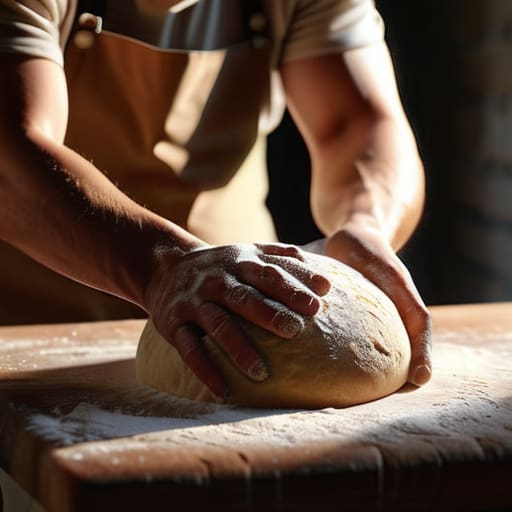
Now, if you’re working with a sourdough starter that’s been fed and fussed over, you’ll find the dough behaves a bit differently than a standard commercial loaf. It’s more alive, more temperamental. When you move into the actual sourdough shaping methods, you have to respect those dough fermentation stages; if the dough has over-proofed and lost its strength, no amount of vigorous pulling will save it. You aren’t fighting the dough; you are guiding it.
Whether you are aiming for a round, rustic boule or a more elongated batard, the goal is the same: you want to create a skin that holds the gases in. I always tell my apprentices that tension is your best friend. If you’re deciding between boule vs batard shaping, remember that the batard requires a bit more finesse in the final fold to ensure the sides don’t collapse. Don’t get frustrated if it feels slack at first. Just keep your hands light and let the dough find its own structure. If you rush the tension, the loaf will simply spread out like a pancake instead of climbing tall in the oven.
The Baker's Instinct: Five Things Your Hands Will Tell You
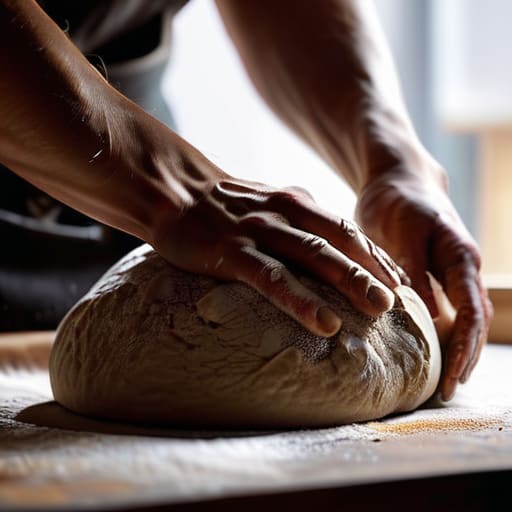
- Watch your temperature, not just your clock. If your kitchen is sitting at a chilly 18°C, that dough is going to feel stubborn and tight, and you’ll need to give it more time to relax before you even think about touching it. If you fight cold dough, you’ll tear the gluten and end up with a flat, sad loaf.
- Stop looking at the clock and start feeling the tension. A dough at 75% hydration feels entirely different than one at 80%, and you can’t shape them the same way just because a recipe tells you to. You’ll know it’s ready to shape when the dough stops feeling like a puddle and starts feeling like it has a memory—it should hold its shape for a second before you move it.
- Use just enough flour to keep things moving, but not enough to hide the dough from you. I see so many beginners dumping a mountain of flour on the bench because they’re afraid of sticking, but then they can’t feel the surface tension they’re trying to build. A light dusting is all you need; you want to feel the skin of the dough, not a layer of dust.
- Respect the rest periods. If you try to shape a piece of dough that’s still fighting you, you’re going to exhaust yourself and ruin the structure. If it feels springy or tight, walk away. Go have a cup of tea. Let the gluten relax. A five-minute rest is often the difference between a beautiful ear and a collapsed mess.
- Be gentle with the gases, but firm with the shape. You aren’t trying to knead the life out of it all over again; you’re just trying to organize it. If you’re too aggressive, you’ll pop all those lovely bubbles we worked so hard to grow during fermentation, and you’ll end up with a dense brick instead of a light, airy crumb.
What to Remember When Your Hands Are in the Dough
Trust your palms more than your eyes; you aren’t looking for a specific shape, you’re feeling for that moment the dough stops being a puddle and starts pushing back against you with tension.
Respect the temperature of your workspace, because if your kitchen is drafty or your hands are ice-cold, you’ll fight the dough instead of working with it, and a stressed dough never rises true.
Stop rushing the clock; whether you’re building tension or letting a boule rest, those extra minutes of patience are what allow the gluten to settle so the bread can actually hold its own weight in the oven.
The Hands Know the Way
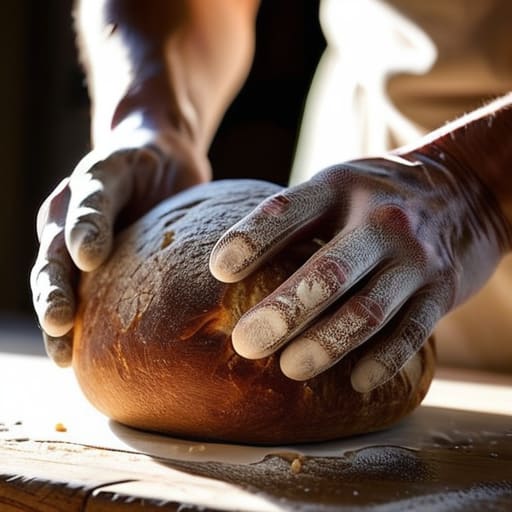
At the end of the day, shaping isn’t about following a rigid set of instructions you found in a glossy magazine; it is about understanding the relationship between tension and time. Whether you are working with a high-hydration sourdough that wants to spill through your fingers or a stiffer enriched dough that holds its ground, remember that you are managing structural integrity. You’ve learned to look for that crucial surface tension, to respect the way the dough resists and yields, and to recognize when you’ve given it enough strength to hold its shape in the heat of the oven. If your loaf comes out flat, don’t blame the flour—look back at your hands and ask if you were too gentle, or perhaps if you were far too impatient with the resting periods.
I spent thirty-four years watching dough change under my palms before the sun even thought about rising, and I can tell you this: you will never truly “master” it, and that is the beauty of it. Every kitchen has a different soul, a different humidity, and a different temperament. Some days your hands will be perfect, and other days the dough will simply refuse to cooperate, no matter how much technique you throw at it. Do not let a collapsed loaf discourage you. Instead, treat every mistake as a lesson in how the dough feels, because once you stop fighting the bread and start listening to it, you’ll find that the most beautiful loaves are the ones born from a bit of trial, error, and a whole lot of heart.
Frequently Asked Questions
My dough feels like it's sticking to my hands and losing its shape every time I try to tension it; am I being too aggressive or is my hydration too high?
If it’s sticking and collapsing, it’s likely a bit of both, but let’s look at the math first. If you’re sitting at 78% hydration or higher, you aren’t fighting the dough; you’re fighting physics. Don’t try to wrestle it into submission with force—that just tears the gluten. Instead, use a light touch and a bit of water on your palms rather than flour. If the dough feels “slack,” it needs more time to develop strength, not more muscle from you.
How can I tell if I've actually built enough tension in the skin of the dough just by touch, especially if I'm working with a much wetter dough?
With a high-hydration dough, you can’t rely on sight; it’ll always look like a puddle. You have to listen with your hands. When you’re shaping, you’re looking for that moment the dough stops feeling like wet sand and starts feeling like a drumhead. It should offer a gentle, springy resistance—not a mushy collapse. If your fingers sink right through without any pushback, you haven’t built the skin yet. Keep working until it feels taut and cohesive.
If I've over-proofed my dough and it's looking a bit slack and tired, is there any way to shape it without it collapsing into a puddle?
If your dough is looking tired and slack, it’s lost its structural integrity—the gluten has stretched too far and simply can’t fight back anymore. Don’t try to force a tight, elegant shape; you’ll just tear the delicate web and end up with a flat pancake. Instead, treat it gently. Shape it loosely, perhaps into a rustic boule, and get it into the oven immediately. It won’t be pretty, but it’ll still taste like bread.