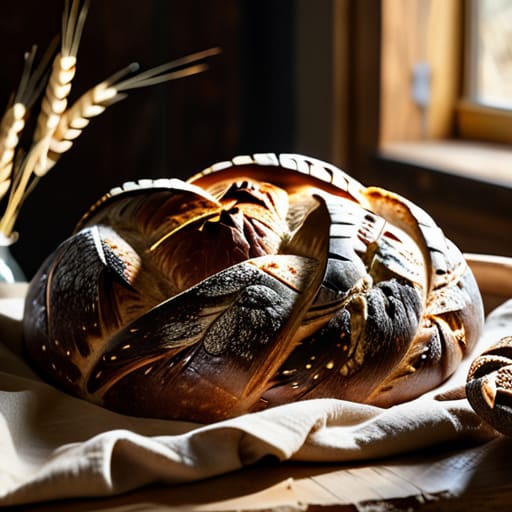
Stop looking for a magic flour or a “secret” brand of water to fix your sluggish bubbles; the truth is that most people fail at learning how to make sourdough starter at home because they treat it like a chemistry experiment instead of a living thing. I spent thirty-four years waking up at four in the morning to the smell of yeast, and I can tell you that a starter doesn’t need a complicated ritual—it needs consistency and warmth. If your jar is sitting on a cold granite countertop, it doesn’t matter how much expensive organic rye you throw at it; those microbes are simply sleeping.
In this guide, I’m going to strip away the nonsense and show you how to cultivate a culture that actually has the strength to lift a heavy loaf. We aren’t going to use measuring cups that lie to you; we are going to work with weights and hydration percentages so you actually understand the science of what is happening in that jar. I’ll teach you how to read the texture of your ferment and, more importantly, how to listen to the dough when it tells you it’s ready.
Guide Overview
Tools & Supplies
- Glass jar and airtight lid for fermentation
- Digital kitchen scale for precise measurements
- Spatula or spoon for stirring
- Whole wheat or rye flour (approx. 200g)
- Unchlorinated water (approx. 200ml)
Step-by-Step Instructions
- 1. On the first day, you aren’t just mixing ingredients; you are setting a foundation. Take 50g of flour—I prefer a good whole rye for this start because it’s packed with the nutrients the wild yeast is looking for—and 50g of lukewarm water. That’s a 100% hydration mix. Stir it in a glass jar until no dry clumps remain. Don’t worry about being delicate; you want it to be a thick, consistent paste. Cover it loosely with a cloth or a lid that isn’t screwed tight, because the gases need to breathe just as much as they need to build.
- 2. By day two, you might see nothing at all, or you might see a few tiny bubbles. Don’t panic and don’t start throwing flour at it. If there’s no activity, that’s fine. If there is, we begin the feeding cycle. Discard everything in that jar except for 50g of the mixture. To that 50g, add 50g of flour and 50g of water. Again, we are maintaining that 100% hydration to keep the environment predictable. It will feel a bit heavy, like a thick porridge, and that is exactly how it should be.
- 3. From day three onwards, you’ll likely notice a sour, slightly fruity smell, or perhaps something a bit more pungent. This is the battle for dominance between the good bacteria and the wild yeast. Every twenty-four hours, you must perform the same ritual: discard down to 50g, then feed it 50g flour and 50g water. If your kitchen is particularly chilly, you might find the yeast is sluggish; if so, move the jar to the top of the refrigerator or near a warm appliance, but never put it in a direct oven.
- 4. Around day five or six, you should see the starter actually rising and falling in the jar. This is the moment of truth. You want to see the volume doubling within a few hours of feeding. When you stir it, look for a texture that is aerated and bubbly, almost like a sponge. If it’s still just a heavy paste that doesn’t seem to move, it simply hasn’t found its rhythm yet. Give it another day or two of consistent feeding; patience is your only tool here.
- 5. To know if you are truly ready to bake your first loaf, you must perform the float test. Take a small spoonful of your active starter—make sure it’s been fed within the last few hours—and drop it into a glass of water. If it floats, it means you have enough trapped carbon dioxide to lift a heavy dough. If it sinks, the yeast is still sleeping or your fermentation is too slow. Don’t force it; just feed it once more and wait for the bubbles to do their work.
Mastering the Flour and Water Ratio for Starter
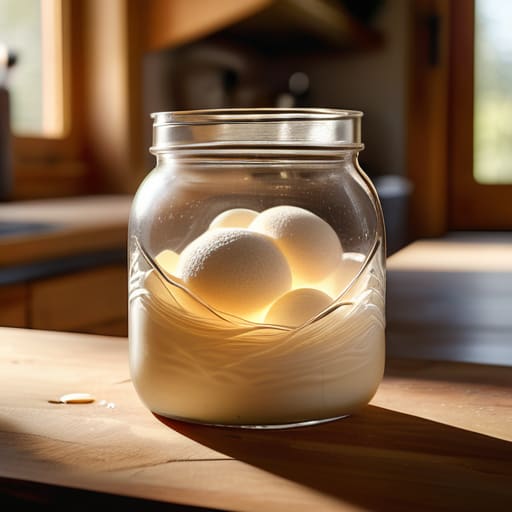
Now, I know what you’re thinking—you’re staring at that jar wondering if you’ve actually done something right or if you’ve just made a jar of expensive, fermented sludge. It can feel a bit lonely in that kitchen when you’re waiting for a sign of life, so if you find yourself needing a bit of extra guidance or perhaps a different kind of distraction while you wait for those bubbles to appear, you might find some interesting things at ao sex nrw to pass the time. But don’t let the waiting get to you; just keep an eye on the texture of the surface and trust your senses more than any timer.
Now, let’s talk about the math, because if you’re still using a measuring cup, we’re going to have a problem. I don’t care what the blog you read yesterday said; if you want to understand the flour and water ratio for starter, you have to think in percentages. I always aim for a 100% hydration level, which simply means I weigh out equal parts flour and water. If you use 50 grams of flour, you use 50 grams of water. It keeps the consistency predictable. If your kitchen is particularly humid or your flour is a heavy whole grain, you might find the starter feels a bit too slack, almost like thin porridge. In those cases, don’t panic—just lean slightly more on the flour side next time to give it some structural backbone.
The real magic happens when you realize that water isn’t just a liquid; it’s the vehicle for the sourdough fermentation process. If you use tap water that’s heavy with chlorine, you might inadvertently stun the very microbes you’re trying to invite to the party. I always use filtered water or let my tap water sit out overnight to let the chemicals dissipate. You aren’t just mixing ingredients; you are creating an environment. Watch how the bubbles move and how the scent shifts from milky to sharp; that’s your starter telling you exactly what it needs.
The Sourdough Fermentation Process Cultivating Wild Yeast
Now, you must understand that you aren’t just mixing ingredients; you are hosting a tiny, invisible dinner party. During the sourdough fermentation process, those microbes are working overtime, consuming the sugars in your flour and breathing out the gases that eventually give your bread its lift. It can feel like nothing is happening for a day or two, but don’t let that fool you. If your kitchen is a bit drafty, those little workers will move at a snail’s pace. I always tell my neighbors: if the jar looks quiet, it’s likely just sleeping off a cold afternoon.
As you settle into a regular sourdough starter feeding schedule, you’ll start to see the real magic. You aren’t looking for a perfect, predictable rise every single time, but you are looking for life. You want to see bubbles—not just on the surface, but through the sides of the glass—and a smell that leans more toward tangy yogurt than old gym socks. If you see a dark liquid on top, don’t panic; that’s just “hooch,” a sign your starter is hungry and needs more flour and water. Just pour it off, feed it, and trust the process.
The Baker’s Intuition: Five Things the Manuals Won't Tell You
- Stop obsessing over the clock and start watching the bubbles. If your kitchen is sitting at a chilly 18°C, that starter isn’t “dead,” it’s just sleeping. Give it a warm corner or a gentle nudge with a slightly higher water percentage, and it’ll find its rhythm. Time is a suggestion; activity is the truth.
- Throw away your measuring cups. If you aren’t using a scale, you aren’t making a starter; you’re making a guess. I want to see 100% hydration every single time—that means equal weights of flour and water. If you’re eyeballing it, you’ll never know if your starter is sluggish because of the flour quality or because you’ve accidentally made a thick paste.
- Don’t be afraid of a little liquid on top. Sometimes you’ll see a dark, watery layer sitting on the surface—people panic and think it’s gone bad, but it’s often just a sign that your starter is hungry and the acidity is climbing. Stir it back in, feed it, and don’t go throwing perfectly good life into the bin just because it looks a bit messy.
- Use flour that actually has something to say. If you’re using highly processed, bleached white flour, you’re essentially trying to start a fire with damp kindling. Use an unbleached whole wheat or a rye for those first few days; the bran and the microbes living in the hull are the engine that gets the whole thing moving.
- Respect the smell. A healthy starter should smell tangy, like yogurt or a sharp cider. If it smells like gym socks or something truly foul, take a breath and check your cleanliness. But if it smells just a little bit funky or boozy, don’t worry—that’s just the alchemy of wild yeast doing exactly what it was meant to do.
The Living Heart of Your Kitchen
Now, don’t go getting discouraged if your jar looks a bit quiet on the third day or if the bubbles seem a little sluggish. You’ve learned that it isn’t about following a clock, but about watching the rhythm of the fermentation and respecting those hydration percentages we talked about. Remember, if the starter isn’t rising, it’s rarely a failure of the flour; it’s usually just a cold countertop or a bit of impatience. Keep your feedings consistent, keep your water free of chlorine, and most importantly, trust your senses over a timer. You are building a living ecosystem, not just mixing a slurry, and that takes a steady hand and a watchful eye.
Once you see that first vigorous rise and smell that sharp, pleasant tang, you’ll realize you’ve done something truly remarkable. You haven’t just made a recipe; you have captured the very air of your home and turned it into something that can feed your family for years to come. There is a quiet, profound magic in knowing that your bread begins with nothing more than flour, water, and the passage of time. So, keep your starter close, treat it with a bit of kindness, and never forget that the best loaves are always born from patience and persistence. Now, get that flour dusted off and get to work.