I spent thirty-four years waking up at four in the morning to the sound of flour hitting wooden bowls, and if there is one thing I’ve learned, it’s that you cannot buy your way into a beautiful loaf. I see people online spending hundreds on specialized Dutch ovens or high-tech proofing boxes, convinced that expensive gear is the secret to how to get an open crumb. It’s nonsense. You can have the most expensive kitchen in the world, but if you’re treating your dough like a chore to be finished rather than a living thing to be tended, you’ll end up with a dense, tight brick every single time. Those big, airy holes aren’t a product of your equipment; they are a result of how you treat the air inside the dough.
I’m not going to give you a list of fancy gadgets or tell you to follow a recipe that ignores the temperature of your kitchen. Instead, I’m going to tell you about hydration, fermentation, and the way your hands should feel when the gluten is actually ready. We are going to talk about why your dough is fighting you and how to stop rushing the process. I promise to give you the honest, unvarnished truth about what actually works when the oven door is closed.
Mastering the Autolyse Technique for Bread and Hydration
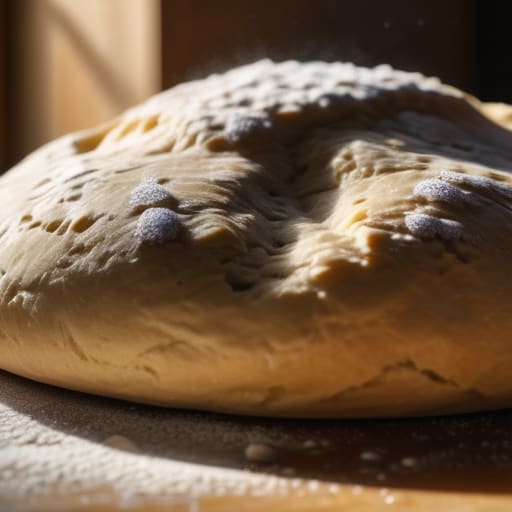
Now, if you’re chasing those wide, cavernous holes, you need to stop treating your flour and water like strangers. I’ve always said that the autolyse technique for bread is less about a scientific formula and more about giving the flour a moment to wake up. When you mix just your flour and water—leaving the salt and your leaven for later—you aren’t just wetting grains; you are initiating a quiet, invisible dance. The enzymes start breaking down the starches, making the dough more extensible without you having to manhandle it.
I used to rush this step when I was younger, thinking I could muscle the gluten into submission through sheer effort. I was wrong. By letting that initial mix rest for anywhere from thirty minutes to two hours, you are laying the groundwork for better dough strength and gluten development. It makes the dough feel supple and alive, rather than tight and stubborn. If your dough feels like a piece of rubber that fights every fold, you likely skipped this rest. Give it time to relax, and it will reward you with the structure it needs to hold those beautiful, airy pockets.
Cultivating Wild Yeast Activity Through Patient Fermentation
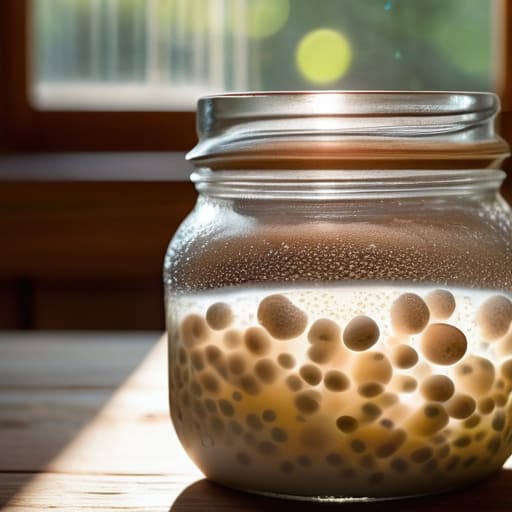
You can have the most expensive flour and the most precise scale in the world, but if your starter is sluggish, your bread will be a brick. I’ve seen so many beginners try to force a rise by cranking up the heat in their kitchen, but you can’t bully life into a dough. True wild yeast activity isn’t something you command; it’s something you invite. I always tell my students to watch the bubbles, not the clock. If your starter isn’t doubling—or even tripling—in a predictable window, it isn’t ready to carry the weight of a high-hydration loaf.
Once you actually get that activity moving, you have to respect the sourdough fermentation process by staying out of its way. Most people panic when they see the dough sitting there, looking like nothing is happening, so they start poking and prodding. Stop that. Every time you aggressively manhandle a fermenting dough, you’re collapsing the very gas pockets you’re trying to build. You want those tiny, microscopic balloons to expand undisturbed. If you rush the bulk fermentation because you’re hungry, you’ll end up with a dense, gummy mess instead of the airy structure you’re after.
Stop Fighting the Dough: Five Ways to Let the Air In
- Watch your temperatures, not just your clock. If your kitchen is a chilly fifty-five degrees, that dough isn’t going to move no matter how much you coddle it. I always aim for a final dough temperature around 78% of my target, but more importantly, I look for the dough to feel alive and slightly warm to the touch. If it’s cold, the yeast is sleeping, and sleeping yeast won’t build the gas you need for those holes.
- Stop being so heavy-handed with the shaping. I see people treat dough like they’re kneading a lump of clay, but if you squeeze the life out of it during the final turn, you’re just popping every precious bubble you worked all morning to create. You want to tension the skin of the loaf, not crush the interior. Think of it as tucking a child into bed—firm enough to hold them, but gentle enough not to wake them up.
- Respect the hydration, but don’t be a slave to the number. If I’m running a 75% hydration dough, I expect it to feel like a wet, sticky mess at first. Don’t panic and throw in more flour just because it’s clinging to your fingers; that’s how you end up with a tight, gummy crumb. Let it sit, let the flour hydrate, and let the gluten do the work of holding that water. A wet dough is a light dough.
- Master the art of the gentle fold. We aren’t pounding the life out of this; we are building a scaffold. Instead of vigorous kneading, I use coil folds or gentle stretch-and-folds. You’re trying to organize the gluten into a net that can trap gas. If you tear that net by being too rough, the gas escapes, and you’re left with a heavy brick instead of a cloud.
- Don’t be afraid of the “over-proofed” look. Most beginners pull their dough out of the bowl too early because they’re scared it will collapse. But a dough that has truly relaxed—one that jiggles like a bowl of jelly when you shake it—is often the one that gives you that beautiful, cavernous structure. If it’s still tight and springy, it’s not ready to breathe.
The Three Pillars of a Breathable Loaf
Stop obsessing over the flour and start watching the thermometer; if your kitchen is sitting at sixty degrees, that dough isn’t going to move no matter how much you poke it, so you must adjust your timing to match the ambient temperature.
Respect the hydration percentage and learn to feel the tension; a high-hydration dough (around 75-80%) needs gentle, rhythmic folds rather than aggressive kneading, or you’ll simply tear the very structure you’re trying to build.
Trust the bubbles, not the clock; a recipe might say three hours, but if the dough hasn’t doubled and feels light as a feather, it isn’t ready, and rushing that final proof is the quickest way to end up with a dense, gummy crumb.
The Rhythm of the Rise
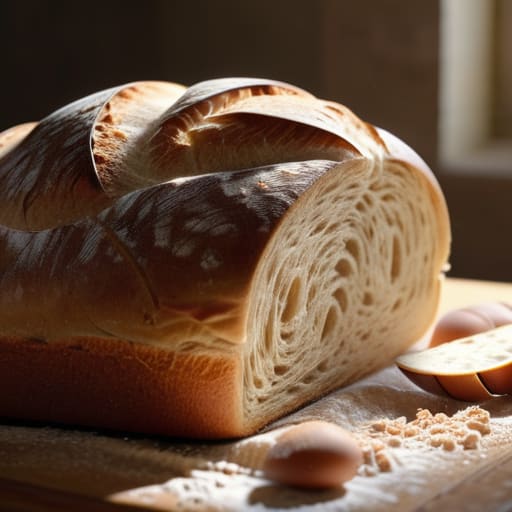
At the end of the day, getting that open crumb isn’t about a magic trick or a secret ingredient you can buy in a bag; it is about respecting the relationship between your hydration, your autolyse, and the clock. We have talked about why a 75% or 80% hydration dough needs that initial rest to develop strength, and why you cannot bully your wild yeast into working faster than it wants to. If you find yourself staring at a dense, tight loaf, don’t go hunting for a new recipe. Instead, look at your kitchen temperature, check your fermentation timings, and ask yourself if you were perhaps a bit too heavy-handed during the shaping. Bread is a living thing, and it responds to how you treat it.
I spent thirty-four years watching dough rise in the pre-dawn quiet, and if there is one thing I learned, it is that patience is the only ingredient you cannot shortcut. There will be days when the crumb is tight and the crust is dull, and that is perfectly alright. Those “failures” are just the dough telling you something about the air in your room or the strength of your flour. So, stop checking the timer every ten minutes and start feeling the dough under your palms. Trust the process, listen to the bubbles, and remember that the best loaves are born from time and attention, not just flour and water.
Frequently Asked Questions
If I'm aiming for high hydration to get those big holes, how do I handle a dough that feels more like a puddle than a loaf?
If it feels like a puddle, you haven’t lost the dough; you’ve just lost the structure. At 80% hydration or higher, you can’t treat it like a standard loaf. Stop trying to knead it on a counter—you’ll just end up covered in glue. Instead, use coil folds. Let the dough rest, then gently lift it under itself. You’re building tension, not fighting a liquid. Give it strength through patience, not through force.
My dough seems to be over-proofing and collapsing before I can even get it in the oven; am I reading the fermentation wrong?
If your dough is collapsing, you aren’t just “reading” the fermentation wrong; you’re likely letting the yeast run a marathon without a finish line. You’re looking for the dough to be pillowy and full of life, but if it’s lost its structural integrity and looks like it’s melting, you’ve gone too far. Stop looking at the clock and start looking at the tension. It should feel springy and hold its shape, not deflate like a tired sigh.
Does the type of flour I use actually change how much air I can trap, or is it all just about the water?
It’s a bit of both, but don’t go blaming the bag if your dough feels like soup. Flour isn’t just powder; it’s the scaffolding. If you’re using a low-protein pastry flour for a high-hydration loaf, that scaffolding is going to collapse under the weight of the water, no matter how much patience you have. You need enough strength—protein—to hold those bubbles. Think of it this way: water provides the volume, but the flour provides the lungs.