People will tell you that a perfect pavlova is a matter of finding some “secret” stabilizer or a fancy new whisking attachment, but they are lying to you. The truth is much simpler and much more demanding: a pavlova is just sugar, egg whites, and the discipline of a steady hand. If you are looking for a shortcut to skip the hard work, you won’t find it here; most people fail at learning how to make pavlova because they try to outrun the chemistry of the egg. They rush the sugar, they ignore the humidity in the room, or they treat the meringue like a race rather than a process of gradual transformation.
I am not going to give you a list of “pro tips” that rely on expensive gadgets you don’t need. Instead, I am going to tell you exactly how the whites should look when they are ready, how to feel the grit of the sugar between your fingers, and why your oven temperature is more important than any fancy garnish. We are going to focus on the rhythm of the whisk and the patience required to let it set. I’ll give you the weights and the logic, and once you understand the “why,” you won’t need a recipe card to tell you when it’s done.
Recipe Details
Ingredients
- 4 large egg whites, room temperature
- 1 cup superfine sugar
- 1 teaspoon white vinegar
- 1 teaspoon cornstarch
- 1 cup heavy whipping cream
- 2 cups mixed fresh berries
Recipe Instructions
Step 1
First, you must deal with your eggs. I use 150g of egg whites, which is roughly the white of five or six large eggs, but don’t trust the count—use the scale. Separate them while they are cold, as the membrane is easier to manage then, but let the whites sit in a glass bowl at room temperature for at least an hour before you start. If you try to whip cold whites, you’ll be waiting all day for them to find their strength, and a pavlova needs immediate, vigorous volume.
Step 2
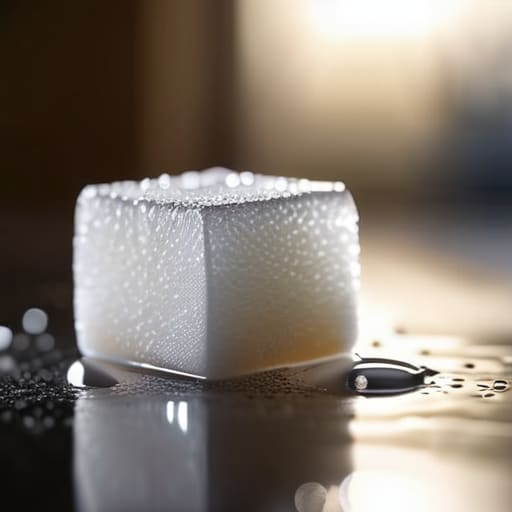
Sift 300g of superfine caster sugar into a separate bowl. Do not just dump it in. If you have clumps, you’ll end up with gritty, undissolved crystals that will weep out of the meringue like tears once it hits the oven. When you start whisking the whites, add the sugar one tablespoon at a time. It feels like it’s taking forever, but you are building a foundation. You aren’t just mixing; you are teaching the air to stay trapped in the protein.
Step 3
Once the whites have reached soft peaks, turn your mixer to medium-high and begin adding that sugar. You must keep going until the mixture is thick, glossy, and—this is the part people skip—completely smooth. Take a small amount of the meringue and rub it between your thumb and forefinger; if you feel even a single grain of sugar, keep whisking. If you stop too early, the structure will fail you halfway through the bake.
Step 4
Now, we add the stabilizers. Fold in 6g of cornstarch and 5g of white vinegar with a large metal spoon or a spatula. Do not use the electric mixer for this; you’ve worked too hard to build that air, and you don’t want to knock it all out. You want to see the vinegar and starch marbled through the glossy mass. This is what creates that marshmallowy center that distinguishes a proper pavlova from a mere pile of dried egg whites.
Step 5
Spoon the mixture onto a baking sheet lined with parchment paper. Don’t worry about making it a perfect circle; a rustic, slightly uneven shape looks more honest. Use the back of a spoon to create a small well in the center, like a shallow crater. Bake it at 120°C (about 250°F) for 90 minutes. The most important rule here is that you do not open the oven door to peek. If you shock the meringue with a draft of cool air, it will crack and surrender, and all your hard work will be for nothing.
Step 6
When the time is up, turn the oven off, but do not reach for the door. Leave the pavlova inside with the door slightly ajar—use a wooden spoon to prop it open if you must. It needs to cool down at the same speed it baked. If you pull it out into a warm kitchen too quickly, the temperature shock will cause the whole thing to collapse into a heap of sugary rubble. Patience, as I always say, is the only ingredient you can’t buy.
The Alchemy of Egg White Stability Tips and Patience
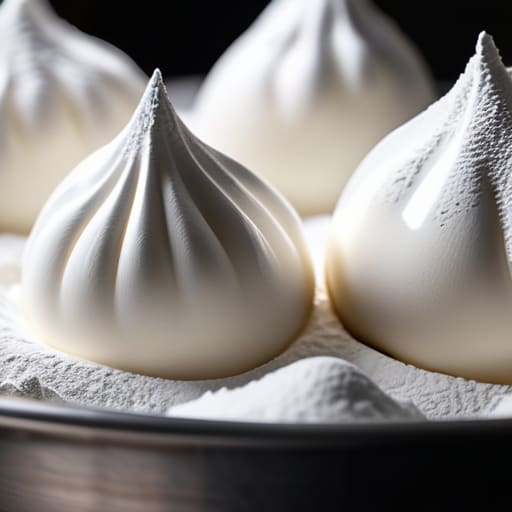
If you want a pavlova that stands tall rather than slumping like a tired souffle, you have to respect the chemistry of the egg white. Most people think a bit of cream of tartar is a magic fix, but real egg white stability tips start with your equipment. If there is even a microscopic speck of yolk or a smear of grease on that bowl, those proteins will never find each other to build a structure. I always tell my apprentices: if the bowl isn’t surgically clean, don’t even bother starting. You aren’t just whisking air; you are building a scaffold, and a single drop of fat will bring the whole house down.
Once you have that glossy, stiff peak, the real test is the heat. The oven temperature for pavlova must be low and steady; you aren’t baking a cake, you are drying out a cloud. If the oven is too hot, you’ll get a lovely crust but a raw, weeping center. And please, for heaven’s sake, don’t go rushing to open the door to check on it. Patience is the silent ingredient here. Let it cool in the oven with the door cracked; if you shock it with cold air too soon, the meringue will crack, and while those cracks are perfect for holding a lush cream and fruit garnish, a total collapse is much harder to fix.
Achieving the Perfect Meringue Base Texture Without Rushing
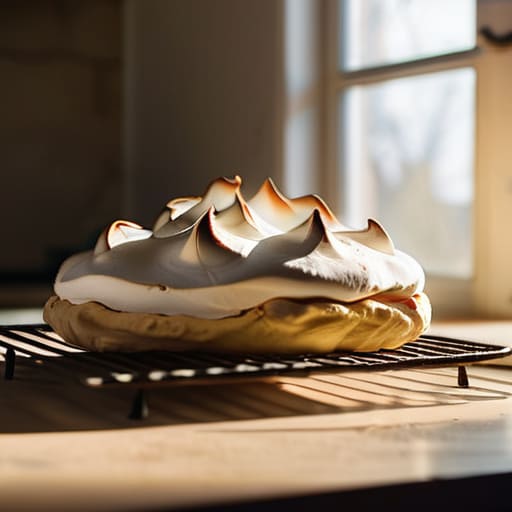
You’ll find that the most common mistake isn’t the ingredients, but the impatience of the baker. People want to pull that tray out of the oven the moment they see a golden crust, but a pavlova needs to settle. If you don’t let it cool completely within the oven with the door cracked, you’ll face the heartbreak of a collapsed center. This slow cooling is essential for preventing weeping meringue, as it allows the internal structure to stabilize without the shock of a sudden temperature drop.
When you finally reach for your spoon, you aren’t looking for a uniform, plastic-like surface. A proper meringue base texture should be crisp and delicate on the outside, with a center that remains marshmallowy and soft. If your kitchen was particularly humid that day, don’t panic; just adjust your expectations. Once you have that stable foundation, you can get creative with your cream and fruit garnish. I usually stick to passionfruit and berries to cut through the sugar, but the meringue is a forgiving canvas for anyone who has learned to respect the drying process.
Five ways to keep your pavlova from becoming a disaster
- Watch your humidity like a hawk; if it’s a rainy, heavy afternoon, your meringue will act like a sponge and refuse to crisp, so save your big bakes for the dry days.
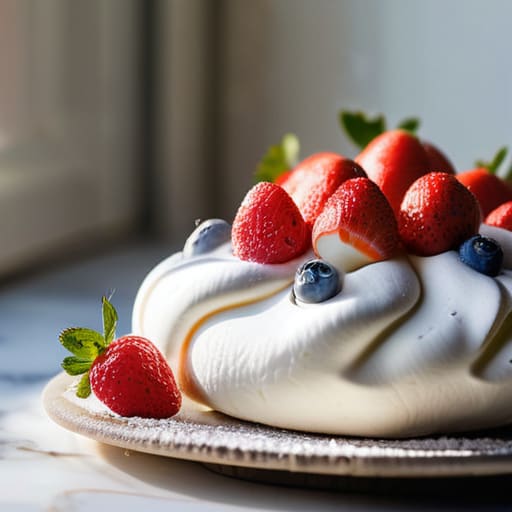
- Don’t go looking for a “perfect” shape in a photograph; a pavlova should have a slight crater in the middle to hold the cream, and if it’s a bit rustic, that’s just character, not a failure.
- Check your sugar with your fingers, not just your eyes; if you can feel even a single grain of grit between your fingertips after whisking, keep going, or the whole thing will weep sugar syrup the moment it hits the heat.
- Respect the cooling process; once the oven is off, do not—under any circumstances—go rushing to peel the meringue out, or the shock of the room temperature will crack your hard work into pieces.
- Use a copper bowl or a very clean glass one; even a microscopic speck of fat from a stray yolk is enough to sabotage the entire batch, and once that happens, no amount of whisking will save you.
The Three Truths of a Successful Pavlova
Forget the clock and watch the bowl; if your sugar hasn’t completely dissolved into the whites, your meringue will weep the moment it hits the heat, no matter how long you think you’ve whisked.
Temperature is your silent partner, so don’t go trying to whip a meringue in a kitchen that’s humid or drafty—stability comes from a controlled environment, not just a high-speed mixer.
Respect the cooling process as much as the baking; pulling a pavlova out of the oven too early because you’re hungry is a recipe for a collapsed center and a cracked shell.
The Final Fold
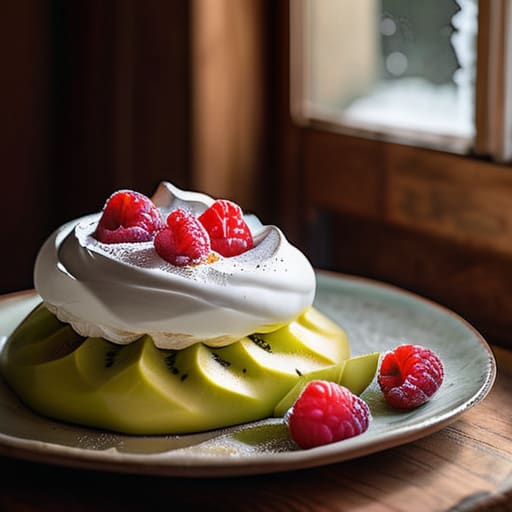
If you’ve followed the rhythm of the whisk and respected the stillness of the oven, you’ll find that a pavlova isn’t just a dessert; it is a lesson in temperament. We’ve talked about the necessity of clean bowls, the slow, deliberate incorporation of sugar, and why you must never—under any circumstances—rush the cooling process. Remember, the structural integrity of that meringue depends entirely on the patience of your hands and the steady, low heat of your kitchen. If your base looks a little uneven or your peaks aren’t quite as architectural as a magazine photograph, do not fret. A pavlova is meant to be rustic, a cloud of sweetness that holds its own against the weight of cream and fruit, provided you didn’t try to force the sugar before it was ready to play nice.
At the end of the day, baking is less about following a script and more about listening to what is happening in the bowl. You might have a slight weep in the meringue or a crack in the crust, but that is simply the dough—or in this case, the foam—telling you how it felt about the room’s humidity or the speed of your movements. Don’t let a minor imperfection sour your spirit. The most beautiful things in life, much like a well-made pavlova, are often a little bit fragile and entirely unpredictable. Just grab your spoon, pile on the cream, and enjoy the sweetness you’ve earned through a bit of hard-won discipline.
Frequently Asked Questions
My meringue came out looking like a cracked desert floor instead of a smooth cloud; did I bake it too fast or was my oven temperature too high?
It sounds like your oven was a bit too eager. If the surface cracks like a parched field, you’ve likely baked it too fast or at a temperature that was too high. Meringue doesn’t want to “cook”; it wants to dry. You’re looking for a slow, gentle evaporation, not a crust. Turn that heat down, let the oven breathe, and remember: if the kitchen is impatient, the meringue will be too.
I noticed a sticky pool of syrup at the bottom of my pavlova after it cooled—was that a failure of the sugar to dissolve or a humidity issue in my kitchen?
It’s likely a bit of both, but usually, it’s a sign of rushed sugar. If those crystals haven’t fully vanished into the whites before they hit the heat, they’ll weep syrup once they cool. However, if your kitchen was muggy, the sugar is simply pulling moisture out of the air like a sponge. Check your sugar dissolution first; if the meringue feels gritty before baking, you’ve found your culprit. Patience, remember?
Can I use store-bought egg whites to save time, or will the stabilizers in them prevent my meringue from ever reaching the proper volume?
Don’t you dare. I know it looks like a shortcut, but those little cartons are a baker’s heartbreak. They’ve been pasteurized, which means the proteins have been heated and bruised; they’ve lost the strength they need to hold air. You’ll whisk and whisk until your arm aches, but the volume will never be there, and the structure will be flimsy at best. Use fresh eggs. They have the life in them that a meringue requires.