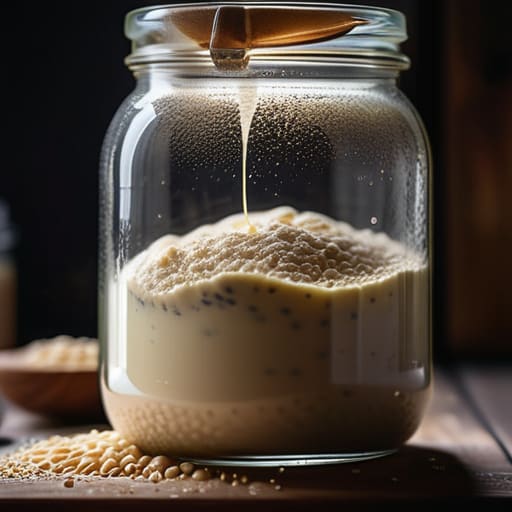
People will tell you that building a starter is some kind of dark magic, or that you need a laboratory-grade environment to succeed, but they are simply wrong. Most of the fuss comes from people treating flour and water like a chemistry experiment instead of a living thing. If you’ve been staring at a jar of grey, stagnant goo wondering how to make sourdough starter that actually bubbles and breathes, stop looking for a secret ingredient. You don’t need expensive additives or a specialized incubator; you just need to understand that you are inviting wild yeast into your kitchen, and they don’t care about your fancy gadgets. They care about consistency.
In this guide, I’m going to strip away the nonsense and show you how to build a culture using nothing but simple weights and a bit of discipline. We aren’t going to use cups—because those lie to you—and we aren’t going to rush the process just to satisfy a schedule. I will teach you how to read the texture of the bubbles and the scent of the fermentation so you can stop following a timer and start listening to the dough. By the time we’re done, you won’t just have a jar of flour; you’ll have a reliable partner for every loaf you bake.
Guide Overview
Tools & Supplies
- Glass jar and clear sides for monitoring growth
- Kitchen scale for precise measurements
- Spatula for mixing and scraping sides
- Whole wheat or rye flour, 100g initial amount
- Unbleached all-purpose flour, 500g total amount
- Filtered water, 500ml total amount
Step-by-Step Instructions
- 1. Day One: We start with the basics. Don’t go hunting for fancy organic rye just yet; a good, unbleached all-purpose or bread flour will do just fine. In a clean glass jar—one you can actually see through, mind you—weigh out 50g of flour and 50g of room-temperature water. That is 100% hydration, which is the easiest way to keep things moving. Stir it until there isn’t a single dry pocket of flour left, then cover it loosely. I don’t want a tight lid; the gases need to breathe just as much as the yeast does.
- 2. Day Two: You might see nothing happening, or you might see a few tiny bubbles. Don’t panic and don’t start poking at it with a thermometer. Most likely, it’s just waking up. Today, we discard half of that mixture—about 50g of it—and feed it again with 50g of flour and 50g of water. We call this “discarding” because it feels wrong to throw away perfectly good flour, but if you don’t, you’ll end up with a mountain of sludge that you can’t possibly feed fast enough.
- 3. Day Three: Now the chemistry starts to get interesting. You might notice a bit of a sour or even a slightly funky smell; that’s just the bacteria fighting for dominance. We are looking for the “good” kind. Again, discard all but 50g of your starter, then feed it 50g of flour and 50g of water. If your kitchen is particularly chilly, you might find the starter isn’t rising much at all. If that happens, move it to a warmer spot, like the top of the refrigerator, but don’t go putting it in a literal oven.
- 4. Day Four through Six: This is where most people lose their nerve. You’ll be feeding this every twenty-four hours: discard down to 50g, then add 50g flour and 50g water. You should start seeing more consistent bubbling and a noticeable rise in the jar. The texture should change from a thick paste to something more aerated and spongy. If it smells like vinegar or even a bit like old gym socks, don’t despair; that’s just the fermentation finding its rhythm.
- 5. Day Seven and Beyond: You’ll know you’re getting close when the starter doubles in size within a few hours of being fed. It should look alive, full of tiny air pockets, and smell pleasantly tangy—like a good yogurt or a fresh apple. To be absolutely sure it’s ready to bake with, try the float test: drop a small spoonful of the starter into a glass of water. If it floats, it’s full of enough gas to lift a loaf. If it sinks, it’s either too young or you’ve been a bit too heavy-handed with the feeding schedule.
- 6. The Maintenance Phase: Once it’s strong, you don’t have to feed it every day unless you’re baking every day. If you aren’t, just put it in the fridge. It’ll sleep. When you’re ready to bake, take it out, give it a good feed, and let it wake up on the counter for a few hours. Remember, a starter is a living thing, not a chemical reagent. Treat it with a bit of respect, and it will reward you with the best bread you’ve ever tasted.
The Wild Yeast Fermentation Process and the Rye Flour vs All Purpose Debate
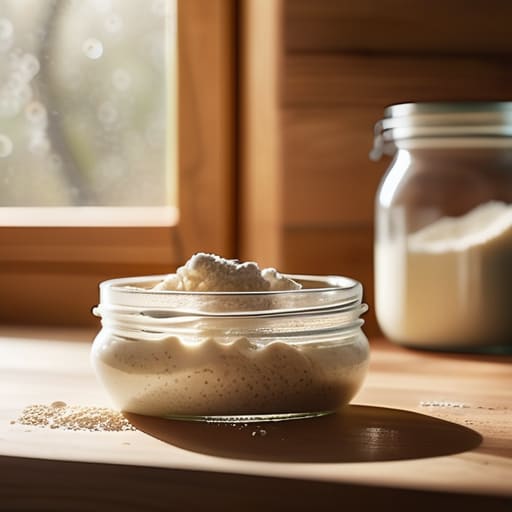
Now, you must understand that you aren’t actually “making” anything; you are simply setting the stage for the wild yeast fermentation process to do its work. You’re inviting the microbes living in your flour and on your kitchen counters to move in and settle down. It’s a bit like hosting a dinner party where the guests arrive at different times—some are early, some are late, and some are just plain temperamental. You’ll see bubbles, you’ll smell something slightly sour, and you’ll see the volume rise. These are the signs of a healthy starter telling you the party has officially begun.
When people ask me about the rye flour vs all purpose debate, they usually want a shortcut. If you want to get things moving quickly, use rye. Rye is like high-octane fuel for yeast; it’s packed with nutrients and minerals that wake up those sleeping microbes faster than anything else. All-purpose flour is perfectly fine once your culture is established, but in those first few days, rye provides the stamina your starter needs to find its footing. Don’t be afraid of a little mess; a bit of rye flour makes for a much more vigorous beginning.
Decoding the Signs of a Healthy Starter Through Touch and Scent
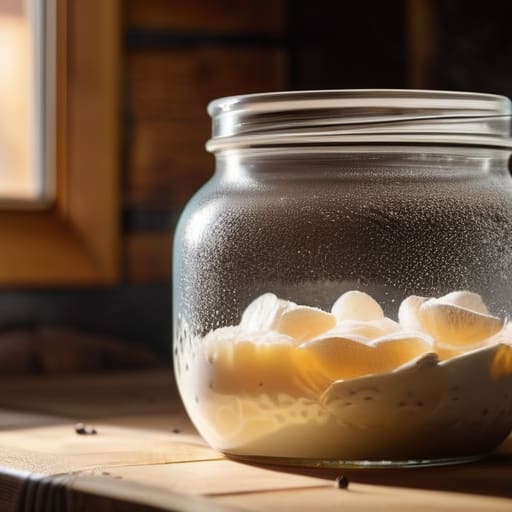
Stop looking at your phone for a picture of what a “perfect” starter looks like; your eyes will lie to you, but your nose won’t. When you lean over that jar, you aren’t just smelling fermentation; you’re reading the health of your microbes. A vigorous, healthy starter should smell bright—think of a crisp apple or a mild, fruity yogurt. If it hits you with a sharp, aggressive sting like pure vinegar or, heaven forbid, something resembling gym socks, you’ve likely let it go hungry. That’s not a sign of death, mind you, but it is a signal that your sourdough feeding schedule needs more consistency or perhaps a bit more flour to balance the acidity.
Then, there is the matter of the feel. If you were to dip a finger in (clean, please!), a mature starter should feel aerated and slightly elastic, almost like a thick, bubbly mousse. You want to see those tiny, frantic bubbles trapped in the structure, indicating the wild yeast fermentation process is working overtime. If it feels heavy, flat, or strangely “sludgy” despite your feedings, the strength is lacking. Don’t panic; just adjust your temperature or your flour ratios and listen to what the dough is trying to tell you.
Five Things Your Starter Won't Tell You (But I Will)
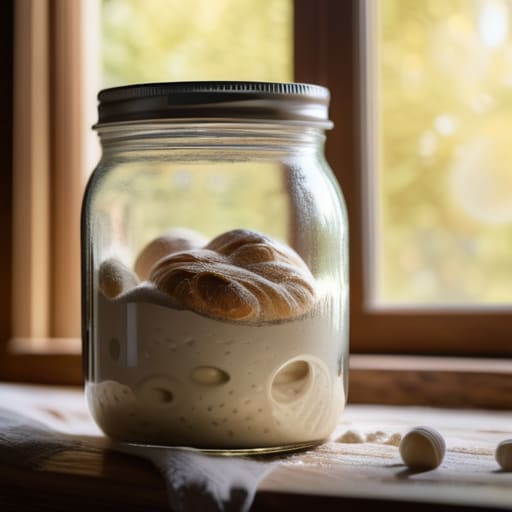
- Stop looking at the clock and start looking at the bubbles. A starter doesn’t care if it’s been twelve hours or twenty-four; it only cares about the temperature of your kitchen. If your house is chilly, that fermentation is going to crawl, so don’t panic and start feeding it like a frantic child. Wait for the activity, not the hour.
- Get rid of those measuring cups once and for all. I don’t care if a recipe says “half a cup of flour”—it’s useless. If you aren’t using a scale to maintain a consistent 100% hydration (equal weights of flour and water), you’re just guessing, and guessing is how you end up with a jar of grey sludge.
- Temperature is the invisible ingredient. If you’ve been keeping your jar on a cold granite countertop, you’re essentially putting your yeast to sleep. Find a warm nook, maybe near the top of the fridge or inside an oven with only the light turned on, and let that warmth do the heavy lifting.
- Don’t be afraid of a little bit of “funk.” A healthy starter should smell like yeasty beer, tangy yogurt, or even a bit of sharp vinegar. If it smells like gym socks or something truly rotten, you’ve likely let the temperature swing too wildly or your hygiene slipped. But if it just smells sour and bright, you’re exactly where you need to be.
- Use your hands, not just your eyes. When you’re mixing those feedings, I want you to feel the texture. A starter at 100% hydration should feel like a thick, aerated paste—not a runny soup and not a stiff ball of dough. If it feels too heavy, your flour-to-water ratio is off, and the yeast won’t have the mobility it needs to thrive.
The Baker’s Truths to Carry with You
Stop looking at the clock and start looking at the dough; fermentation doesn’t care about your schedule, it only cares about the temperature of your kitchen and the vitality of your flour.
Throw those measuring cups in the bin and stick to your scale, because a 100% hydration starter is a living thing that needs precision to stay balanced.
If your starter looks quiet or smells a bit sharp, don’t panic and don’t throw it out—just check your feeding ratio, adjust your water temperature, and give it the time it’s actually asking for.
The Long Game
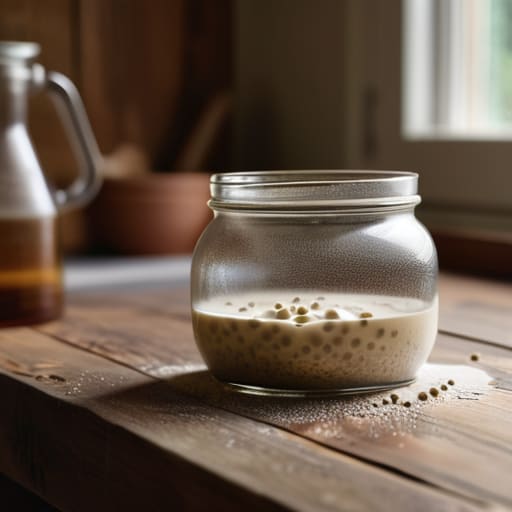
At this point, you should have a jar of something that smells like a brewery and looks a bit more alive than it did a week ago. Remember that we aren’t just mixing flour and water; we are managing a living ecosystem. If your kitchen is drafty, give it a warmer corner; if the bubbles look sluggish, check your hydration levels and ensure you aren’t being too timid with the rye. You’ve learned that the scale is your best friend and that scent tells more truth than any visual cue ever could. Don’t let a day of inactivity discourage you—sometimes the yeast just needs a bit of quiet to find its rhythm.
Building a starter is a lesson in humility, plain and simple. You cannot force it to grow faster by poking it every hour, and you cannot bully it into being ready before its time. It is a slow, rhythmic dance between your hands and the microbes, and if you treat the process with respect, it will reward you with a depth of flavor no store-bought packet can mimic. So, tuck that jar away, keep your feedings consistent, and trust the process. You aren’t just making a leaven; you are cultivating a companion that will sit on your counter and grow alongside you for years to come.
Frequently Asked Questions
My kitchen is freezing and my starter isn't bubbling like the photos; do I need to move it to a warmer spot or is it just being stubborn?
It isn’t being stubborn, darling; it’s just shivering. Yeast is a living thing, not a machine, and it won’t work if it’s freezing. If your kitchen is below 21°C, that fermentation is going to crawl. Don’t panic and don’t start feeding it more than usual—that just creates a hungry, liquid mess. Find a cozy nook, perhaps near the oven or on top of the fridge, and let it find its rhythm.
I see a dark liquid sitting on top of my starter—is that a sign of rot, or just something I need to stir back in?
Don’t panic; it isn’t rot. That dark liquid is just “hooch.” It’s a sign your starter is hungry and the yeast has finished its current feast, leaving behind a bit of alcohol byproduct. It’s perfectly fine to stir it back in if you want a more sour, tangy profile, or you can pour it off if you prefer a milder flavor. Either way, it’s time for a feeding. Your starter is just asking for more flour and water.
If I go away for a long weekend, can I leave my starter on the counter, or am I going to come home to a jar of vinegar?
If you’re heading out for a long weekend, don’t just leave it sitting there like a forgotten loaf. If your kitchen is warm, you’ll likely come home to a jar of grey, stinking vinegar. If you’re gone more than two days, put it in the fridge. It’ll go dormant, sleeping soundly until you’re back to feed it. Just remember to bring it back to room temperature before you try to bake.