If you’ve spent any time scrolling through those glossy recipe sites, you’ve likely been told that a “complete guide to pizza dough” requires a specialized stone imported from Italy, a high-tech mixer, or a sourdough starter that you have to nurse like a sickly newborn. It’s nonsense. I spent thirty-four years waking up at four in the morning to the smell of yeast and woodsmoke, and I can tell you that the most expensive gadget in your kitchen won’t save a dough that was handled too roughly or rushed through its rise because you were hungry. Most people fail not because they lack the right equipment, but because they are trying to follow a clock instead of listening to the flour.
I’m not here to sell you a lifestyle or a fancy countertop stand; I’m here to give you the truth about hydration, temperature, and timing. This isn’t a list of ingredients you’ll find in a supermarket pamphlet, but a real look at how dough actually behaves under your palms. We are going to talk in grams, we are going to respect the fermentation, and we are going to stop treating baking like a chemistry experiment and start treating it like a conversation. By the time we’re done, you won’t need a manual—you’ll just need to trust your hands.
Why Flour Protein Content for Pizza Dictates Your Success
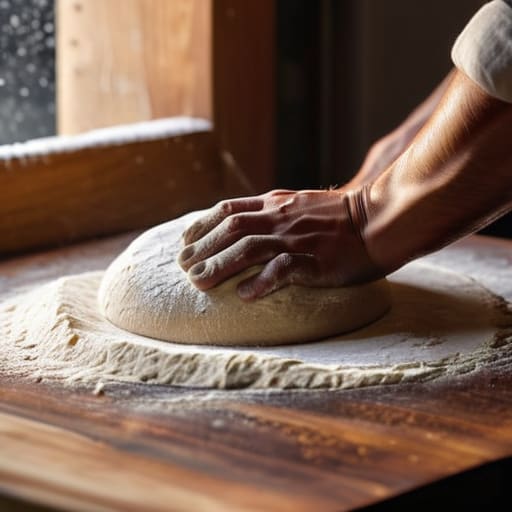
If you walk into a supermarket and grab the first bag of “all-purpose” flour you see, you’ve already lost the battle. You might get a decent cracker out of it, but you won’t get a crust that holds its own. The secret lies entirely in the flour protein content for pizza; it is the skeletal system of your dough. Protein is what builds the gluten, and without enough of it, your dough will behave more like a wet rag than a structured masterpiece. You need that strength to trap the gases produced during the yeast activation process, or else your bubbles will simply escape, leaving you with a flat, dense disc instead of a pillowy rim.
When I was running the shop, I taught my apprentices that strength isn’t just about quantity, it’s about dough elasticity and gluten development. High-protein flour—think anything north of 12%—creates a web that can stretch without snapping. This is what allows you to handle the dough with confidence rather than fear. If your protein is too low, the dough will tear the moment you try to shape it, no matter how much you swear you’re being gentle.
The Truth About the Yeast Activation Process and Proper Hydration
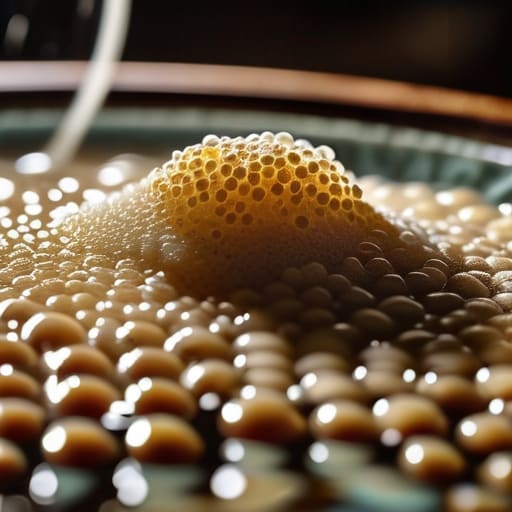
Now, let’s talk about the living part of your dough. Most people treat the yeast activation process like a chore, or worse, a science experiment where they’re terrified of making a mistake. If you’re using instant yeast, you can toss it straight into the flour, but if you’re working with active dry, you need to wake it up gently. I’ve seen too many beginners kill their yeast by using water that’s too hot—if it scalds your finger, it’ll scald your dough. You want it lukewarm, like a bath, just enough to coax the life out of it without rushing the job.
Once that yeast is breathing, we have to talk about water. I don’t care what a cookbook says; I’m talking about hydration. For a standard crust, I aim for 65% hydration, but if you want those airy, charred bubbles you see in neapolitan style dough techniques, you’ll want to push that closer to 70%. Higher hydration means a wetter, stickier dough, but it’s the secret to a light crumb. Don’t let the stickiness scare you; it’s just the water finding its way into the grain. Just remember, hydration dictates how the dough handles, so don’t expect a high-percentage dough to behave like a stiff bagel.
Five Things Your Recipe Won't Tell You About the Dough
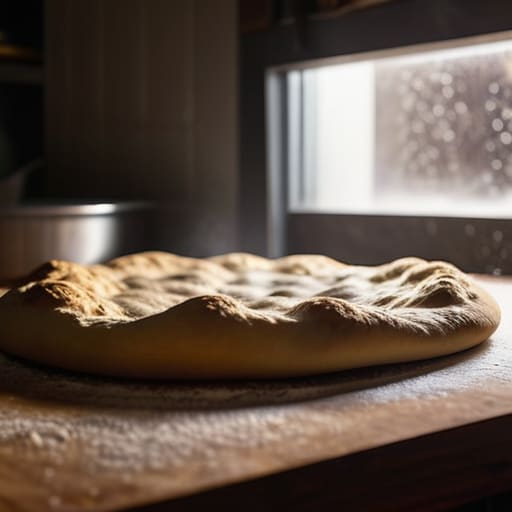
- Stop treating your kitchen like a laboratory and start feeling the dough; at 65% hydration, it should feel tacky but not stick to your skin like glue, and if it feels like a heavy, lifeless lump, you’ve likely worked the air right out of it.
- Temperature is the invisible ingredient you’re constantly ignoring, so if your kitchen is a drafty 18°C, your dough isn’t going to rise on your schedule just because the clock says it’s time.
- Give the gluten a rest or pay for it in the oven; if you try to force the dough into shape while it’s fighting you, it will just snap back like a rubber band, leaving you with a dense, stunted crust.
- Salt isn’t just for flavor—it’s a regulator—so if you’re skimping on that 2-3% weight, your yeast will run wild, your dough will be a sticky mess, and your crust will taste like nothing at all.
- Patience is the only thing you can’t buy in a shop, so if you’re tempted to cut a cold fermentation short because you’re hungry, just walk away; that slow, cold rise is where the real flavor lives.
The Three Things You Must Carry Into Your Kitchen
Throw your measuring cups in the bin; if you aren’t weighing your flour and water in grams, you aren’t making dough, you’re just guessing, and guessing is how you end up with a cracker instead of a crust.
Stop obsessing over the clock and start watching the dough; a recipe might say two hours, but if your kitchen is drafty and cold, that dough is going to need more time to wake up and find its strength.
Hydration is a living thing, not a fixed number, so learn to feel the stickiness and the tension in the dough with your hands rather than just staring at a percentage on a screen.
The Dough is in Your Hands
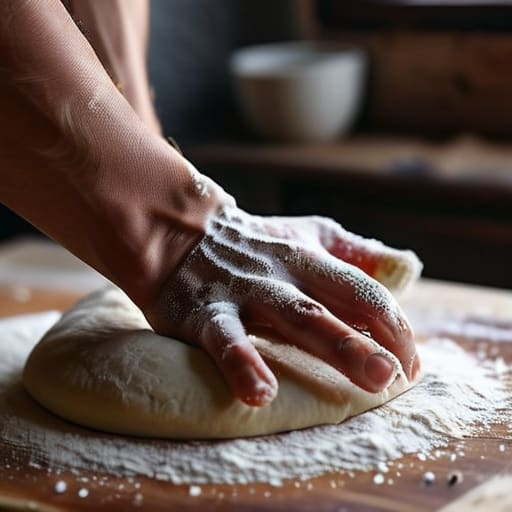
At the end of the day, a proper pizza dough isn’t some magic trick or a secret formula you find in a glossy magazine; it is simply the result of respecting your ingredients. You’ve learned that the flour provides the structure, the yeast provides the life, and the hydration—that crucial percentage we talked about—dictates whether your crust is a chewy masterpiece or a dense brick. Remember, if your dough feels too tight, don’t panic and throw more flour at it like you’re trying to bury a body; just give it a little more time and a touch more water. It is all about the balance between strength and moisture, and once you stop fighting the dough and start listening to how it responds to your touch, you’ll stop guessing and start baking.
I know it can feel daunting when you’re staring at a sticky mess on your counter, but please, don’t be afraid to fail. Some of my best lessons came from loaves that came out flat or crusts that were a bit too dark, and those failures taught me more about heat and handling than any textbook ever could. Baking is a conversation between you, the flour, and the clock. So, put away the measuring cups, trust your scale, and most importantly, give the dough the time it asks for. The best pizza isn’t made by the fastest hands, but by the most patient ones.
Frequently Asked Questions
My dough feels like a sticky, unmanageable mess after mixing—did I go too heavy on the water, or is my flour just not up to the task?
Don’t panic and don’t go dumping more flour in like you’re trying to bury a mistake. If your dough is a sticky mess, you’ve likely hit a hydration level your flour can’t actually hold, or you haven’t given the gluten time to catch up. Give it twenty minutes of rest—what I call a little “breathing room”—and try a few more folds. If it’s still a puddle, your flour is weak; if it firms up, you just needed patience.
If I want to develop more flavor without rushing the process, should I be looking at a cold ferment in the fridge or just letting it sit on the counter longer?
If you want flavor, put it in the fridge. Letting it sit on the counter longer just risks over-proofing; the dough gets tired, loses its strength, and ends up tasting like beer instead of bread. A cold ferment slows the yeast down but lets the enzymes work their magic, breaking down starches into those complex sugars we crave. It’s about controlled patience, not just leaving it out and hoping for the best.
How do I know if my kitchen is too cold for the yeast to do its job, and how much do I actually need to adjust my water temperature to compensate?
If your dough feels sluggish—like it’s dragging its feet instead of waking up—your kitchen is likely stealing your momentum. If it’s under 68°F (20°C), the yeast is basically napping. Don’t just guess; use the Desired Dough Temperature formula. Aim for a final dough temperature of 75-78°F (24-26°C). If your room is chilly, bump your water temperature up. I always account for the friction of mixing and the ambient air; water is your thermostat.