I remember standing in my shop at five in the morning, the air thick with the scent of yeast, watching a young apprentice try to melt a batch of couverture using a microwave because he was in a hurry. Within minutes, the chocolate had seized into a grainy, scorched mess that looked more like wet sand than silk. People spend a fortune on fancy gadgets and expensive molds, thinking that’s the secret to how to work with chocolate at home, but they forget that chocolate is a living thing that responds to heat and moisture with an attitude. If you treat it like a mindless ingredient, it will punish you for it every single time.
I am not here to sell you on some expensive tempering machine or a complicated set of rules that require a degree in chemistry. Instead, I want to teach you the feel of the process—the way a ganache should cling to a spoon and why a single drop of steam can ruin your entire afternoon. I will show you how to master the temperature and the timing, because once you understand the physics of the melt, you won’t need a manual; you’ll just know when it’s ready.
Choosing the Right Types of Chocolate for Baking
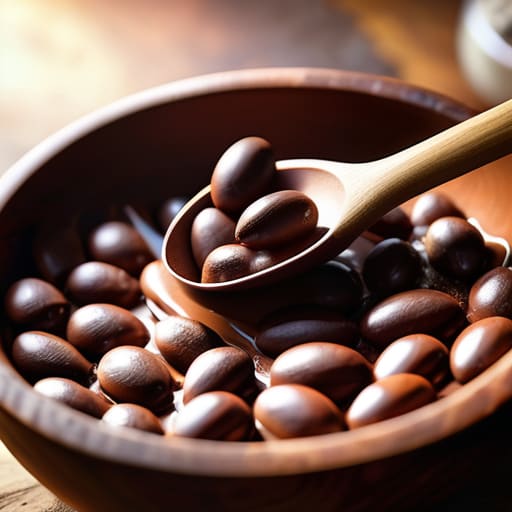
Don’t go wandering into the baking aisle looking for those little bags of “chips” that promise to hold their shape perfectly in a hot oven; they are packed with stabilizers that taste more like wax than cocoa. If you want a real result, you need to understand the different types of chocolate for baking by looking at the cocoa solids and the fat content. Couverture is what I always reached for in the shop—it has a higher percentage of cocoa butter, which means it melts with a grace that cheaper chocolate simply cannot mimic.
When you are deciding between dark, milk, or white, remember that they are not all created equal under heat. White chocolate is particularly temperamental because it is mostly fat and sugar with very little cocoa mass to anchor it; it burns if you even look at it sideways. If you are just starting out, I suggest sticking to a high-quality dark chocolate with at least 60% solids. It is more forgiving and much more honest. If you find yourself struggling with a recipe, it is rarely the technique at fault—it is usually because you tried to make a masterpiece with ingredients that were never meant to sing.
The Double Boiler Method for Chocolate and Gentle Heat
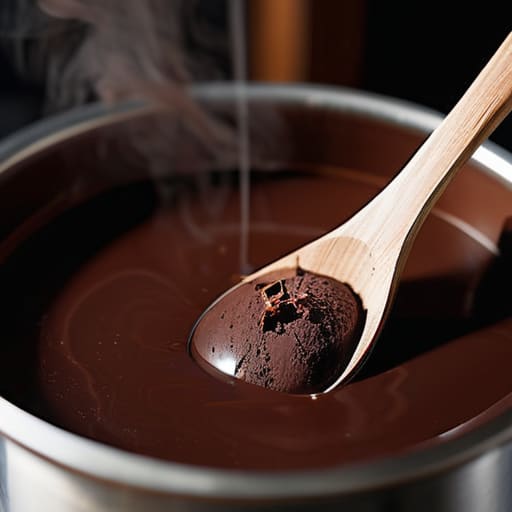
If you try to melt chocolate in a saucepan over a direct flame, you aren’t cooking; you’re performing an autopsy. Chocolate is sensitive to heat in a way that most people don’t respect. To do it right, you must use the double boiler method for chocolate, which is really just a way of letting steam, not fire, do the heavy lifting. Set a heat-proof bowl over a pot of barely simmering water, making sure the bottom of the bowl never actually touches the liquid. If that steam escapes into your bowl, even a single drop of moisture will cause the whole batch to seize into a grainy, unusable mess.
Once you have your setup, remember that patience is your only tool. You aren’t looking for a frantic boil; you are looking for a slow, steady transformation. Keep your eye on the texture rather than a timer. You want the chocolate to be fluid and glossy, moving like heavy silk. If you see it starting to look matte or thick, take it off the heat immediately. It is much easier to add a tiny bit of warmth later than it is to fix a bowl of scorched, clumped chocolate that has lost its soul.
Five ways to stop fighting your chocolate and start working with it
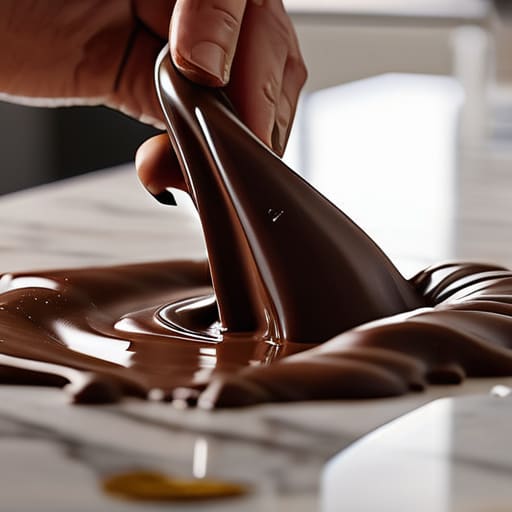
- Watch your water like a hawk; even a single, microscopic droplet of steam finding its way into your melting bowl will cause your chocolate to seize into a gritty, unworkable mess, and it won’t matter how much you stir, it’s gone.
- Stop using the microwave unless you have the patience of a saint and a very steady hand; it’s too aggressive and creates hot spots that scorch the cocoa solids, leaving you with a bitter, broken sludge instead of a silky melt.
- If you are making a ganache, remember that the ratio is everything—a 50% hydration of chocolate to cream will give you a pourable glaze, but if you want something to pipe into those little eclairs, you’ll need to lean heavier on the chocolate side to ensure it holds its shape.
- Temperature is the invisible ingredient; if you are tempering for shine, you cannot just melt it and call it a day, you have to guide it through the cooling and reheating stages so the cocoa butter crystals settle properly, or your finished work will look dull and feel chalky on the tongue.
- Respect the fat content; if a recipe calls for high-quality couverture, don’t try to swap it for a cheap baking chip that is packed with stabilizers and vegetable oils, because those chips are designed to hold their shape in a cookie, not to melt into a smooth, flowing velvet.
Three Things to Remember Before You Reach for the Spatula
Chocolate is temperamental heat and precise timing; if your ganache breaks or seizes, it is because you rushed the emulsion or let a drop of steam in, not because the chocolate was flawed.
Stop measuring by the cup and start looking at the quality; if you are using a bar that is mostly vegetable fat and sugar, don’t be surprised when your mousse feels like wax on the tongue.
Respect the cooling process as much as the melting; a chocolate that has been rushed through temperature changes will never hold its shine, and you cannot force a temper that wasn’t given the time to settle.
A Final Word on Temperament and Taste
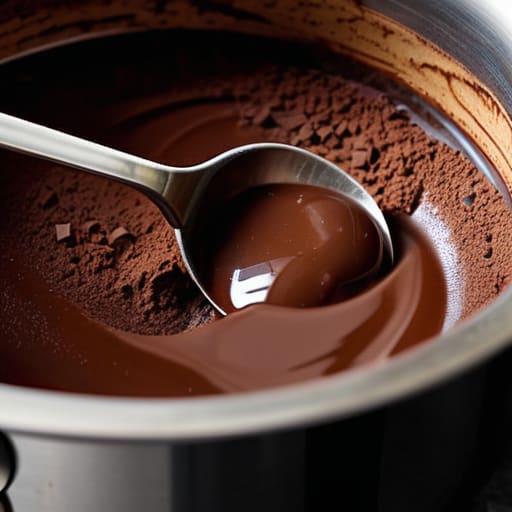
If you take nothing else from this, remember that chocolate is not a passive ingredient; it is a living thing that reacts to every degree of heat and every frantic movement of your spoon. You have learned that the quality of your cocoa solids matters as much as the patience of your method, and that the double boiler is your best friend when you are coaxing a smooth emulsion. Whether you are working with a high-percentage dark or a creamy milk, the goal is never just to melt it, but to respect its structure. If your ganache breaks or your chocolate seizes, do not throw it in the bin in a fit of frustration. Most of the time, it is simply a sign that you rushed the temperature or let a single drop of steam interfere with the fats. Treat the chocolate with intention, and it will reward you with a shine and a snap that no store-bought shortcut can mimic.
At the end of the day, baking is less about following a set of instructions and more about listening to the bowl. I spent thirty-four years watching dough rise and crust brown, and I can tell you that the most important skill isn’t precision—it is the ability to sense when something is off. Chocolate can be temperamental, yes, but it is also incredibly forgiving if you give it the time it asks for. Don’t be afraid of a little mess or a failed batch; those are just the lessons that teach you how to truly master the craft. Put your phone away, stop looking at the polished photographs, and trust your hands to feel when the texture is right. The best chocolate work happens when you stop fighting the ingredients and start working with them.
Frequently Asked Questions
My chocolate has turned white and chalky after I melted it; is it ruined or can I still use it in my batter?
It hasn’t turned into stone, but it has lost its temper. That white film is just fat or sugar migrating to the surface because the temperature jumped too fast or you introduced a drop of moisture. It isn’t ruined for a batter—the heat of the oven will hide the texture—but it won’t work for anything that needs to snap, like a ganache or a coating. Just whisk it back to life with a little extra warmth.
If my ganache looks like it’s separating into an oily mess, how do I fix the emulsion without losing the texture?
If your ganache looks like an oily mess, don’t panic; you haven’t ruined it, you’ve just lost the emulsion. The fat has escaped the water. Take a small spoonful of room-temperature milk or cream and whisk it vigorously into the broken mixture. If that doesn’t coax it back, use an immersion blender. You need to force those fat droplets to marry with the liquid again. Be gentle, though—too much agitation can make it gummy.
How do I know if I’m using too much or too little chocolate when a recipe only gives me a volume like "cups" instead of a weight?
Cups are a liar’s measurement. If you pack those chocolate chips into a cup, you’re adding far more mass than if they’re loosely scooped, and your fat-to-flour ratio will go sideways. Since I won’t let you guess, do this: weigh one single cup of your specific chocolate on a scale. That is your baseline. Once you have that weight, you can scale any recipe accurately. Don’t trust the volume; trust the scale.