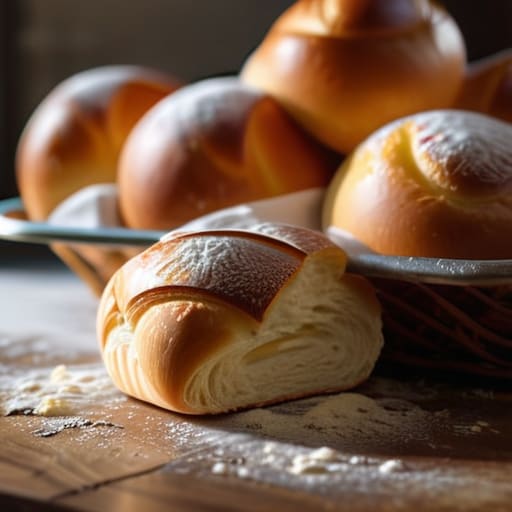
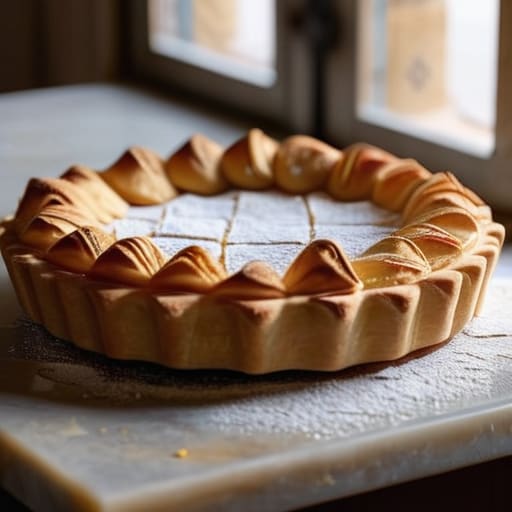
I remember a young man, barely twenty, coming into my shop one Tuesday morning with a face as red as a slapped cheek because his sponge cakes were coming out of the oven looking like sad, sunken puddles. He had followed a famous cookbook to the letter, swearing the recipe was broken, but he didn’t realize that the air around him was thinner than the air in my village. People love to blame the book or the brand of flour, but they rarely stop to consider how altitude affects baking; they forget that the atmosphere itself is a silent ingredient that changes the math of your kitchen.
I’m not going to give you a list of “magic” additives or tell you to buy expensive new equipment just because you live in the mountains. Instead, I’m going to show you how to read your dough and adjust your hydration and leavening with the precision of a scale. We’ll talk about why your bubbles are escaping too fast and how to compensate for the lack of pressure without losing the soul of your bread. I promise you this: once you understand the physics of the air, you’ll stop fighting your oven and start working with it.
Atmospheric Pressure and Dough the Weight of Thin Air
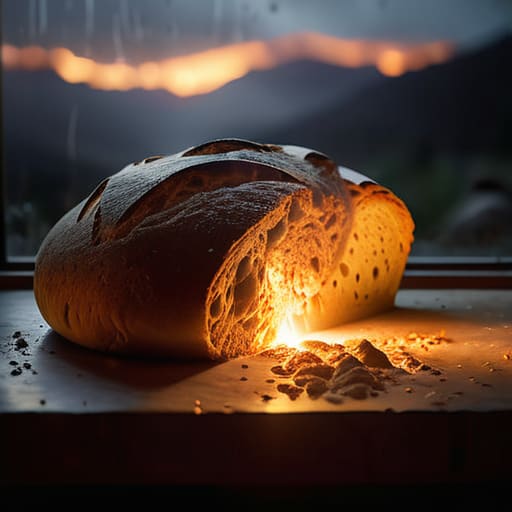
Most people think the air is just thinner up here, but they forget that the air is also lighter. When you’re working with a dough at sea level, you have a heavy blanket of atmospheric pressure pushing down on your loaf, keeping those precious bubbles of gas tucked inside the gluten structure. Up in the mountains, that blanket is gone. Because there is less atmospheric pressure and dough to contend with, those gas bubbles expand far more aggressively than they have any right to. If you aren’t careful, your dough will look like it’s having a grand old time, swelling up beautifully in the bowl, only to overstretch its gluten skin and collapse into a sad, dense puddle the moment it hits the heat.
It’s a bit of a trick of the light; the dough looks ready, but it’s actually exhausted. This is why you can’t just follow a sea-level recipe and hope for the best. You have to understand the physics of the expansion. I often find myself adjusting leavening agents for altitude by slightly reducing the yeast or sourdough starter. You want a slower, more controlled rise to give the structure time to catch up with the gas. If you rush the fermentation because the dough looks big, you’re just setting yourself up for a heartbreak in the oven.
Adjusting Leavening Agents for Altitude Without Rushing the Rise
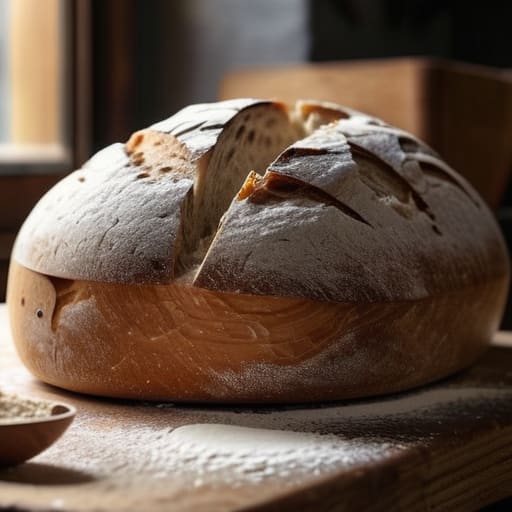
Now, here is where most people trip up and start panicking. They see a flat loaf and think they’ve used too much yeast, so they add more next time. That is a mistake. In thin air, the atmospheric pressure and dough are in a constant tug-of-war; the gas bubbles want to expand much faster because there is less weight pushing back against them. If you don’t scale back your leavening, those bubbles will grow too large and too quickly, eventually popping and leaving you with a dense, gummy crumb. When I was running the shop, I learned that adjusting leavening agents for altitude isn’t about changing the chemistry, it’s about managing the speed of the party.
I usually suggest reducing your yeast or baking powder by about fifteen to twenty percent when you’re working up in the mountains. You want a slower, more controlled rise so the structure of the flour has time to actually set around those bubbles. If you rush the process, you’re just building a house of cards. It’s much better to have a slightly smaller loaf that holds its shape than a massive one that collapses the moment you look at it sideways.
The Baker’s Adjustments: Five Ways to Fight the Thin Air
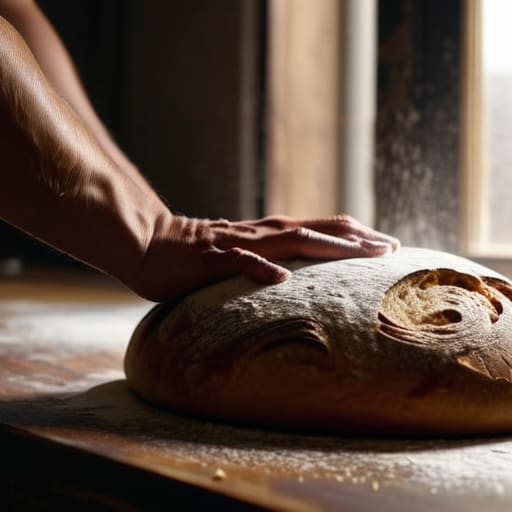
- Watch your hydration like a hawk. At higher altitudes, moisture evaporates from your dough much faster than it does down in the valley. If your dough feels tight or tacky instead of supple and elastic, don’t assume you’ve botched the mix; just add a splash more water. I usually find myself bumping my hydration up by 2% to 5% just to keep the crumb from turning into sawdust.
- Scale back your sugar, or prepare for a collapse. Sugar is a humectant—it holds onto water—but it also weakens the structure of your gluten. In thin air, that structural integrity is already under siege. If you’re making a sweet dough or a cake, try cutting the sugar back by about 10% to 15% so the crumb has enough strength to actually hold its shape once it leaves the oven.
- Lower your oven temperature by about 10 to 15 degrees Celsius. Because the boiling point of water drops as you go up, your cakes and breads will set much faster on the outside while the middle is still a liquid mess. By dropping the heat, you give the center of the loaf a fighting chance to catch up before the crust turns into a brick.
- Don’t be fooled by a fast rise. It’s tempting to see a dough doubling in size in half the time and think you’ve mastered the mountain, but that’s often just gas expanding too quickly in a low-pressure environment. If you don’t pull it back and slow things down, you’ll end up with a loaf that looks magnificent in the bowl but collapses into a pancake the moment it hits the cooling rack.
- Trust your hands, not your timer. A timer is a suggestion, but the feel of the dough is the truth. At altitude, the “window” between a perfect rise and a total structural failure is much narrower. You need to be watching for that specific tension in the dough and that particular springiness; if you wait until the recipe says it’s done, you’ve likely already missed the boat.
The Baker's Cheat Sheet for Thin Air
Watch your hydration, not your cup measurements; as the air gets thinner, moisture evaporates faster, so you’ll likely need to bump your water percentage up just to keep the dough from feeling tight and stubborn.
Don’t trust a timer blindly when you’re high up; because the lower pressure lets gases expand more aggressively, your dough might look ready when it’s actually over-proofed, so rely on the feel of the dough under your hands rather than the clock.
Lower your oven temperature slightly and bake for a bit longer to compensate for the lack of pressure; this prevents the outside of your loaf from setting into a hard crust before the middle has had a chance to properly cook through.
Trusting Your Hands Over the Barometer
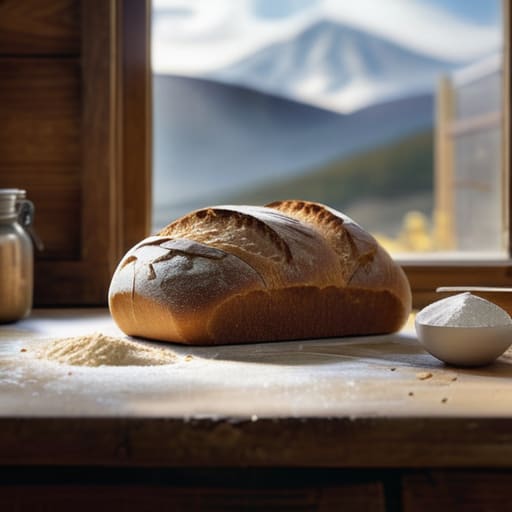
At the end of the day, baking at altitude is just a constant negotiation between your ingredients and the air around them. You’ve learned that you can’t just follow a recipe printed for sea level and expect the same results; you have to account for that lower atmospheric pressure by tightening up your hydration, being stingy with your yeast, and watching your oven temperatures like a hawk. It isn’t about following a rigid set of rules, but about understanding that the environment is a variable just as much as the flour is. If your loaf comes out a bit flatter or your sponge feels a little more fragile, don’t throw the whole recipe in the bin. It simply means you need to adjust your math and try again.
I spent three decades watching dough behave differently depending on whether the morning air was damp or dry, and I can tell you this: the most important tool in your kitchen isn’t a digital scale or a thermometer, though they certainly help. It is your own intuition. Don’t let a bit of thin air intimidate you into thinking you aren’t a baker. Every failed loaf is just a lesson in how the world is working around you, and once you start reading the dough instead of just reading the clock, you’ll find your rhythm. Baking is a conversation, and even in the mountains, it’s one worth having.
Frequently Asked Questions
If I'm already adjusting my leavening agents, should I also be changing the amount of sugar in my dough to help with that faster rise?
Don’t go reaching for the sugar bowl just because the yeast is acting impatient. If you increase the sugar to compensate for that fast rise, you’re actually inviting trouble; too much sugar can actually slow yeast down or make your crust turn dark and bitter before the center is even cooked. If your dough is racing, stick to adjusting your leavening and your timing. Let the yeast do its job without making the environment too heavy for it.
How do I know if my dough is actually finished proofing when the air pressure is trying to trick the bubbles into expanding too quickly?
Stop looking at the clock and start looking at the dough. At high altitudes, the air is eager to expand those bubbles, but that doesn’t mean the structure is ready. Forget the timer; use your finger. Gently press the dough—it should spring back slowly and leave a slight indentation. If it snaps back instantly, it’s under-proofed. If it collapses, you’ve let the pressure win. Trust the feel, not the altitude.
Since the oven loses heat faster in thin air, do I need to rely more on my thermometer or just watch the crust more closely?
Use both, but don’t let the thermometer lie to you. In thin air, your oven’s temperature can plummet every time you crack the door, and the heat doesn’t “hold” the way it does at sea level. Trust your thermometer to get you in the ballpark, but trust your eyes for the finish. Watch that crust; if it’s darkening too fast while the center feels heavy, you’re fighting the air, not the recipe.