I spent thirty-four years watching people walk into my shop, clutching expensive, color-coded recipe books and asking me how to make rolls and buns that didn’t turn out like leaden hockey pucks. They’d tell me they followed every instruction to the letter, yet their kitchen counters were covered in a sticky, unmanageable mess. The truth is, those books are lying to you; they focus on the “what” but completely ignore the why. They won’t tell you that a drafty window or a heavy hand can ruin a batch faster than a bad ingredient ever could, and they certainly won’t tell you that a measuring cup is the quickest way to fail at baking.
I’m not here to give you a list of fancy gadgets or a complicated ritual to perform. Instead, I’m going to teach you how to read the dough and understand the relationship between hydration and heat. We are going to work with weights, percentages, and a bit of honest patience. By the time we’re done, you won’t be hunting for a recipe to follow blindly; you’ll actually understand how to command the flour and water in your own hands.
Choosing Flour Types for Dinner Rolls Without Lies
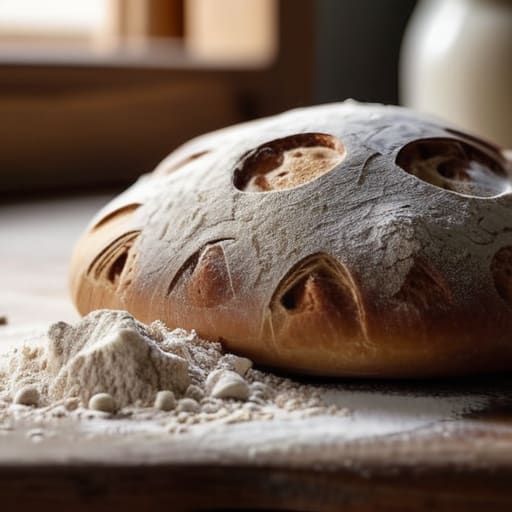
If you go into the shop and grab the first bag of “all-purpose” flour you see, you aren’t necessarily doing anything wrong, but you aren’t being honest with your dough either. Most people think flour is just white powder, but it’s actually a structural blueprint. For dinner rolls, you’re looking for a balance. If you use a high-protein bread flour, you’ll get a wonderful structure, but your rolls might end up a bit too chewy, like a bagel that’s lost its way. On the other hand, if you use a low-protein cake flour, they’ll be soft, but they won’t have the strength to hold their shape.
I always tell my apprentices to look for a flour with a protein content around 10% to 11.5%. This is the sweet spot for flour types for dinner rolls because it provides enough strength to support the yeast dough fermentation process without turning your buns into hockey pucks. You want a flour that can stretch and hold the gases being produced, giving you that airy, pillowy interior. Don’t let a brand name fool you; look at the protein percentage on the back of the bag. That is the only truth that matters.
Understanding the Yeast Dough Fermentation Process
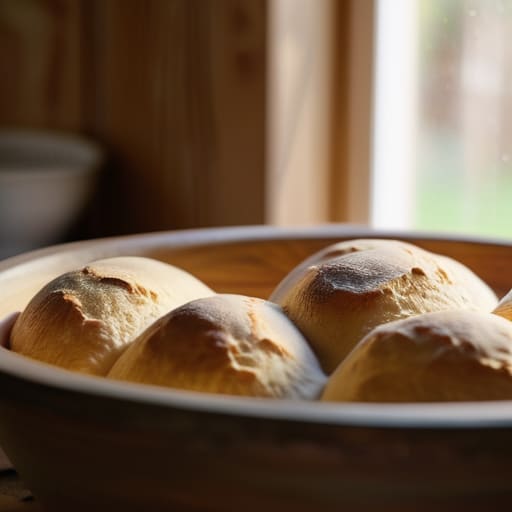
Now, let’s talk about what’s actually happening inside that bowl, because if you think you’re just waiting for things to get bigger, you’ve missed the whole point. The yeast dough fermentation process isn’t a countdown timer; it’s a living, breathing conversation between the microbes and the sugars in your flour. When you mix your water and yeast, you’re waking them up. As they eat, they release gases that stretch the gluten network you’ve worked so hard to build. If your kitchen is drafty and cold, they’ll move like they’re stuck in mud; if it’s too warm, they’ll race ahead and exhaust themselves before the flavor has even had a chance to develop.
You have to learn to watch the dough, not the clock. I’ve seen people pull their buns out of the oven far too early because a recipe said “sixty minutes,” even though the dough hadn’t even doubled. Proofing dough for better rise requires you to poke it gently—if the indentation springs back slowly and leaves a little dimple, it’s ready. If it snaps back instantly, it’s still tight and needs more time. If it collapses, you’ve pushed it too far. Trust your hands and your eyes, not the digital timer on your stove.
The Things Your Recipe Won't Tell You
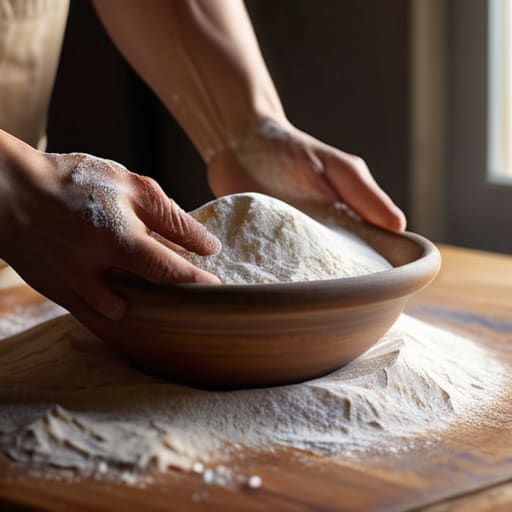
- Stop watching the clock and start watching the dough. If a recipe says “let rise for one hour” but your kitchen is sitting at sixty degrees, that dough isn’t going anywhere. You wait until the dough has actually doubled and looks puffy and relaxed, not until a timer goes off.
- Temperature is everything, especially when you’re working with fats. If you’re making a rich brioche-style bun, make sure your butter is soft but not oily, and your milk isn’t so hot that it scalds the yeast. I always aim for a dough temperature around 78°F (25°C) to keep the fermentation steady.
- Learn to feel the tension. When you’re shaping your rolls, you want a smooth, tight skin on the top, but don’t be a bully about it. If you pull too hard or shape too aggressively, you’ll tear the gluten structure and end up with dense, heavy buns instead of light, airy ones.
- Give your dough the respect of a proper rest. If you try to shape your rolls immediately after the first rise and the dough keeps snapping back like a rubber band, it’s telling you it’s stressed. Let it sit for ten or fifteen minutes; let the gluten relax so it’s willing to cooperate with your hands.
- The oven is a temperamental beast, not a set-and-forget box. Don’t just trust the dial on your stove. If your rolls are browning too fast on top but feel gummy in the center, your oven is running too hot. A little steam in the oven during the first few minutes can do wonders for that crust, too.
The Three Truths of a Perfect Bun
Stop looking at the clock and start looking at the dough; a recipe might say sixty minutes, but if your kitchen is drafty and cold, that dough isn’t going anywhere, so wait until it actually looks aerated and feels light before you move to the next step.
Hydration is your North Star, so if you’re aiming for a 65% hydration dough, don’t panic if it feels a bit tacky or “shaggy” at first—it’s just the flour waking up, and you’ll know it’s ready when it pulls away from the bowl with a certain elasticity.
Your hands are better tools than any thermometer; learn the difference between a dough that is just sticky and a dough that is properly developed, and remember that rushing the shaping process is the fastest way to end up with a dense, heavy roll.
The Rhythm of the Rise
If you’ve been paying attention, you know that making rolls isn’t about following a list of instructions like you’re assembling a piece of flat-pack furniture. It’s about the relationship between your flour, your hydration, and the air in your kitchen. We’ve talked about why you need to ditch those lying measuring cups for a digital scale, how to pick a flour that actually has the strength to hold a shape, and why you must respect the fermentation process rather than trying to bully the yeast into working faster. Remember, if your dough feels tight or sluggish, it isn’t a failure of the recipe; it’s likely just a sign that your kitchen temperature is too low or you haven’t given the gluten enough time to relax and breathe.
At the end of the day, I want you to stop looking at your phone for a picture of what a “perfect” bun looks like and start looking at the dough itself. Watch how it changes from a shaggy, stubborn mass into something smooth, elastic, and alive under your hands. There is a specific kind of magic that happens when you stop rushing and start listening to the rhythm of the rise. Don’t be afraid if your first few batches aren’t quite right; even after thirty-four years, I still have days where the humidity makes me rethink everything. Just keep your scales ready, your hands gentle, and trust your senses above all else. That is where the real baking begins.
Frequently Asked Questions
My dough feels sticky and unmanageable even after plenty of kneading; am I using too much water or is my flour just weak?
It’s likely a bit of both, but stop kneading and listen to the dough first. If you’re at 70% hydration and it feels like a puddle, your flour might lack the protein to hold it. But don’t just dump in more flour; that’s how you end up with a brick. Give it twenty minutes of rest—what we call an autolyse—to let the flour actually hydrate. If it’s still a mess, your flour is weak.
The rolls rose beautifully in the bowl, but they turned out flat and heavy once they hit the oven—what did I miss during the final proof?
You likely over-proofed them. It’s a heartbreak I’ve seen a thousand times: the dough looks magnificent, puffy, and full of life in the bowl, so you think, just five more minutes. But if you push it too far, the gluten structure weakens and those tiny gas bubbles become too large to hold. Once they hit the heat, the structure collapses because it was already exhausted. Aim for a gentle spring when you poke them, not a total deflating sigh.
How do I know if my kitchen is too cold for the dough to move, and should I be using warm water or just letting it sit longer?
If your kitchen feels drafty enough to make you reach for a cardigan, your dough is likely hibernating. You’ll know it’s too cold when the dough feels sluggish and doesn’t seem to “relax” when you poke it. Don’t go chasing it with hot water—you’ll just kill the yeast. Use lukewarm water (around 35°C) to start, then find a warm, still spot, like inside an oven with the light on. Just give it time.