If you’ve been staring at a tray of dense, pale lumps and wondering why your kitchen doesn’t produce that chewy, golden crust you see in glossy magazines, stop blaming your oven. Most people think learning how to make bagels is about finding a “magic” ingredient or a secret boiling trick, but they are dead wrong. I spent years watching beginners ruin perfectly good flour because they were too busy looking at a timer and not paying enough attention to the tension in the dough. A bagel isn’t a piece of bread that’s been boiled; it is a specific marriage of high protein and controlled fermentation that demands you respect the clock and the temperature.
I’m not going to give you a recipe filled with vague “cups” and “spoons” that will only lead to heartbreak. Instead, I’m going to give you the actual math—the weights and the hydration percentages—that kept my bakery doors open for thirty-four years. We are going to talk about how the dough should feel under your palms and why your water temperature is more important than the brand of flour you buy. I promise no fluff, just the honest, unvarnished truth of the craft.
Recipe Details
Ingredients
- 500g high-protein bread flour
- 300ml lukewarm water
- 7g instant yeast
- 10g salt
- 15g honey or malt syrup
- 1 tbsp barley malt syrup (for boiling water)
- 1 tbsp baking soda (for boiling water)
Recipe Instructions
Step 1
First, we deal with the dough. You’ll need 500g of high-protein bread flour (that’s 100%), 275g of water at about 26°C (55% hydration), 10g of salt (2%), and 7g of instant yeast (1.4%). Mix them until no dry flour remains, then let it rest for twenty minutes. I call this the autolyse, though I just call it giving the flour a moment to wake up. After the rest, knead it by hand or in a mixer until it’s smooth and elastic. It shouldn’t feel like a wet sponge; it should feel strong and resilient, pushing back against your palms when you press it.
Step 2
Now, we let it breathe. Cover your dough and leave it in a spot that isn’t drafty—if your kitchen is cold, put it in the oven with just the light turned on. You’re looking for the dough to double in size, which might take an hour or it might take two depending on how much your house is fighting you. Don’t watch the clock; watch the dough. It should look puffy and feel like it’s full of air.
Step 3
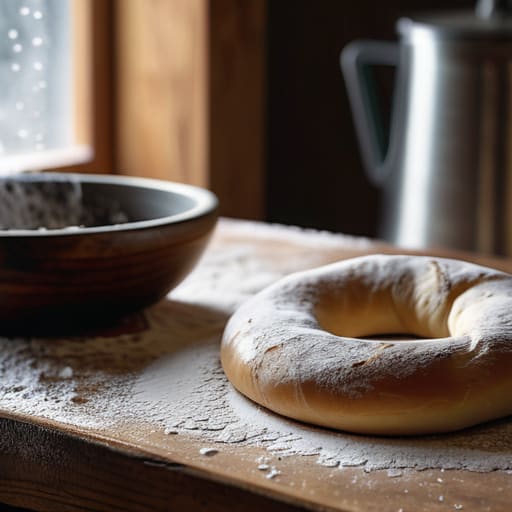
Once it’s risen, turn it out onto a lightly floured surface and divide it. I like to aim for 100g pieces, which is a standard size that doesn’t feel too heavy in the hand. Shape them into tight, smooth balls first. This is where most people fail—they try to make the bagel shape immediately. No, you must build tension in the ball first by pulling the skin taut. Let these balls rest for fifteen minutes under a cloth. If they feel tight and stubborn, they need that rest.
Step 4
After the rest, poke a hole through the center of each ball with your thumb and gently stretch it out. If the dough feels like it’s fighting you or snapping back, stop and wait. It just needs another five minutes of rest. Once they are shaped, lay them on a tray lined with parchment and let them proof for another 30 to 45 minutes. They should look slightly swollen and soft, not tight and angry.
Step 5
This is the part that separates a bagel from a mere bread roll: the boil. Get a large pot of water simmering—not a violent boil, just a steady, gentle bubble—and add a tablespoon of honey or barley malt syrup. Drop your bagels in for about 45 to 60 seconds per side. If you boil them too long, they’ll turn into heavy lead weights; if you don’t boil them enough, they won’t have that shining, chewy crust we’re after.
Step 6
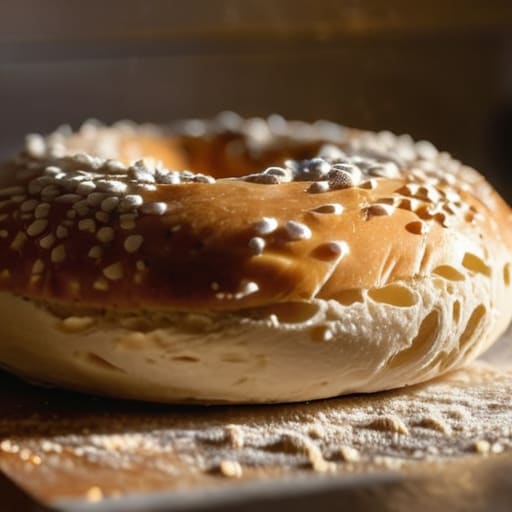
Drain them briefly and get them straight into a 220°C (425°F) oven. If you’re using seeds or salt, add them immediately after the boil while the surface is still tacky. Bake for about 18 to 22 minutes until they are a deep, burnished gold. When they come out, resist the urge to slice them immediately. They need to settle into themselves on a wire rack, or the steam will make the insides gummy.
Mastering Yeast Dough Fermentation Through Patience
Now, listen closely, because this is where most people lose the battle. They treat yeast like a timer on a microwave, but yeast dough fermentation is a living, breathing conversation between the flour and the air in your kitchen. If your kitchen is drafty, the yeast will sleep; if it’s too warm, they’ll race through their work and leave you with a dough that tastes like nothing at all. You aren’t looking for a specific number of minutes on a clock; you are looking for that moment when the dough feels alive, slightly aerated, and holds its shape without fighting you.
When you move to the actual shaping bagel dough, don’t be aggressive. I’ve seen too many beginners manhandle the dough, squeezing the life out of those precious gas bubbles just to get a tight ring. You want to roll it gently, creating tension on the surface without tearing the skin. That tension is what gives you that traditional bagel texture—that specific, satisfying chew that distinguishes a real bagel from a mere bread roll. If you rush this, you’ll end up with a dense, heavy lump instead of the light, airy interior we’re aiming for.
The Diastatic Malt Syrup Benefits for Traditional Bagel Texture

If you’ve ever wondered why a bakery bagel has that deep, mahogany sheen while your home version looks a bit pale and apologetic, the secret usually lies in the malt. I don’t care much for fancy additives, but diastatic malt syrup is one of the few things I’ll always keep in the pantry. It isn’t just about sweetness; it’s about enzymes. These enzymes break down starches into sugars, providing a feast for the yeast and ensuring you get that authentic, traditional bagel texture that defines a real boiled bagel.
When you add it to your boil, you aren’t just flavoring the skin; you are setting the stage for a magnificent color. Without it, you’re fighting an uphill battle against a dull, matte finish. If you find your crust is coming out too soft, check your oven temperature for bagels—you need that intense, immediate heat to set the structure—but remember that the malt is what gives you that shattering, crusty bagel exterior we all crave. It’s the difference between a bread roll shaped like a ring and a proper bagel.
Five Things the Recipe Won't Tell You About Your Bagels
- Watch your water temperature like a hawk. If you’re boiling those rings in water that’s too cold, they’ll turn out heavy and dense like lead weights; if it’s boiling too hard, you’ll cook the outside before the inside even knows it’s in a bath. Aim for just under a boil—around 90°C—so they get that skin without losing their heart.
- Stop relying on your eyes and start using your hands. A bagel dough should feel tight, elastic, and slightly resistant, not soft and pillowy like a brioche. If it feels slack or sticky, you haven’t developed the gluten enough, and you’ll end up with a flat disc instead of a proud, chewy ring.
- Respect the hydration. For a proper bagel, I’m looking at a hydration level of about 55% to 58%. It’s going to feel much drier and harder to work with than your standard sandwich bread, but don’t you dare add more water just because it’s stubborn. That low hydration is exactly what gives you that characteristic bite.
- Don’t skimp on the proofing time, but don’t let them over-proof either. If you let them sit too long, they’ll lose their structural integrity and collapse the moment they hit the steam. They should look slightly puffed and feel delicate, but they still need to hold their shape when you gently nudge them.
- Give them a proper bath. That boiling step isn’t just for the color; it’s what creates the gelatinized crust. If you’re short on time and try to skip the boil or rush it, you’ll just have a very hard roll, not a true bagel. You want that distinct, shiny, chewy exterior that only comes from a well-timed soak.
The Three Pillars of a Proper Bagel
Stop trusting your eyes and start trusting your scale; bagels live and die by hydration percentages, and if you aren’t weighing your water and flour, you’re just guessing.
Respect the temperature of your environment, because a cold kitchen will stall your yeast and a warm one will turn your dough into a sticky, over-proofed mess before you even reach for the boiling water.
The boil isn’t just for shine, it’s for structure; you must give the dough that brief, hot bath to set the crust, otherwise you’ll end up with a bread roll pretending to be a bagel.
The Final Proof
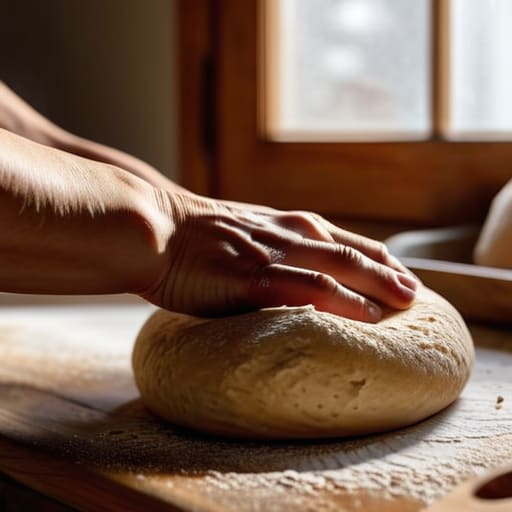
At the end of the day, a proper bagel isn’t built on a fancy gadget or a trick from a cookbook; it is built on the relationship between your hands and the dough. You have to respect the hydration, understand why that malt syrup creates that specific, chewy crust, and most importantly, you have to listen to the fermentation. If the dough feels tight and stubborn, don’t fight it—give it more time. If your kitchen is drafty, don’t blame the yeast; just find a warmer corner. Remember that we use weights because they don’t lie, and we use patience because the dough won’t be rushed just because you’re hungry.
Don’t be discouraged if your first batch looks a little lopsided or if the boil doesn’t give you that perfect, glassy sheen immediately. I spent my first few years at the bakery staring at loaves that looked more like rocks than bread, and I can tell you that every failure is just a lesson in temperature or handling. Baking is a conversation, not a command. Once you stop trying to control every single variable and start feeling the life in the dough, you’ll stop making recipes and start making bread. Now, get some flour on your hands and get to work.
Frequently Asked Questions
My bagels are coming out dense and heavy like stones instead of having that chewy, airy interior—did I overproof them or is my flour not strong enough?
It’s rarely just one thing, but let’s look at your dough first. If you’re using a standard all-purpose, it won’t have the backbone for a proper bagel; you need high-protein bread flour to hold that structure. However, if your flour is strong, you likely overproofed them. When the yeast runs out of fuel, the gas bubbles collapse, leaving you with a heavy, dense brick. Watch the tension, not the clock.
I tried boiling them, but they ended up with a tough, leathery skin rather than that thin, crackly crust; how long should they actually stay in the water?
You’re boiling them too long, dear. If you leave them in there like they’re making soup, you’ll cook the skin into something resembling a tire. You want them to just barely kiss the surface. Aim for sixty seconds per side—maybe ninety if you want a heavier, denser crust. You’re looking for that slick, gelatinized sheen, not a deep soak. Watch the dough; once it looks plump and holds its shape, pull it out.
Can I use a sourdough starter for the bagels instead of commercial yeast, or will the acidity ruin that classic New York-style chew?
You certainly can, but don’t expect that instant, massive spring you get from commercial yeast. A sourdough bagel is a different beast entirely. The acidity won’t ruin the chew—in fact, it often deepens the flavor profile—but it will change the structure. You’ll need a higher hydration (around 60-65%) to compensate for the slower fermentation, and you must be prepared to wait. It won’t be a New York bagel; it’ll be something better.