I remember a Tuesday morning, back when the flour dust was thick enough to taste, watching a young apprentice try to salvage a beautiful, high-hydration sourdough by hacking it out of a poorly greased tin with a knife. The loaf didn’t just break; it surrendered, leaving half the crumb stuck to the metal like a stubborn memory. People spend a fortune on non-stick pans or fancy silicone liners, thinking they can buy their way out of a mistake, but they’re missing the point of how to prepare a tin properly. You don’t need a gadget; you need to understand the relationship between the fat, the heat, and the surface of the metal.
I’m not here to sell you a specific brand of spray or a complicated multi-step ritual that takes more time than the proofing itself. Instead, I’m going to show you how to treat your tins with the same respect you give your starter. We’ll talk about why a simple coating of softened butter or a dusting of flour matters more than any expensive shortcut, and I’ll tell you exactly how to ensure your crust releases without losing its soul.
Mastering the Butter and Flour Technique
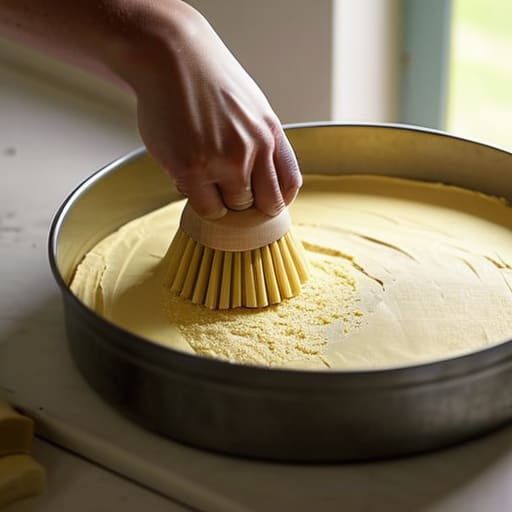
Now, if you aren’t using parchment, we need to talk about the old way—the way that actually works when you’re dealing with a delicate sponge. The butter and flour technique isn’t just some grandmotherly superstition; it’s a physical barrier. You take a bit of softened butter—not melted, mind you, or it’ll just run to the bottom—and work it into every nook and corner of the tin with a brush or even your fingertips. Once that thin, even coat is set, you dust it with flour, tap out the excess, and you’re ready. It’s the most reliable of the non-stick baking pan methods because it creates a textured surface the cake can grip without becoming a prisoner to the metal.
Don’t get me wrong, I know everyone talks about baking parchment vs silicone mats like they’re magic solutions, and they have their place. But if you’re greasing cake tins for beginners, you have to realize that parchment doesn’t protect the sides. If your batter is heavy or high in sugar, it’s going to climb those walls and grab hold. That’s why that thin layer of butter is your best friend; it ensures the cake can slide upward as it rises, rather than tearing itself apart trying to escape.
Choosing Between Baking Parchment vs Silicone Mats
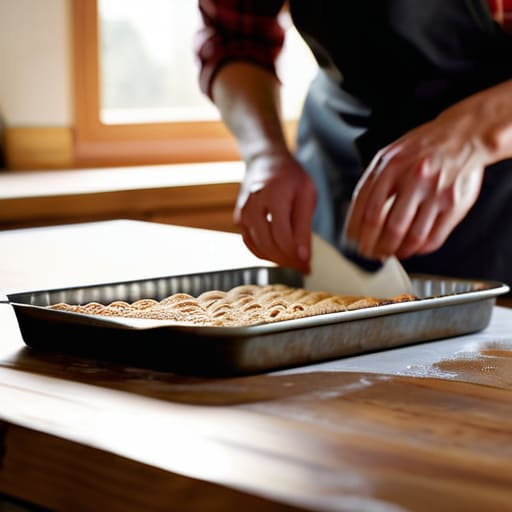
Now, you’ll see people arguing in the aisles between the parchment and the silicone mats, acting like it’s a matter of high science. It isn’t. If you’re looking for the most reliable way of preventing cake sticking when you’re dealing with a delicate sponge, parchment is your best friend. It’s cheap, it’s disposable, and it provides a physical barrier that even a clumsy hand can’t ruin. I’ve seen many a beautiful loaf or cake lost because someone relied too heavily on a mat that had lost its grip after a hundred washes.
Silicone mats are lovely for cookies or things that don’t need much height, but for serious baking, they can be temperamental. They hold heat differently, and if they aren’t perfectly flat, your dough might start to lean. When I’m weighing up baking parchment vs silicone mats, I always lean toward parchment for anything that needs to climb the walls of the tin. It gives you that peace of mind that the cake will release clean, without you having to perform surgery on the bottom of the tin just to get a slice onto the plate.
Five ways to stop fighting your tins
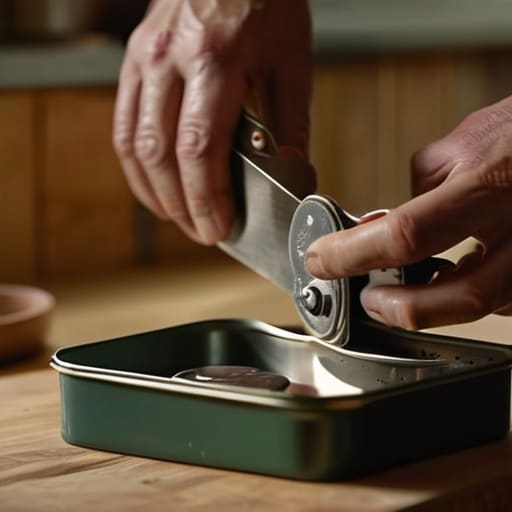
- Stop treating your tins like they’re self-cleaning; even the best heavy-duty metal needs a thorough scrub with hot water and a stiff brush before you even think about greasing it, because old, baked-on starch is just a magnet for a loaf that wants to tear.
- When you’re buttering, don’t just swipe a thin, translucent layer across the bottom and call it a day; you need a proper, even coating that reaches up the sides, or you’ll find yourself performing surgery on a crust just to get the bread out.
- If you’re using flour to dust your grease, use a tiny bit of the same flour you’re using for the dough—it sounds fussy, but it ensures the “grip” of the coating matches the chemistry of the bread, preventing that weird, gummy residue.
- Shake the excess flour out aggressively; I mean really give it a good rattle over the sink, because if you leave too much loose powder in the corners, you aren’t making a loaf, you’re making a loaf with a gritty, unappetizing coating of raw dust.
- Check your tins for “warping” by setting them on a flat counter; if a tin wobbles like a drunk sailor, your heat distribution will be uneven and your bread will rise lopsided, no matter how much butter you used to prepare it.
The Baker's Final Checklist
Don’t trust a thin smear of oil; if you’re using butter and flour, coat the tin until it’s a proper, even landscape, or you’ll be picking at a ruined crust with a knife later.
Choose your liner based on the job—parchment is your best friend for high-moisture loaves that need to breathe, while silicone is for the quick, easy bakes where you don’t want to fuss.
Remember that a tin is just a vessel, but if it’s cold or poorly prepared, it will fight your dough; treat the preparation with as much respect as the fermentation itself.
The Final Fold
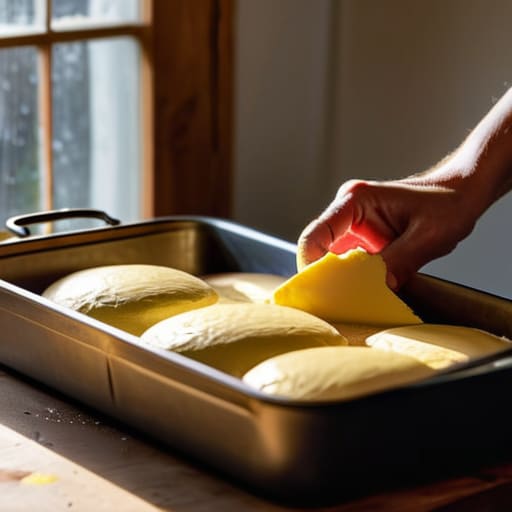
At the end of the day, whether you are reaching for a heavy block of butter to coat a tin or laying down a sheet of parchment to save your sanity, you are doing more than just prepping equipment; you are setting the stage for the bake. Remember that a poorly prepared tin is a thief—it steals your time, your effort, and that beautiful, hard-won crust you spent hours nurturing. Don’t be lazy with the grease, and don’t assume a thin smear of oil is enough for a heavy, high-hydration dough. If you treat your tins with the same respect you give your sourdough starter, you won’t find yourself standing over a sink at midnight, scrubbing away the remains of a failed loaf that refused to let go.
Baking is a series of small, quiet decisions that culminate in that first, glorious crackle when the loaf leaves the oven. Most people think the magic happens in the oven, but I know it happens in the preparation. It is in the way you grease the corners and the way you settle the dough into its bed. Don’t rush these steps just to get to the “fun” part. Patience is the foundation of everything we do here, and that includes the mundane work of prepping your tins. Once you stop viewing these tasks as chores and start seeing them as part of the craft, you’ll find that your bread rewards you with a grace that no recipe can provide.
Frequently Asked Questions
If I'm using a high-hydration dough, is greasing the tin enough, or am I asking for trouble if I don't use parchment?
If you’re working with a high-hydration dough—say, anything north of 75%—greasing the tin is just a polite suggestion, not a guarantee. You’re asking for a fight. High-moisture doughs love to bond with the metal, and once that crust sets, it’s not coming out without a struggle. Use parchment. It gives you that mechanical release that grease alone can’t provide when the dough is particularly sticky or temperamental. Don’t risk your morning fighting a losing battle.
Does it actually matter if the tin is room temperature, or can I pull it straight from the cupboard and start baking?
Pull it straight from the cupboard, darling; I don’t care if it’s been sitting in a dark corner for a decade. The tin’s temperature won’t change your life, but the dough’s temperature certainly will. If your kitchen is a drafty cellar, a cold tin might shock your dough, but for most of you, it’s a non-issue. Focus your energy on the hydration and the warmth of your hands instead. The tin is just a vessel.
When you say "grease the tin well," are we talking a thin film or do I need to be generous to account for the sugar in the dough?
If there’s sugar in that dough, you’d better be generous. Sugar is a bit of a rogue; as it melts, it turns into a sticky caramel that wants to bond with your tin like it’s part of the family. A thin film won’t cut it. I want to see a proper, even coating of butter—not just a smear. You want a barrier, not a suggestion, or you’ll be scraping at the metal come morning.