If you’ve spent your afternoon staring at a sticky, unmanageable mess of dough and wondering why your kitchen doesn’t look like a professional studio, stop blaming the recipe. Most people think they need fancy equipment or a degree to master the basics, but they’re wrong; learning how to make your first loaf isn’t about buying the right Dutch oven, it’s about learning to listen to the flour. I spent thirty-four years starting my days at four in the morning, and if there is one thing those wood-fired ovens taught me, it’s that a recipe is just a suggestion—the real magic is in the temperature of your hands and the patience in your bones.
In this guide, I’m stripping away the nonsense and the measuring cups that lie to you. I won’t give you a list of expensive gadgets you don’t need; instead, I’m going to teach you how to use weights and percentages to find your rhythm. We are going to talk about hydration, why your dough might be feeling stubbornly tight, and how to tell when the fermentation is actually done. By the time we’re finished, you won’t just be following instructions—you’ll actually understand what your bread is trying to tell you.
Guide Overview
Tools & Supplies
- Large mixing bowl for combining ingredients
- Measuring cups and spoons for accuracy
- Oven for baking the loaf
- All-purpose flour 500g
- Warm water 350ml
- Active dry yeast 7g
- Salt 10g
Step-by-Step Instructions
- 1. First, we need to get our weights in order. Forget everything you think you know about “a cup of flour”—it’s a lie that changes every time you scoop. For this loaf, we are working with a 75% hydration dough. You’ll need 500g of strong bread flour, 375g of room-temperature water, 10g of fine sea salt, and 5g of instant yeast. If your water is too cold, the yeast will sleep; if it’s too hot, you’ll kill it. It should feel just like a lukewarm bath on your wrist.
- 2. Mix your flour and yeast in a large bowl, then pour in the water. Use your hand—not a spoon—to mix it until there is no dry flour left. It’s going to look like a shaggy, messy, unappealing lump of paste, and that is perfectly fine. Don’t you dare add more flour just because it looks sticky; sticky is where the flavor lives. Cover the bowl with a damp cloth and let it rest for thirty minutes to let the flour fully hydrate.
- 3. Now we begin the folds. Instead of traditional kneading, which can be far too rough for a beginner, we are going to use the “stretch and fold” method. Reach under one side of the dough, pull it up high, and fold it over the center. Rotate the bowl and do this four times. You’ll feel the dough go from a loose puddle to something with a bit of backbone. Do this every thirty minutes for the next two hours; you are building strength, not fighting the dough.
- 4. After your last fold, the dough should feel aerated and springy. Now, we let it undergo its bulk fermentation. This is the hardest part for people because you can’t see much happening, but patience is your primary ingredient here. Leave it in a warm spot until it has grown by about half its size and looks bubbly on the surface. If your kitchen is drafty, put it inside the oven with just the light turned on.
- 5. Gently tip the dough onto a lightly floured surface. Do not punch it down like you’re in a school cafeteria; we want to preserve those precious air bubbles we worked so hard to create. Fold the edges into the center to create tension, then flip it over so the seam is on the bottom. Using your hands, pull the dough toward you across the counter to create a smooth, taut skin on top.
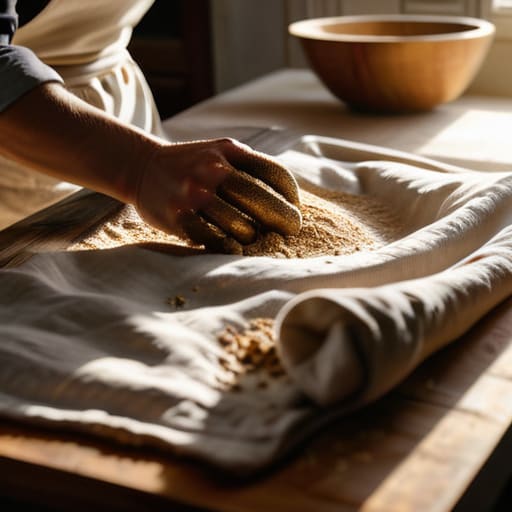
- 6. Place your shaped dough into a proofing basket or a bowl lined with a heavily floured tea towel. Let it rest for another forty-five minutes. While that’s happening, get your oven hot—really hot. You want it at 230°C (450°F). If you have a Dutch oven, put it in the oven while it preheats. A heavy pot is a baker’s best friend because it traps the steam escaping from the bread, which is what gives you that professional, crispy crust.
- 7. Carefully tip the dough into your hot pot (or onto a baking tray) and score the top with a sharp knife or a razor. This isn’t just for decoration; it tells the bread exactly where to expand so it doesn’t burst at the seams. Bake with the lid on for 20 minutes, then remove the lid and bake for another 20 to 25 minutes until the crust is a deep, burnished gold.
- 8. The final, most difficult step: you must wait. I know it smells heavenly, but if you cut into that loaf while it’s still steaming, the inside will turn gummy and lose its structure. The bread is still cooking itself from the inside out. Let it sit on a wire rack for at least one hour before you even think about slicing into it.
The Essential Baking Ingredients That Actually Matter
Now, don’t go running to the supermarket to buy every fancy “artisan” bag you see on the shelf. For your first go, you really only need four things: flour, water, salt, and yeast. But if you want to understand the soul of your loaf, you have to understand your flour. Most beginners grab a generic all-purpose, but if you can find a good strong bread flour with a higher protein content, do it. That protein is what builds the structure; it’s the scaffolding that holds the air bubbles in place. If your flour is weak, your bread will be a flat, sad pancake, no matter how much you fuss over your kneading dough techniques.
As for the rest, please, for the love of all that is holy, use salt. I see people treating it like an optional seasoning, but salt isn’t just for flavor—it controls the yeast and strengthens the gluten. And if you’re looking for an easy yeast bread recipe, don’t go chasing complex sourdough starters just yet. Use a simple instant yeast, but pay attention to your water temperature. If it’s too hot, you’ll kill the life right out of it; if it’s too cold, your dough will sit there like a stone for hours.
Mastering Beginner Bread Making Steps Without the Rush
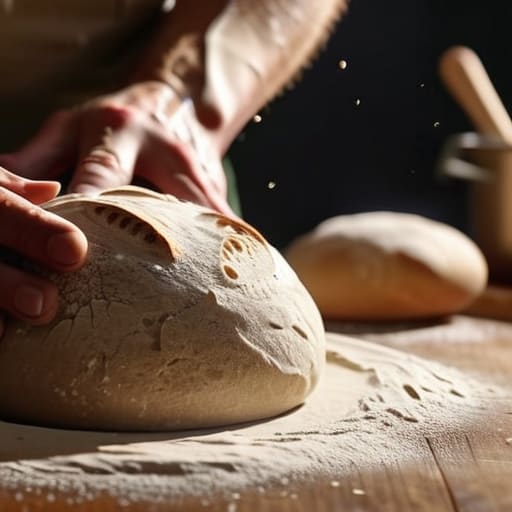
The biggest mistake I see people make when they start is trying to race the clock. You’ll see a video where someone punches a dough down after twenty minutes and it looks perfect, but that’s a lie. If you want to master the beginner bread making steps, you have to learn to ignore your timer and start watching the dough instead. If the dough feels tight, cold, or simply won’t stretch without snapping back like a rubber band, it isn’t ready. It doesn’t matter what the recipe says; the dough is the boss of you, not the other way around.
When you get to the stage of proofing bread basics, remember that temperature is your invisible ingredient. A warm kitchen will make your yeast dance, but a drafty countertop will leave you with a heavy, dense brick. If you find yourself staring at a flat piece of dough wondering where the life went, don’t panic. Most homemade bread troubleshooting comes down to one of two things: you either rushed the fermentation or your water was a bit too hot and startled the yeast. Just give it a little more warmth and a lot more time.
Five Things Your Recipe Won't Tell You
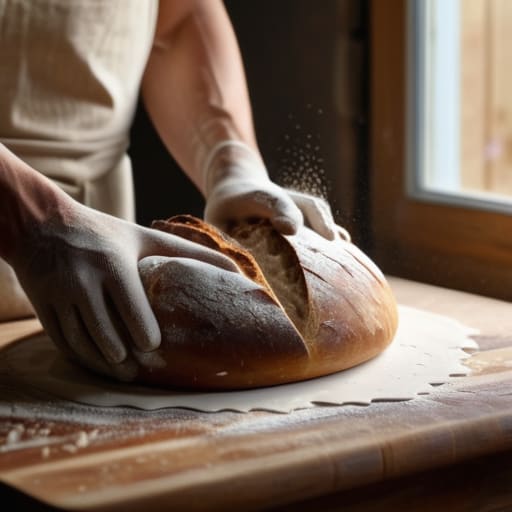
- Stop looking at the clock and start looking at the dough. A recipe might say “rise for two hours,” but if your kitchen is drafty or it’s a rainy Tuesday, that dough might need three. Don’t be a slave to the timer; wait until the dough has actually doubled and feels airy, not until the minute hand hits the mark.
- Watch your water temperature like a hawk. If you’re using lukewarm water to “speed things up,” you’re likely just stressing the yeast or killing it entirely. I always aim for water that feels like a comfortable bath—not hot, just gentle. If the dough feels sluggish, your water was likely too cold; if it smells sour too fast, it was too hot.
- Learn the language of hydration. If a recipe calls for 70% hydration, don’t go hunting for a cup measurement. Use your scale. A dough at 65% will feel like a tight, bouncy ball, while 75% will feel like a sticky, living thing that wants to cling to your fingers. You can’t learn how to handle the dough if you don’t know how much water is actually in it.
- Be gentle with the gas. When you’re folding or shaping that first loaf, remember that those little bubbles you see are the hard work of the yeast. If you punch the dough down like you’re angry at it, you’re just throwing away the lightness you spent hours building. Treat it with a bit of respect, and it will reward you with a better crumb.
- The oven is a living thing, not a set box. Most home ovens are temperamental beasts that fluctuate more than a weather vane in a storm. If your crust isn’t browning, your oven might be running cool, or you might need a bit of steam. Don’t trust the digital display blindly; trust the color of the crust and the hollow sound it makes when you tap the bottom.
Three Things to Carry in Your Pocket
Stop trusting the measuring cups; if you aren’t using a scale to get your weights exact, you aren’t really baking, you’re just guessing.
Respect the temperature of your kitchen and the stillness of your dough, because rushing a rise is the quickest way to end up with a heavy, lifeless brick.
Learn to read the dough with your hands rather than your eyes, feeling for that window of elasticity and softness that tells you the gluten is finally behaving.
The Loaf is Only the Beginning
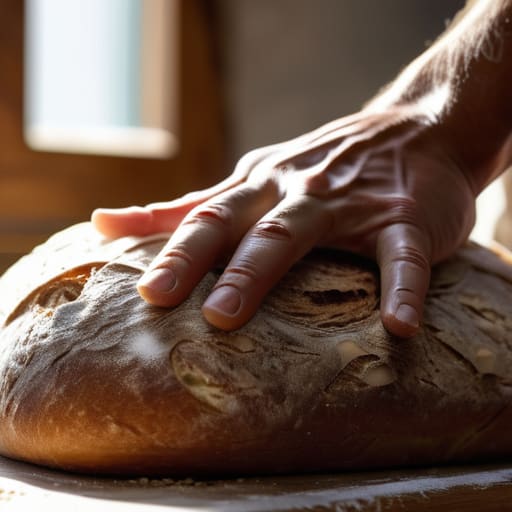
If you’ve followed the weights and kept an eye on your temperatures, you’re already ahead of most people I see in the supermarket aisles. Remember that success isn’t found in a perfect, symmetrical shape, but in the way your dough responded to the room and your own touch. You’ve learned that hydration isn’t just a number on a page, but a feeling in your fingertips, and that the salt isn’t just for flavor, but for structure. If your first loaf comes out a bit flat or the crust is a little thicker than you hoped, don’t go throwing your flour in the bin. It wasn’t a bad recipe; it was likely just a cold kitchen or a bit of a heavy hand. Trust the process more than the clock, and always listen to what the dough is telling you.
There is a certain quiet magic in pulling something warm and living from your own oven, something that didn’t come from a plastic bag or a factory line. It takes a bit of grit to stand there at a counter, flour on your apron and dough under your nails, but that is where the real work happens. Baking isn’t about perfection; it is about the rhythm of patience and the willingness to try again when the crumb isn’t quite right. So, slice into that loaf, spread a bit of butter on it while it’s still steaming, and realize that you’ve just mastered the most fundamental skill there is. You’ve stopped following instructions and started actually baking.
Frequently Asked Questions
My dough feels like a sticky, unmanageable mess instead of a smooth ball—did I use too much water or did I just not knead it long enough?
Don’t panic; you haven’t ruined it. You’re likely looking at a high-hydration dough—probably sitting around 75%—and expecting it to behave like a stiff bagel dough. It won’t. If it’s sticky, you probably haven’t developed the gluten structure yet through enough folds or kneading. Stop trying to fight it with flour; that just makes heavy, dense bread. Give it a twenty-minute rest, then try some gentle stretches. Let the dough find itself.
Why did my loaf come out dense and heavy like a brick even though I followed the timings perfectly?
You followed the timings, but did you follow the dough? Timings are just suggestions; dough doesn’t have a watch, it has a temperament. If your kitchen was a few degrees too chilly, those hours weren’t enough to get the fermentation moving. Or perhaps you were too heavy-handed during the shaping, knocking the life out of those precious bubbles. A brick happens when the gas escapes or never forms. Trust your hands, not the clock.
I noticed my kitchen is quite chilly in the mornings; how much more time should I give my dough to rise if the room isn't warm?
Don’t go looking for a magic number on a timer; a cold kitchen doesn’t care about your schedule. If your countertop feels chilly, your yeast is simply moving in slow motion. Instead of watching the clock, watch the dough. It should look aerated and feel pillowy, not just “doubled in size.” If it’s sluggish, give it an extra hour or two, or move it to the oven with the light turned on.