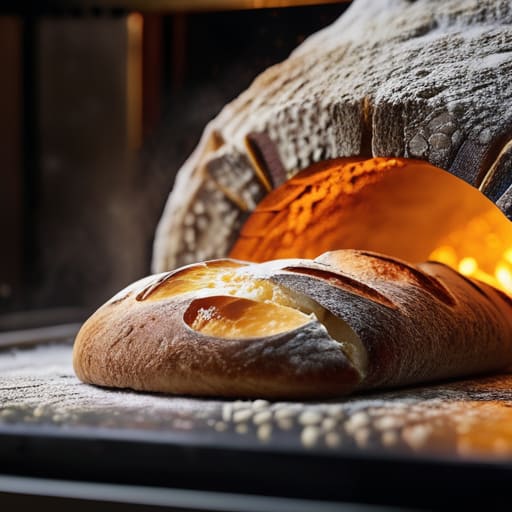
If you’ve spent any time scrolling through your phone lately, you’ve likely been bombarded with some glossy, over-produced “complete guide to sourdough” that promises perfection if you just buy a specific ceramic jar or a designer proofing basket. Let me tell you something: your dough doesn’t care about your aesthetic, and it certainly doesn’t care about your expensive gadgets. Most of these guides treat baking like a chemistry experiment gone wrong, leaving you staring at a flat, sour brick and wondering which “essential” tool you missed. They focus on the look of the crust in a photograph, but they completely ignore the fact that your kitchen is ten degrees too cold or that you’re being far too aggressive with your folds.
I’m not here to sell you a lifestyle or a piece of equipment; I’m here to teach you how to read the dough with your hands. In this guide, we are going to strip away the nonsense and focus on the only things that actually matter: weights, percentages, and the patience required to let fermentation do its work. I’ll show you why a 75% hydration dough feels different than a 65%, and why your scale is your only true friend in the kitchen. We aren’t chasing a picture; we are chasing the bread.
The Wild Yeast Fermentation Process and the Gift of Time
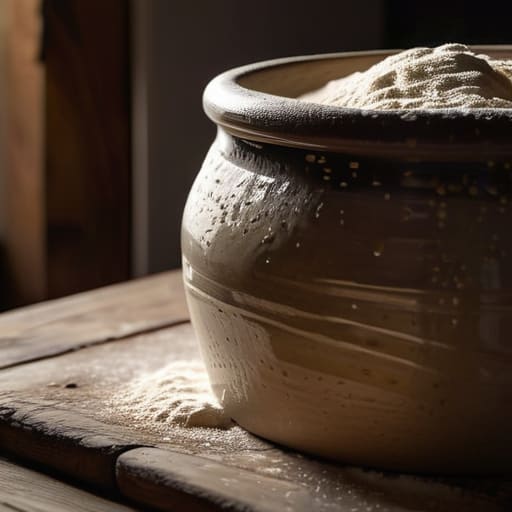
People treat the wild yeast fermentation process like it’s some sort of magic trick you can perform if you just buy the right jar, but it isn’t. It’s a conversation between the flour, the water, and the air in your kitchen. When you’re maintaining a sourdough starter, you aren’t just feeding microbes; you are cultivating a living rhythm. You’ll notice that on a rainy, heavy afternoon, the starter seems sluggish, while a bright, warm morning makes it nearly jump out of the crock. You can’t force that speed. If you try to rush the bulk fermentation because you’re hungry, you’ll end up with a dense, sour brick that tastes of nothing but regret.
The real secret is learning to read the bubbles and the scent rather than checking a timer. I’ve spent decades watching dough transform, and I can tell you that patience is the only ingredient you can’t cheat. You have to wait for that specific, slightly tangy aroma to tell you the yeast has done its work. It’s about watching the dough expand and feel light, almost aerated, before you even think about shaping it.
Understanding Hydration Levels Beyond the Lie of the Cup
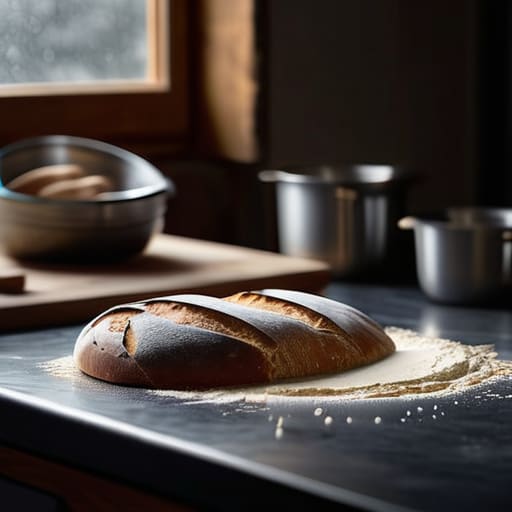
If you’re still measuring your water in a plastic cup, please, do yourself a favor and stop. A cup is a liar; it doesn’t care if your flour is packed tight or sitting loose, and it certainly doesn’t account for the humidity in your kitchen. To understand sourdough hydration levels, you have to stop thinking in volumes and start thinking in percentages. I always tell my students: the flour is your constant, and the water is your variable. If a recipe calls for 75% hydration, it means for every gram of flour, you are adding 0.75 grams of water. It sounds clinical, I know, but it is the only way to achieve consistency when you aren’t standing over a wood-fired oven at four in the morning.
High hydration isn’t a badge of honor; it’s a temperament. A 70% dough is sturdy, cooperative, and forgiving—it holds its shape like a well-trained pup. But once you push into the 80% range, the dough becomes a living, breathing thing that wants to flow. It becomes tacky and alive under your hands, demanding more strength during your folds. You aren’t just mixing ingredients; you are managing a relationship between weight and tension. If the dough feels like it’s fighting you, don’t blame the recipe—check your math and feel the temperature.
Five Truths They Don't Put in the Glossy Cookbooks
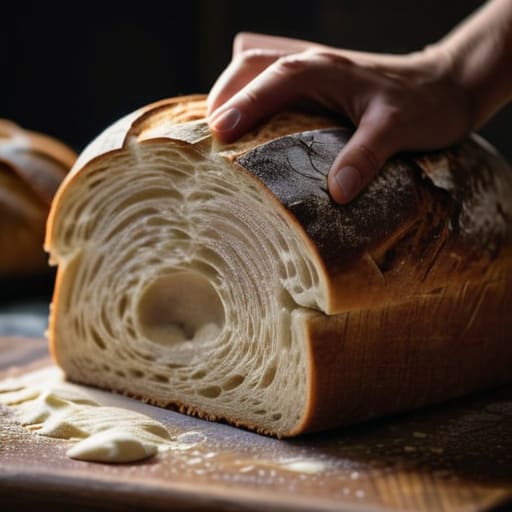
- Stop watching the clock and start watching the dough. A recipe might say “ferment for four hours,” but if your kitchen is sitting at sixty degrees, that dough isn’t going anywhere. You have to learn to look for the bubbles, the slight swell, and that specific, aerated lightness that tells you the yeast is actually awake.
- Respect your hands, but don’t be heavy-handed. I see so many beginners treating dough like a piece of clay to be sculpted, but you’re actually managing a living thing. If you’re too aggressive during your folds, you’ll knock the life right out of it. You want to guide the structure, not punish it.
- Temperature is the invisible ingredient. If your water is too cold, your fermentation will stall; if it’s too hot, you’ll scald your starter and kill the very thing you’re trying to grow. I always aim for a dough temperature around 78% of my target, but you’ll learn to feel that warmth in your palms long before you trust a thermometer.
- The “Windowpane Test” isn’t a suggestion, it’s a requirement. Before you even think about letting that dough rest, you need to stretch a small piece thin enough to see light through it without it tearing. If it tears immediately, your gluten hasn’t caught up to your hydration yet. Don’t rush it.
- Learn to love your failures. If your loaf comes out of the oven like a dense, flat brick, don’t blame the flour. Ask yourself: Was the oven too wet? Did I degas it too much during shaping? Was the starter truly at its peak? A failed loaf is just a lesson written in crust and crumb.
What to Carry With You to the Bench
Throw away your measuring cups and buy a digital scale; if you aren’t working in weights and percentages, you aren’t baking, you’re guessing.
Stop obsessing over the “perfect” crumb in a photo and start paying attention to the temperature of your kitchen and the resistance of your dough.
Respect the clock, but never let it rule you—the dough will tell you when it’s ready through its texture and smell, not by what a timer says.
The Baker’s Hand and the Final Loaf
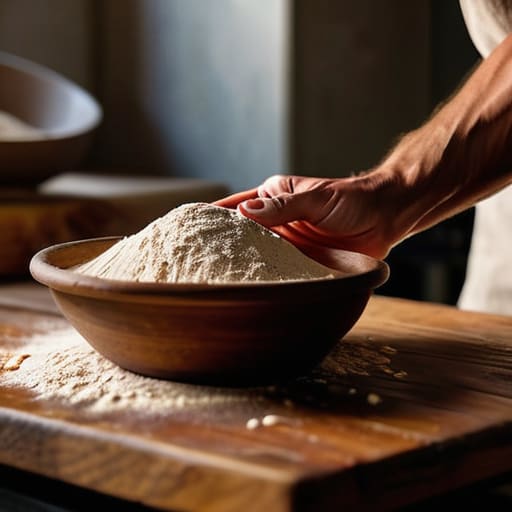
If you’ve followed me this far, you should have a scale in your hand and a bit of skepticism toward those shiny, perfect photos on your screen. We’ve talked about why the wild yeast needs its time, why you must stop using cups and start calculating your hydration percentages, and why your kitchen temperature matters just as much as your flour quality. Remember, if your loaf comes out dense or flat, don’t go hunting for a new recipe; instead, look at your handling and your environment. Was the dough rushed? Was the water too cold? Was your touch too heavy-handed? The math gives you the framework, but your senses provide the truth.
At the end of the day, sourdough is a conversation between you and the living things in your bowl. There will be days when the starter is sluggish and the dough feels like a stubborn, sticky mess that refuses to hold its shape, and there will be days when the crumb is airy and the crust sings when it hits the cooling rack. Don’t let the failures discourage you; they are just the dough telling you what it needs. Patience is the only ingredient you cannot buy, so settle in, trust your hands, and let the process unfold at its own pace. Now, get your hands floury and go see what you can create.
Frequently Asked Questions
My kitchen is freezing most of the year; how do I keep my starter active and my dough from stalling without a professional proofing box?
Don’t let a cold kitchen fool you into thinking your dough is dead; it’s just sleeping. If your starter is sluggish, move it to the top of the fridge or near a warm appliance—just avoid direct heat. For the dough, stop fighting the air. Use lukewarm water (around 27°C) to compensate for the chill, and find a draft-free nook, like inside a turned-off oven with the light on. Heat is a tool, not a luxury.
I’m getting plenty of bubbles in my starter, but why does my dough feel like a heavy, lifeless brick instead of something airy and elastic?
If your starter is bubbling but your dough feels like a brick, you haven’t missed the yeast; you’ve likely missed the window. A lively starter is just potential energy. If you let that dough sit too long in a cold kitchen, or if you’ve been too aggressive with your handling, you’ve either exhausted the strength of the gluten or let the acid break it down. It’s not a lack of bubbles; it’s a lack of structure.
How can I tell if I've over-handled the dough during shaping if I'm not using a timer, just my hands?
If you’ve been too rough, the dough will tell you. You’ll feel it go from a lively, elastic spring to something that feels strangely slack or “soupy” under your palms. If you try to tension it and it just collapses or tears like wet tissue paper instead of holding its shape, you’ve worked the life right out of it. Stop fighting it. Let it rest; it needs to find its strength again.