I remember a Tuesday morning about fifteen years ago, standing in my shop with a tray of almond croissants that smelled like heaven, only to have a mother walk in with eyes full of tears because her son couldn’t touch a single thing on my cooling racks. It was a sharp, stinging realization that all the skill in the world doesn’t mean a thing if you aren’t accounting for the people sitting at your table. Most people think a complete guide to allergy aware baking means buying a dozen expensive, pre-packaged “free-from” mixes that taste like sweetened cardboard, but they’ve got it all wrong.
I’m not here to sell you on fancy, processed substitutes that ruin the crumb of your bread or leave your cakes feeling like wet sand. Instead, I’m going to show you how to respect the science of substitution by focusing on what actually matters: ratios, hydration, and the way different flours behave under your hands. We are going to look at this through the lens of a baker, not a chemist, so you can create treats that are safe, delicious, and actually worth eating.
Mastering Cross Contamination Prevention in the Kitchen
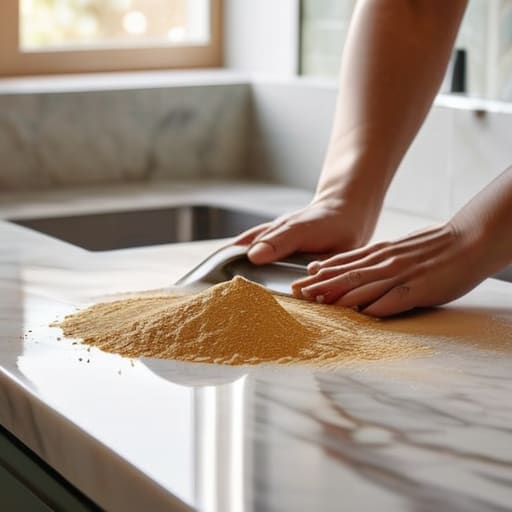
You don’t need a laboratory to manage cross-contamination prevention in the kitchen, but you do need a bit of discipline and a clean workspace. In my bakery, we had zones, and even now in my home kitchen, I treat my gluten-free flour blends as if they were precious gold. If you are baking for someone with a severe allergy, you cannot simply wipe a bench with a damp cloth and call it a day. You have to scrub the surfaces and ensure every utensil—every whisk, every spatula, every wooden spoon—is either dedicated to that specific bake or has been scrubbed until it’s spotless. Wood is a tricky beast; it’s porous, and it holds onto oils and proteins like a grudge. If you’re serious about safety, get some dedicated silicone tools that won’t trap the old bits.
It isn’t just about the big spills, either. It’s the invisible dusting of flour that hangs in the air or the stray crumb that migrates from one bowl to another. I tell my neighbors: treat your ingredients with respect. When you’re reading food ingredient labels, don’t just skim for the big stuff; look for the “may contain” warnings that manufacturers tuck away in the fine print. Precision isn’t just for your weights and percentages; it’s for your environment, too.
The Truth Found in Reading Food Ingredient Labels
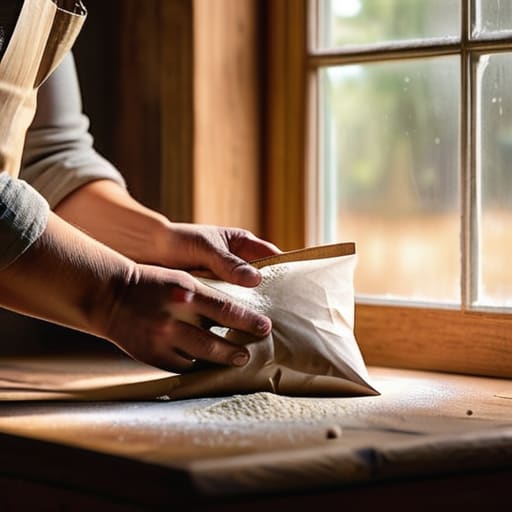
You can’t just skim a label like you’re reading a grocery list; you have to interrogate it. I’ve seen too many people grab a bag of “plain” flour only to find it was processed on equipment shared with wheat or soy, and that’s where the trouble starts. When you are reading food ingredient labels, you aren’t just looking for the big names like “milk” or “peanuts.” You are looking for the clever ones—the maltodextrin, the lecithin, the hidden derivatives that slip through the cracks. If a label says “may contain traces of,” that is a warning, not a suggestion.
It gets even more complicated when you start experimenting with specialized swaps. If you are reaching for gluten-free flour blends or trying out various egg substitutes in baking, those packaged mixes often come with their own hidden additives to mimic the texture of real grain. Don’t let the marketing on the front of the bag fool you. I always tell my apprentices: if you don’t know exactly what is in that powder, you don’t know how it’s going to behave when it hits the water. Trust the math, but always verify the source.
The Baker's Intuition: Five Rules for Staying Safe When Swapping Ingredients
- Trust your scales, not your eyes. When you’re swapping wheat for a gluten-free blend, you aren’t just replacing a volume; you’re changing the entire structural integrity of the loaf. A cup of almond flour is a different beast entirely than a cup of bread flour, so always weigh your replacements to ensure your hydration percentages don’t leave you with a puddle of batter instead of a dough.
- Watch your tools like a hawk. I’ve seen too many people think a clean wooden spoon is enough, but wood is porous—it holds onto oils and proteins like a sponge. If you’re baking for someone with a severe nut allergy, get a dedicated set of silicone spatulas and metal whisks; they don’t hide the ghosts of your last bake in their grain.
- Understand the “Hidden” moisture. Many allergy-friendly substitutes, like flax eggs or various starches, absorb water differently than the real thing. If you swap dairy for a nut-based milk, your dough might feel too slack or too stiff. Don’t just dump in more liquid because the recipe says so; feel the dough between your fingers to see if it has the tension it needs.
- Beware the “May Contain” trap. A label that says “processed in a facility that also handles wheat” isn’t just a suggestion; it’s a reality. When you’re buying your bulk flour or your chocolate chips, you have to be as disciplined as I was at four in the morning—if the source isn’t certain, the ingredient isn’t safe.
- Respect the temperature of your fats. If you are replacing butter with a vegan or soy-based alternative, remember that fat dictates how a dough handles. A room-temperature oil will behave very differently than a cold, solid fat, and that change can throw off your entire proofing time. If the dough feels greasy rather than supple, you’ve likely misjudged the fat’s impact on the hydration.
Three Things to Carry in Your Baking Mind
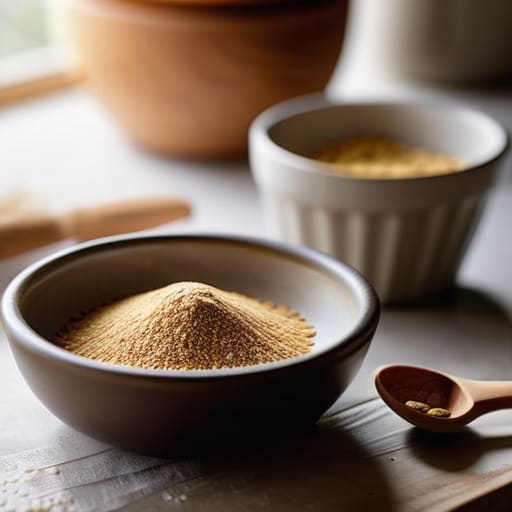
Forget the “free-from” labels for a moment and look at the chemistry; if you are swapping out wheat for a gluten-free blend, you aren’t just changing a flour, you are changing the entire hydration profile of your dough, so be prepared to adjust your water by weight until it feels right under your palms.
Treat your workspace like a clean slate every single time, because a single stray crumb of rye or a dusting of flour from a previous batch is enough to ruin everything, and no amount of scrubbing can fix a loaf that was compromised before it even hit the oven.
Trust your hands over the printed word, especially when navigating new ingredients; if a recipe calls for an egg substitute and the dough feels slack and lifeless, don’t just keep going because the book says so—add a little more structure and give it the time it needs to settle.
The Heart of the Matter
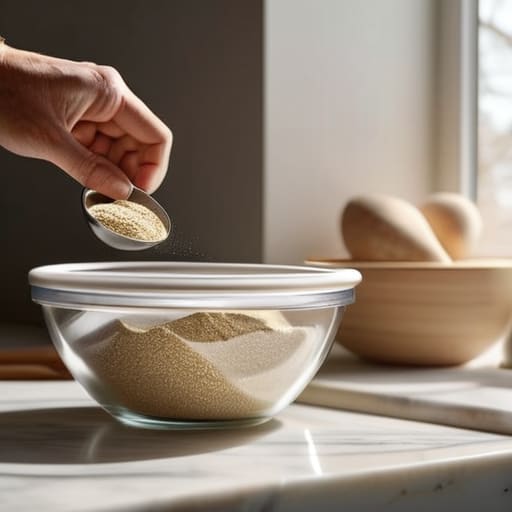
We’ve covered a lot of ground, from the meticulous scrubbing of your workspace to the eagle-eyed scrutiny of every single label that comes through your door. Remember, allergy-aware baking isn’t about following a checklist to be perfect; it’s about understanding that precision is your best defense. Whether you are managing hydration levels in a gluten-free dough or ensuring your wooden spoons haven’t harbored traces of old flour, the goal is the same: consistency. You cannot afford to guess when a life is on the line, so treat your measurements and your cleaning rituals with the same unwavering respect you would give a sourdough starter that’s been in the family for decades.
At the end of the day, baking is an act of love, and sometimes that love requires a bit more vigilance than we might like. Don’t let the fear of making a mistake keep you away from the oven, but don’t let a moment of laziness bypass your safety protocols either. If you listen to your ingredients and respect the process, you’ll find that you can create something truly magnificent that everyone at the table can enjoy. Baking is about connection, and there is nothing quite as rewarding as seeing someone take a bite of something handmade, knowing they are safe, nourished, and completely cared for.
Frequently Asked Questions
If I'm substituting a heavy flour like almond for wheat to avoid gluten, how do I adjust my hydration percentage so the dough doesn't turn into a puddle?
Almond flour is a different beast entirely; it’s fat and protein rather than starch and structure. If you try to treat it like wheat, you’ll end up with a greasy puddle. You have to drop your hydration significantly. While a wheat dough might sit happily at 70% hydration, almond flour often needs to stay closer to 40% or 50% to hold any semblance of shape. Don’t trust the math—feel for a thick, tacky paste.
Can I safely use my old wooden rolling pins and silicone spatulas for allergy-safe baking, or do those porous surfaces hold onto traces of old ingredients?
Now, listen closely, because this is where the “clean” kitchen meets the reality of the grain. Your silicone spatulas are fine; they’re non-porous and can be scrubbed well enough to satisfy most. But that old wooden rolling pin? That’s a different story. Wood is alive; it has pores that breathe and hold onto oils and fine dust. If you’ve been rolling flour with gluten or nut oils for years, those traces are tucked deep inside. For true allergy safety, I’d leave the wood for your regular loaves and get yourself a stainless steel or marble pin. It’s easier to clean, and in baking, what you can’t see is exactly what gets you.
When a recipe calls for a specific fat like butter, what’s the best way to swap it for a plant-based alternative without losing the way the crumb feels in your hands?
You can’t just swap butter for oil and expect the same soul in your bread. Oil is liquid at room temperature, so it creates a moist, open crumb, but it lacks the structural “snap” of solid fat. If you want that tight, velvety crumb, use a solid plant-based fat—like a high-quality coconut oil or a dedicated vegan block—at the same temperature the recipe calls for. Watch your hydration; plant fats behave differently under your palms.