I spent thirty-four years watching people walk into my shop, eyeing the pastry cases with a mix of longing and dread, usually because they’d tried to follow some overcomplicated, ten-step recipe online that promised a “gourmet experience” but delivered nothing but a greasy, crumbling mess. Most of those glossy websites make it sound like you need a laboratory of specialized equipment and a degree in chemistry just to figure out how to make a tart that doesn’t shatter the moment a fork touches it. They focus on the decorations—the shiny glazes and the perfect fruit arrangements—while completely ignoring the fact that if your butter is too warm or your hands are too heavy-handed, all the berries in the world won’t save you from a soggy, pathetic bottom.
I’m not here to sell you a dream or a list of expensive gadgets you’ll only use once. I’m going to show you how to build a crust that actually holds its shape, using weights and simple physics rather than guesswork and “cups.” We are going to talk about the temperature of your fingertips and the exact moment the dough feels right, because once you understand the soul of the pastry, you won’t need a recipe to tell you when you’ve succeeded.
Mastering Shortcrust Pastry Techniques Through Weight and Temperature
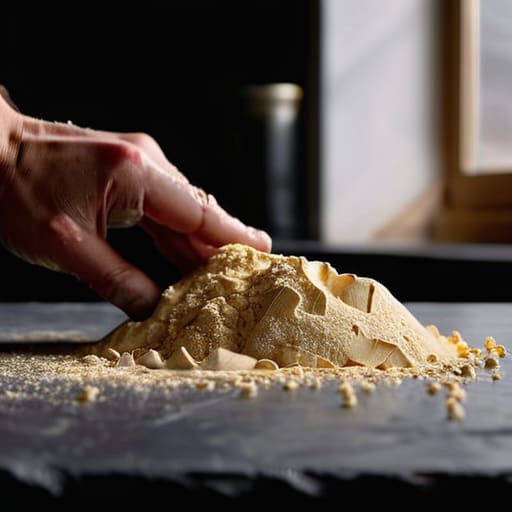
If you want a crust that actually shatters when the fork hits it, you have to stop thinking in volume and start thinking in math. I always work with a 100% flour base, 50% fat, and roughly 30% water by weight. If you’re using cups, you’re guessing, and guessing is how you end up with a leaden, greasy mess. But the math is only half the battle; the real work is in the temperature of your hands. If your kitchen is warm or you’ve been kneading that dough like it owes you money, the butter will melt into the flour before it ever sees the oven. You aren’t looking for a smooth, elastic ball like bread; you want a crumbly, sandy texture that holds together just enough to be handled.
Once you’ve rolled it out, don’t rush straight to the oven. Part of my favorite shortcrust pastry techniques involves a long rest in the fridge—at least an hour—to let the gluten relax and the moisture even out. When you finally get to the blind baking tips stage, remember that weights matter here too. Use heavy ceramic weights or even dried beans to keep those walls from collapsing. You want a shell that is structurally sound enough to hold sweet custard fillings without turning into a soggy sponge.
Blind Baking Tips for a Crust That Holds Its Promise
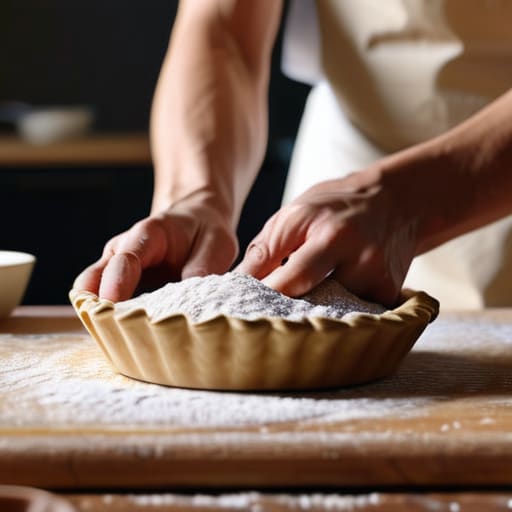
Now, listen closely, because this is where most people lose their nerve. You’ve spent an hour rolling out that dough, and now you’re terrified it’ll bubble up like a balloon or turn into a soggy puddle the moment you pour in your filling. The secret to successful blind baking tips isn’t found in a fancy gadget; it’s about managing the steam. I always line my shells with parchment that fits snugly—no excess flapping around—and I weigh down my beans or ceramic weights heavily. If you don’t weigh it down properly, the heat will push the base upward, leaving you with a hollow, uneven shell that won’t hold your custard.
Once the weights come out, don’t just pull the tray from the oven and call it a day. That’s a mistake that leads to a collapsed floor. Leave the shell in the turned-off oven with the door ajar for a few minutes. You want to dry out the surface until it feels sturdy and matte to a light touch. This extra bit of dehydration is what ensures your fruit tart assembly goes smoothly later, preventing that dreaded “soggy bottom” that ruins even the best ingredients.
The Baker’s Nuances: Five Ways to Save Your Tart Before It Hits the Oven
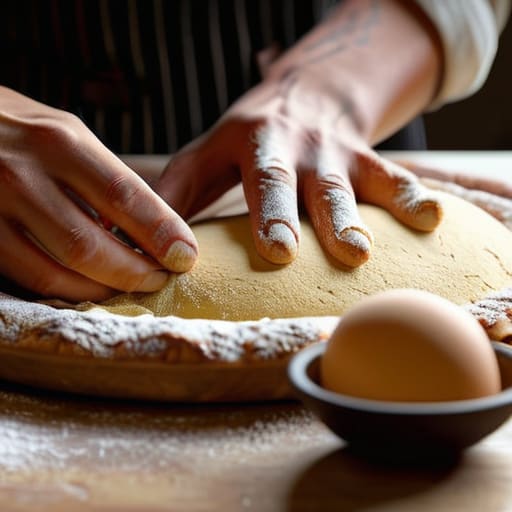
- Trust your skin, not your eyes. When you’re working that pastry, stop looking for a specific color or texture and start feeling for the temperature. If the dough starts feeling tacky or soft under your palms, it’s getting too warm. Stop. Put it in the fridge for twenty minutes. If you keep pushing when the fat is melting, you aren’t making pastry; you’re making shortbread, and a tart needs structure, not just crumbs.
- The hydration of your filling is everything. Whether it’s a custard or a fruit compote, I want to know the ratio. A filling that is too wet will seep into the microscopic cracks of your crust, turning a crisp edge into a soggy, weeping mess. If your fruit is particularly juicy, macerate it first and drain the excess; don’t let the recipe dictate the moisture, let the fruit tell you what it’s capable of.
- Respect the resting period. I see people roll out their dough, press it into the tin, and shove it straight into the oven. That is a recipe for shrinkage. Your gluten needs to relax and your fats need to re-solidify. Give that crust at least thirty minutes in the cold before it ever sees a flame, or you’ll find your beautiful edges have retreated halfway down the tin.
- Watch the heat, not the clock. Every oven is a different beast—mine was a temperamental wood-fired thing, and yours likely has hot spots you haven’t discovered yet. Don’t just set a timer and walk away. Peek through the glass. A tart is done when the center has a slight, rhythmic wobble like a well-set jelly, not when it’s stiff as a board.
- Salt is the invisible architect. Most people treat salt like an afterthought in a dessert, but a tart without a precise amount of salt is flat and one-dimensional. It’s not about making it salty; it’s about brightening the butter and the sugar. Use a fine sea salt, and don’t be afraid of it—it’s the difference between a tart that tastes like nothing and one that makes you close your eyes.
The Baker’s Final Word on a Perfect Tart
Forget the clock and watch the crust; a tart is finished when the edges are a pale, matte gold and the base feels firm and set, not just because a timer went off in a silent kitchen.
If your dough feels tacky or stubborn, stop working it immediately—you are fighting the gluten, and once you’ve over-kneaded it, no amount of sugar or cream will save that crust from becoming a biscuit.
Temperature is your silent partner, so if your kitchen is sweltering, put your flour in the fridge and keep your hands quick; a tart lives or dies by how much heat you accidentally work into the fat before it ever hits the oven.
The Final Fold
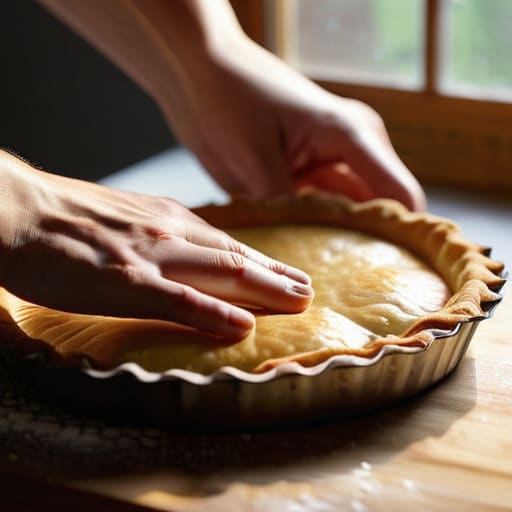
At the end of the day, a successful tart isn’t about following a list of instructions like a grocery receipt; it’s about understanding the relationship between your ingredients and the air around them. We’ve talked about why your hydration matters, why those weights must be exact, and why you can’t rush the blind bake if you want a crust that actually stands its ground. If your pastry felt a bit too warm during the rub-in, or if your oven temperature drifted during the bake, don’t go looking for a new recipe to blame. Instead, look at your hands and your thermometer. Once you stop treating the dough like a set of rules and start treating it like a living thing that reacts to your touch, you’ll find that the math and the intuition finally start to shake hands.
Don’t let a cracked rim or a slightly soggy bottom discourage you from reaching for the flour again tomorrow. I’ve spent thirty-four years watching dough rise and fall, and I can tell you that even the most seasoned bakers have days where the kitchen simply refuses to cooperate. The difference between a hobbyist and a baker is that the baker knows that failure is just data. Every time a crust fails, it is telling you exactly what it needs next time—perhaps a bit more chill, or a little less handling. So, keep your scales out, keep your butter cold, and remember that the best things in life are rarely rushed.
Frequently Asked Questions
My crust keeps shrinking down the sides of the tin as soon as it hits the oven; am I not chilling it long enough, or is my dough too warm?
It’s likely a bit of both, dear. If your dough is too warm when it hits the heat, the fat melts before the flour structure can set, and gravity wins. But even if it’s cold, if you’ve overworked the gluten or didn’t let it rest, it’ll spring back like a rubber band. Give it at least an hour in the fridge—and for heaven’s sake, roll it out gently. Don’t fight the dough; let it relax.
How do I know if my filling is actually cooked through without cutting into it and ruining the whole presentation?
You don’t look at it; you look for the wobble. A tart filling is never truly “set” while it’s piping hot—it’s still carrying the heat of the oven. Give the tin a gentle nudge. You want a slight, gelatinous shimmy in the center, like a bowl of heavy custard, but the edges should be firm and still. If it sloshes like soup, it needs more time. If it’s rigid, you’ve overbaked it.
I’ve tried using different fats, but my pastry feels either like sand or like lead—how do I find the right balance between richness and structure?
If it feels like sand, you’ve over-worked the flour or used too much fat without enough moisture to bind; if it’s lead, you’ve likely used too much water or over-kneaded the gluten. For a 50% fat ratio, keep your butter cold and your hands moving fast. You aren’t looking for a uniform paste; you want those little pea-sized lumps of fat to stay intact. They create the steam that lifts the crust.