I remember standing in my shop at five in the morning, flour dusting my eyelashes, watching a young apprentice try to follow a “foolproof” recipe that called for a cup of chilled butter and a splash of ice water. He ended up with a crumb so tough you could use it to pave the driveway, all because he was staring at a measuring cup instead of feeling the temperature of the fat against his palms. Most people think they need a specialized pastry cutter or a high-end stand mixer to master this, but if you’re looking for a complete guide to shortcrust that relies on expensive gadgets and complicated “tricks,” you’ve come to the wrong place.
I’m not here to sell you on fancy equipment or tell you that your crust failed because you didn’t buy the “premium” flour. I’m going to show you that shortcrust is actually a simple discipline of fat, flour, and cold hands. We are going to work with weights and percentages so you can actually understand the ratio of moisture to solids, and I will tell you exactly how the dough should feel under your fingertips before it ever touches the oven.
Beyond the Cup Mastering the Shortcrust Pastry Ingredients Ratio
If you come to me with a measuring cup, we’re going to have a problem before we even turn on the oven. I don’t care what the back of a flour bag tells you; a cup of flour can weigh anywhere from 120 to 160 grams depending on how tightly you’ve packed it, and that’s the difference between a crust that shatters beautifully and one that feels like eating a chalkboard. To master the shortcrust pastry ingredients ratio, you must think in weights. I always aim for a 2:1 ratio of flour to fat by weight—typically 200g of flour to 100g of fat—but even that is a starting point.
The real magic happens in the choice of flour. While many reach for pastry flour, I’ve found that a high-quality all-purpose flour often provides a better structural backbone for those rustic tarts. You aren’t looking for a specific brand; you are looking for controlled gluten development. If your ratio is off and you’ve added too much water, you’ll find yourself fighting a gummy mess. But if you get the fat-to-flour balance right, you’ll achieve that sought-after, melt-in-the-mouth crumb every single time.
The Protein Truth Choosing Pastry Flour vs All Purpose
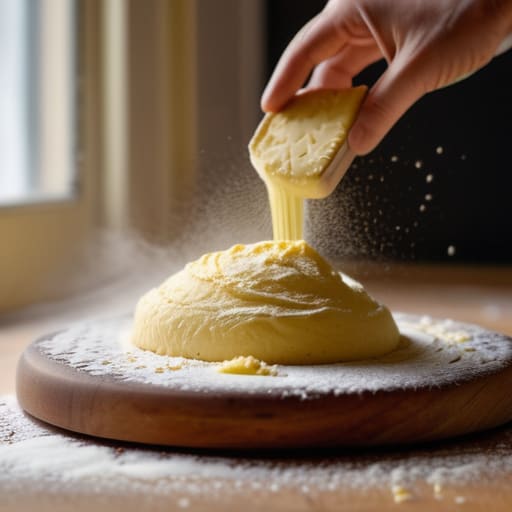
Now, let’s talk about the flour, because this is where most of you stumble before you’ve even reached for your butter. You’ll see people arguing about pastry flour vs all purpose as if it’s a holy war, but here is the reality: it’s all about the protein. If you use a high-protein bread flour, you’re going to end up with something that feels more like a biscuit than a delicate crust. Too much protein means too much gluten, and gluten is the enemy of a melt-in-the-mouth crumb. You want enough strength to hold the fat in place, but not so much that your hands turn the dough into something rubbery and stubborn.
If you can’t find a dedicated pastry flour, don’t panic. A good, honest all-purpose flour will do the job just fine, provided you treat it with respect. The trick isn’t just the type of grain, but how you handle it. If you find your crust is tough rather than tender, it’s likely because you’ve over-worked the gluten. For the best flaky pastry texture tips, remember that your goal is to keep those little pockets of fat intact. Once those fat pockets melt in the oven, they leave behind air—that is where your flake comes from.
The Five Habits of a Pastry That Doesn't Fight Back
- Stop trusting your eyes and start trusting your thermometer. If your fat—whether it’s butter or lard—is anything above 18°C (64°F), you aren’t making pastry; you’re making a greasy, heavy biscuit. I don’t care how much you want to rush; if that butter starts to soften under your palms, put the bowl in the fridge immediately.
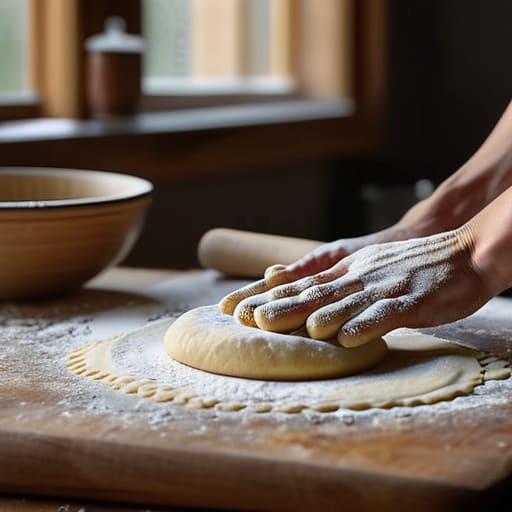
- Learn the language of the dough. You aren’t looking for a smooth, elastic ball like you would for a sourdough boule; that’s a sign of overworking and gluten development. You want a texture that is shaggy, slightly uneven, and holds together when you squeeze it, but looks like it might fall apart if you sneeze on it. That “imperfection” is exactly where the flakiness lives.
- Hydration is a moving target, not a fixed number. I always aim for about 60% to 65% hydration in my shortcrust, but your kitchen’s humidity and the thirst of your flour will change that every single day. Add your water by the tablespoon, not by the splash, and stop adding more just because the dough looks “dry.” If it holds a shape, leave it be.
- Respect the rest. This is where most beginners fail. Once you’ve brought that dough together, wrap it tight and let it sit in the cold for at least an hour—preferably more. This isn’t just about chilling the fat; it’s about letting the flour fully hydrate so the gluten relaxes. If you try to roll out dough that hasn’t rested, it will spring back at you like a stubborn child, and you’ll end up with a tough crust.
- Use your hands sparingly. Every second your warm skin touches that fat, you are melting it into the flour. I prefer using a chilled pastry cutter or even the flat of a cold knife to incorporate the fat. If you must use your hands, work with speed and keep your movements light. You want pockets of fat to remain intact, not emulsified into the flour.
The Baker's Essentials
Forget the measuring cups and stick to weights; if you aren’t calculating your fat-to-flour ratio by percentage, you’re just guessing and hoping for the best.
Temperature is your silent partner—if your butter turns to grease before it hits the oven because your kitchen is too warm or your hands are too busy, your pastry will be a heavy, leaden mess.
Stop looking for a perfect photo and start feeling the dough; you’re looking for a texture that is sandy and cool, not a smooth ball of playdough that’s been overworked into toughness.
The Final Fold
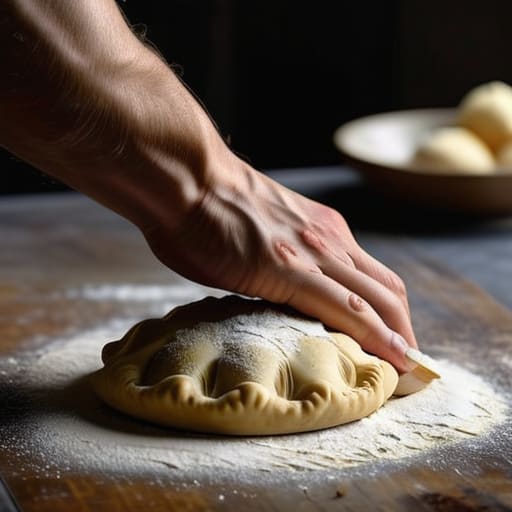
At the end of the day, shortcrust isn’t some complicated chemistry experiment; it is a matter of respecting your boundaries. You’ve learned that the flour matters, that your ratios must be precise, and that temperature is your silent partner in every batch. If you find yourself staring at a dough that feels tight or looks shaggy, don’t reach for a cookbook to find a new recipe. Instead, check your hands—are they too warm? Check your fridge—is the pastry resting long enough? Remember that a successful crust comes from the disciplined marriage of cold fat and minimal handling, not from following a list of instructions blindly without feeling the texture beneath your palms.
I know it can feel daunting when you see a beautiful, flaked tart in a magazine and your own looks like a heap of crumbs, but please, don’t let a few broken edges discourage you. I spent my first decade in the bakery making mistakes that would make a grown man weep, and every single one of them taught me more than a perfect loaf ever could. Baking is a conversation between you and the ingredients, and sometimes you just have to listen to what the dough is telling you. So, keep your flour weighed, your butter chilled, and your heart open to the mess. The perfect crust is coming; you just have to give it the time it deserves.
Frequently Asked Questions
My pastry keeps shrinking down the sides of the tin during baking; am I not chilling it long enough, or is my dough too warm?
If your pastry is retreating like a frightened thing, you’ve likely let the fat get too much attention from your warm hands. It’s rarely just about the chilling time; it’s about the temperature of the dough when it hits the tin. If the fat is even slightly soft, it loses its grip on the flour. Chill it longer, yes, but make sure it’s truly firm—almost cold to the touch—before you even think about rolling.
I’ve noticed my crust is often quite tough and bready rather than crumbly—how much am I overworking the gluten when I incorporate the water?
If your crust is turning out bready, you aren’t just overworking it; you’re likely over-mixing it. Once that water hits the flour, the clock starts ticking. If you keep stirring or kneading to “get it smooth,” you’re building a gluten network meant for a loaf, not a tart. Stop looking for a perfect dough ball. You want it to look a bit shaggy and uneven. Mix until it just holds, then stop.
Is there a real difference in the final texture if I use salted butter instead of unsalted, or is that just a preference thing?
It’s more than preference, though it isn’t a dealbreaker. Salt is a flavor enhancer; it makes the butter taste more like butter and the pastry more “alive.” If you use salted, just hold back on your added salt. I usually aim for about 2% salt in my doughs. The real danger isn’t the flavor, though—it’s the moisture content. Salted butter can sometimes have a slightly different water ratio, which affects your fat-to-flour feel.