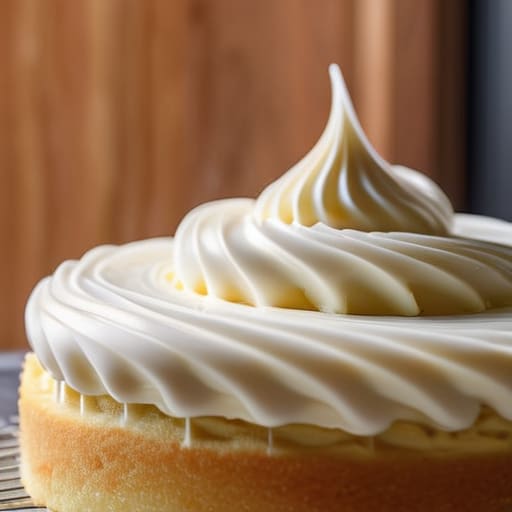
People will tell you that the secret to a perfect sponge is a fancy new steamer or a precise set of electric timers, but they are lying to you. After thirty-four years of watching dough rise in kitchens that were far too drafty and far too humid, I’ve learned that if you want to master how to make steamed puddings, you have to stop looking at the clock and start using your senses. A pudding doesn’t care about your digital readout; it cares about the weight of the steam in the air and the way the scent of suet and sugar begins to hang heavy in the room.
I’m not going to give you a list of expensive gadgets or a recipe that relies on “folding in” ingredients until your arms ache for no reason. Instead, I’m going to show you the actual mechanics of the steam—the hydration levels that matter and the patience required to let the heat do the work. We are going to talk about texture, temperature, and why your sponge might be sinking when it should be soaring, because a successful pudding is about how you handle the heat, not just how you follow a list of instructions.
Recipe Details
Ingredients
- 200g shredded beef suet
- 200g self-raising flour
- 100g caster sugar
- 100g dried mixed fruits
- 1 tsp ground cinnamon
- 1 tsp ground nutmeg
- 150ml whole milk
- 1 large egg, beaten
Recipe Instructions
Step 1
First, we need to get our dry base ready. In a large bowl, weigh out 250g of plain flour (100%) and 50g of caster sugar (20%). If you’re making a suet pudding, which I always recommend for that proper, heavy crumb, crumble in 100g of suet (40%) now. Sift it if you must, but don’t spend more than a minute on it; we aren’t looking for perfection, we are looking for a foundation that can hold moisture without turning into a puddle.
Step 2
Now, for the wet components. You’ll need 150g of whole milk (60%) and two large eggs, which should weigh roughly 100g (40%) without their shells. If you are adding raisins or currants, weigh them at 75g (30%) and toss them in now. I always tell people to listen to the eggs; if they feel cold from the fridge, let them sit in a bowl of lukewarm water for ten minutes first, or you’ll shock the fat in the suet and end up with a grainy mess.
Step 3
Combine the wet and dry, and this is where most people ruin things by being too aggressive. Use a wooden spoon to fold the mixture together until it is just combined. You are looking for a batter that is thick and heavy, not a thin, runny liquid like a crepe. If it looks like it’s fighting you, stop stirring. Overworking the flour develops too much gluten, and the last thing you want in a steamed pudding is a texture that fights back when you try to eat it.
Step 4
Prepare your pudding basin or individual ramekins. Grease them liberally with butter—don’t be stingy here, or you’ll be fighting the sponge for an hour once it’s cooked. Pour your batter in, leaving at least two inches of space at the top. This is crucial because the pudding needs room to breathe and expand as the steam pushes through the structure. If you fill it to the brim, you’ll have a soggy, collapsed mess at the bottom.
Step 5
Cover your basin tightly with a piece of parchment paper, then a layer of foil, and tie it off with kitchen twine so no steam can escape the sides. Set your steamer up—either a large pot with a trivet or a dedicated steamer basket—and bring the water to a steady, rolling simmer. Once the pudding is in, turn the heat down just a notch. You want a constant, gentle steam, not a violent boil that shakes the batter into submission.
Step 6
Now comes the hard part: waiting. For a large basin, you’ll need about 2 hours; for individual portions, 20 to 30 minutes. Don’t go lifting the lid every five minutes to “check” on it; every time you break that seal, you lose the heat and the pressure, and you’re essentially starting the clock over. You’ll know it’s finished when the scent of cooked flour and sugar fills the entire kitchen, heavy and sweet, and the pudding feels springy and set when you give the lid a gentle nudge.
Choosing the Best Pudding Molds for Steaming
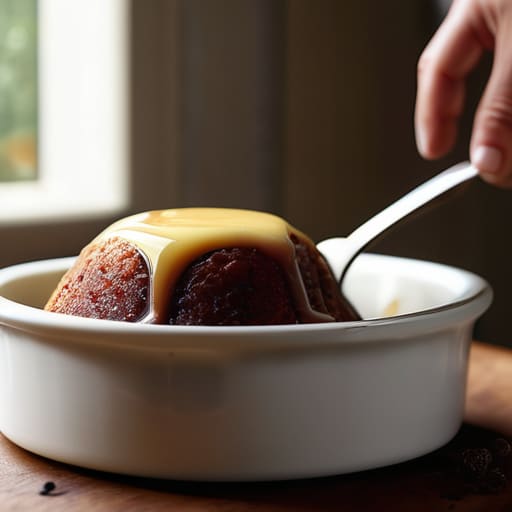
Now, don’t go thinking a modern silicone cup is going to do the job of a proper basin. If you want that heavy, comforting crumb that defines traditional British steamed desserts, you need to understand how heat moves through your vessel. Back in the bakery, we used heavy ceramic or thick tin, because they hold onto the heat steady. A thin, flimsy mold will let the temperature fluctuate every time you lift the lid, and that’s exactly how you end up with a sponge that’s gummy in the middle and dry on the edges. If you’re looking for the best pudding molds for steaming, look for something with weight; whether it’s a classic porcelain basin or a sturdy metal ramekin, the material should feel substantial in your hands.
I always tell my apprentices that the mold is just a container, but it dictates the soul of the pudding. If you are using a large basin, your steaming time for sponge pudding will naturally stretch longer than if you were using individual portions. Just remember: the vessel must be deep enough to allow the steam to circulate around the sides, not just sit on top. If you’re wondering how to steam pudding in a pot using a makeshift setup, just ensure your mold is seated securely and isn’t rattling; a steady, silent steam is what creates that perfect, unbroken texture.
Mastering the Moist Steamed Pudding Texture Tips
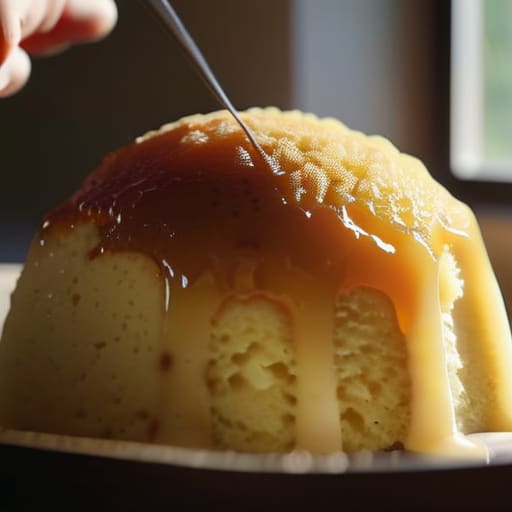
If you find your sponge coming out of the pot looking a bit ragged or, heaven forbid, crumbly, it isn’t the flour’s fault. Most people rush the heat. When you are learning how to steam pudding in a pot, you have to remember that the steam is doing the work, not the direct flame. If your heat is too aggressive, the outside sets too quickly and the middle stays a gummy mess. You want a gentle, consistent shroud of steam. I always tell my apprentices that the steaming time for sponge pudding is a suggestion, but the feel of the sponge is the truth. When you press it lightly, it should spring back like a fresh loaf of sourdough, not leave a permanent dent.
For those looking to move beyond the basics of this steamed sponge pudding recipe, don’t be afraid to play with the moisture content of your additions. If you’re adding dried fruit, soak them in a bit of brandy or even strong tea first. This prevents the fruit from sucking the moisture right out of your batter, ensuring those moist steamed pudding texture tips actually translate to your plate. These traditional British steamed desserts were never meant to be light and airy like a sponge cake; they are meant to be substantial, heavy, and deeply comforting.
Five Things the Recipe Won't Tell You
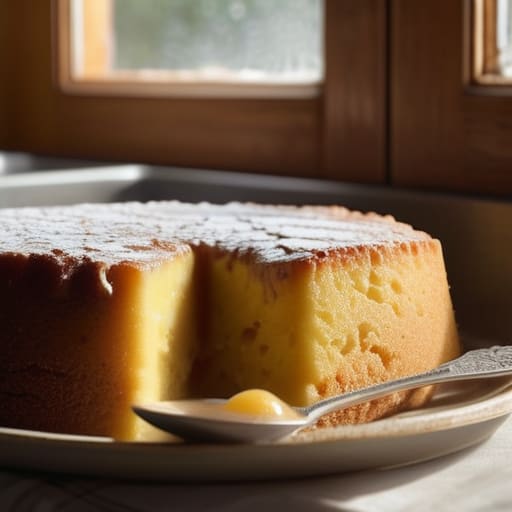
- Watch your water levels like a hawk. If you’re steaming for an hour, don’t just fill the pot and walk away; keep an eye on it. If that water boils dry, you aren’t making pudding anymore—you’re making a burnt memory and a very expensive cleaning job.
- Stop poking at the lid. I know it’s tempting to lift it every ten minutes to see if the sponge has risen, but every time you break that seal, you let out the heat and the steam that is doing the actual work. Trust the process and leave the lid alone.
- Sift your dry ingredients twice, not because the book says so, but because lumps are the enemy of a silky crumb. A steamed pudding should feel like a cloud, and you won’t get there if you’ve left pockets of unmixed flour hiding in the middle.
- Temperature matters more than you think. If your kitchen is drafty and cold, your batter will take longer to settle and set. Don’t panic if it looks a bit sluggish; just give it a little more time and a warmer corner of the stove.
- The “unmolding” is the most delicate part of the dance. Let the pudding sit in the mold for five minutes after you’ve turned off the heat. It needs that moment to settle its structure so it doesn’t collapse into a heap the second it hits the plate.
The Baker's Essentials
Trust your senses over your timer; a pudding is done when the steam smells heavy and the sponge yields to a gentle touch, not just because a clock says so.
Temperature is everything—keep your steam consistent and your kitchen steady, because a sudden drop in heat is what turns a light sponge into a leaden brick.
Don’t rush the cooling; letting the pudding settle slightly after it leaves the heat allows the structure to set so it doesn’t fall apart the moment you turn it out.
The Final Steam

At the end of the day, a good steamed pudding isn’t about following a list of instructions like you’re reading a manual for a tractor; it’s about understanding the environment you’re working in. Remember that your choice of mold dictates how the heat travels, and your ability to read the steam—not just the clock—is what separates a gummy mess from a masterpiece. If your sponge feels a bit heavy, don’t panic and don’t reach for more flour; you likely just rushed the heat distribution or didn’t give the batter enough time to settle before it hit the pot. Keep your eyes on the texture and your hands ready to test the spring of the sponge, and you’ll find that the physics of the steam will do most of the heavy lifting for you.
I spent three decades watching dough rise in the pre-dawn chill, and if there is one thing I learned, it is that you cannot bully a dessert into being delicious. You have to meet it halfway with a bit of grace and a lot of unhurried patience. There is a quiet, profound magic in a pudding that has been allowed to cook slowly, absorbing moisture and warmth until it reaches that perfect, trembling consistency. Don’t be discouraged if your first attempt isn’t quite the height of perfection; even my best loaves had their bad days. Just clean your molds, check your water levels, and try again tomorrow. The best flavors are always worth the wait.
Frequently Asked Questions
My pudding turned out heavy and dense like a brick instead of light and airy; did I overwork the batter or is my steam not hot enough?
It’s rarely just one thing, but if it’s sitting there like a brick, you’ve likely fought the batter too hard. Once that flour meets liquid, gluten starts waking up; if you stir it with purpose instead of just folding it in, you’ve built a structural wall that steam can’t break. Check your heat, too—if the water isn’t a steady, rolling simmer, the center stays cold and tight. Don’t rush the steam; let it do the work.
Can I use a modern electric steamer instead of the traditional heavy pot, or will the lack of consistent heat ruin the rise?
You can certainly use an electric steamer, but don’t expect it to be as forgiving as a heavy pot. An electric steamer provides a very steady, aggressive heat that can sometimes cause the pudding to rise too quickly and then collapse because the structure hasn’t set. If you use one, keep a close eye on the surface; if it looks like it’s boiling too violently, turn the heat down. It’s all about managing that steam.
How do I know if my sponge is actually cooked through in the center without poking too many holes in it and letting all the moisture escape?
You don’t need to go stabbing at it like you’re trying to find a vein. If you’re too aggressive with the skewer, you’ll collapse that lovely structure we worked so hard to build. Instead, use your senses. Lean in close—you should smell a heavy, sweet steam that tells you the moisture is locked in. Then, give the mold a very gentle nudge; the sponge should spring back like a well-rested dough, not wobble like jelly.