Most people think a “complete guide to cake decorating” should be a catalog of pretty colors and expensive piping tips, but they’re looking at it all wrong. I spent thirty-four years watching people buy the most expensive palette knives and stabilizers only to end up with a slumped, weeping mess on a dessert plate. The truth is, you can own every gadget in the shop, but if your crumb is unstable or your buttercream is fighting the room temperature, all that artistry is just window dressing on a disaster. I learned that the hard way during a frantic Sunday rush when a wedding tier decided to slide right off the board because I was too busy worrying about the lace pattern and not enough about the structural integrity of the sponge.
In this guide, I’m not going to show you how to make a cake look like a filtered photograph; I’m going to teach you how to make it actually hold together. We are going to talk about the physics of frosting, the importance of temperature, and why your hands tell you more about a medium than any instructional video ever could. You’ll learn how to master the tension of your tools and the patience required to build something that looks as good as it tastes.
Guide Overview
Tools & Supplies
- Piping bags and various metal tips for different textures
- Offset spatula for smoothing frosting
- Turntable for easy cake rotation
- Bench scraper for clean, straight edges
- Buttercream frosting 3-4 cups
- Cake layers 2-3 pre-baked rounds
- Food coloring gels for custom hues
- Decorative sprinkles or edible pearls 1 container
Step-by-Step Instructions
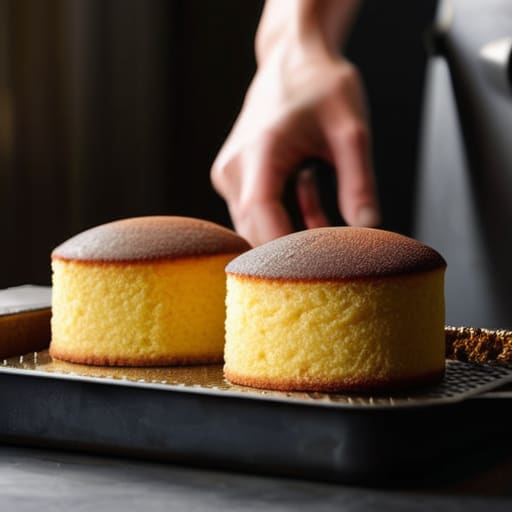
- 1. Before you even touch a piping bag, you must address the foundation: the crumb. I don’t care how beautiful your colors are if the cake is leaning like a drunkard or crumbling under the weight of the frosting. You need to level your cakes with a serrated knife until they are perfectly flat, and then you must chill them. A warm cake is a disaster waiting to happen; it will melt your butter and turn your hard work into a greasy puddle.
- 2. Once your layers are level and cold, it is time for the crumb coat. This isn’t about decoration; it’s about containment. Take a thin layer of your frosting—ideally something with a stable fat content—and spread it over the entire cake. You aren’t trying to make it pretty here; you are simply sealing in those loose crumbs so they don’t end up in your final finish. Put the cake back in the fridge for at least twenty minutes until that layer is firm to the touch.
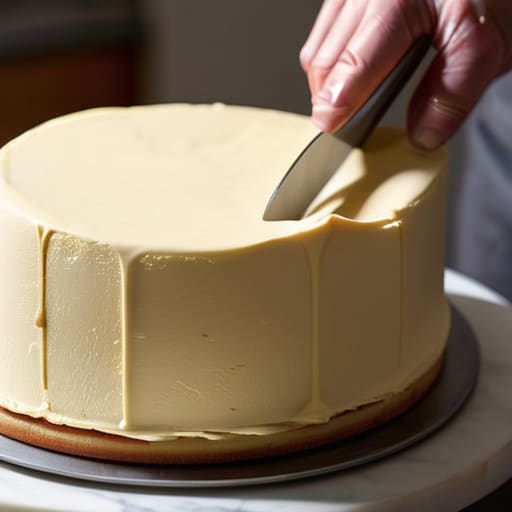
- 3. Now we move to the final coat, and this is where your patience is tested. Use a palette knife or a large offset spatula to apply a thicker layer of frosting. Don’t try to do it all in one heavy-handed swipe. Work in sections, smoothing outward from the center. You’ll know you’ve achieved a professional finish when the sides are seamless and smooth, showing no ridges or lumps. If you feel yourself rushing, stop, take a breath, and remember that the cake isn’t going anywhere.
- 4. If you are working with buttercream, temperature is your best friend and your worst enemy. If your frosting feels too soft or “soupy,” it’s likely because your kitchen is too warm or you’ve worked the fat too much. Don’t keep stirring it frantically; instead, chill the bowl for ten minutes. You want a consistency that holds a sharp peak when you lift the spatula, much like a stiff meringue, but still feels supple enough to spread without tearing the surface.
- 5. When you begin piping borders or flourishes, stop looking at the pattern and start feeling the pressure. A piping bag is just an extension of your hand. If you squeeze too hard, you’ll get a glob; too soft, and you’ll get a smear. Practice on a piece of parchment paper first. You are looking for a steady, rhythmic squeeze that allows the decoration to flow out of the tip with a consistent shape, rather than a series of disconnected dots.
- 6. For those attempting delicate details like flowers or intricate lace, the secret is in the stability of your base. If you are piping onto a cake that is even slightly warm, the detail will wilt before you finish the first petal. If you find your hands are shaking, lean your elbows on the counter to steady yourself. Decorating is as much about physical stillness as it is about artistic vision.
- 7. Finally, give your work a moment of silence. Once the decorating is done, resist the urge to immediately slice into it. A decorated cake needs time to “set,” especially if you’ve used any stabilizers or chilled the layers. Let it sit in a cool part of the kitchen so the flavors can settle and the structure can truly bond. A cake that has rested is a cake that holds its integrity when the knife finally meets the sponge.
Mastering the Tension of Essential Buttercream Frosting Techniques
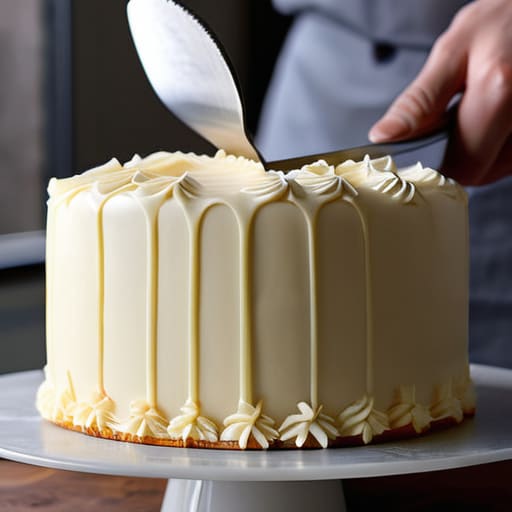
Most people treat buttercream like it’s a paint to be slapped on, but if you want a truly smooth icing finish, you have to treat it like a structural element. I’ve seen too many beginners fight their frosting because they didn’t understand the temperature of the room. If your butter was too soft when you started, no amount of scraping will save you from a slumped, greasy mess. You want a consistency that holds its shape when you lift the spatula, but yields without a fight when you pull it away. It should feel like heavy silk—substantial, but capable of being smoothed into a perfect, unbroken plane.
When you move to more specific buttercream frosting techniques, like those used for borders or delicate textures, stop looking at the nozzle and start feeling the pressure in your hand. A common mistake is squeezing too hard or too fast, which creates jagged, amateurish lines. If you are using a piping bag, remember that the tension comes from your grip and the steady rhythm of your breath, not just the tool itself. Control the flow, not just the shape, and you’ll find the frosting begins to behave exactly how you want it to.
The Discipline of a Smooth Icing Finish
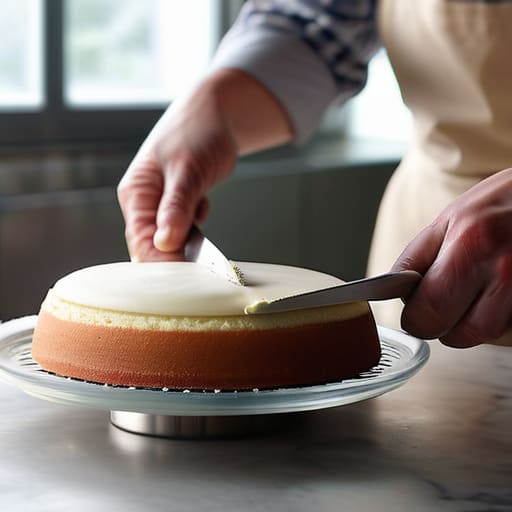
You’ll find that most people approach a smooth icing finish like they’re trying to win a sprint, but you can’t rush a surface into being level. If your cake has even a slight bulge from an uneven crumb, no amount of scraping will save you; you’ll just end up with a thick, heavy layer of sugar that hides the flavor. I always tell my apprentices to trust the level of the cake before they even touch the spatula. If the foundation is wonky, the icing will be too.
When you are working through your buttercream frosting techniques, remember that your tools are only as good as your steady hand. A metal bench scraper is a wonderful thing, but it won’t do the thinking for you. You have to feel the resistance of the frosting against the edge. If you feel the scraper “jumping” or dragging, your icing is either too cold or too stiff. You want that consistent, silky glide that tells you the temperature is just right. Don’t worry about perfection on the first pass—focus on the direction of your stroke and let the weight of the tool do the work.
Five things the glossy magazines won't tell you
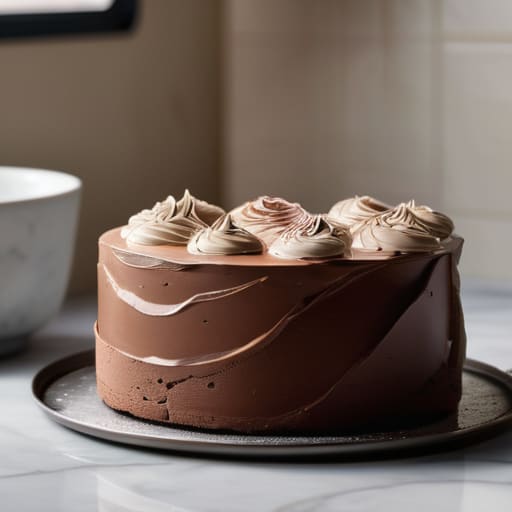
- Stop fighting the temperature. If your buttercream feels like it’s trying to slide off the cake, your kitchen is too warm; if it’s tearing like old parchment, you’ve let it get too cold. You can’t decorate a dough or a cream that isn’t behaving, so learn to read the room before you pick up the spatula.
- Trust your hands, not your eyes. A photo can show you a perfect swirl, but it won’t show you the resistance of the frosting. You’ll know you’ve achieved the right consistency when the weight of the spatula feels balanced and the cream moves with a certain silkiness that tells you it’s ready to hold a shape.
- The crumbs are your enemy, but they aren’t a catastrophe. If you try to frost a naked cake immediately, you’ll end up with a gritty mess. Do a thin “crumb coat” first—a mere veil of icing to trap those loose bits—and let it set. It’s better to spend twenty minutes waiting for a layer to firm up than to spend an hour trying to smooth out a sandy finish.
- Clean tools are non-negotiable. I don’t care how expensive your offset spatula is; if there is a dried bit of icing on the edge from ten minutes ago, it will leave a canyon in your smooth finish. Keep a bowl of warm water and a clean cloth nearby, and wipe your tools every single time you lift them from the bowl.
- Patience is the final ingredient. Most decorating disasters happen when someone gets impatient and tries to add the heavy decorations before the base is stable. If the cake is still slightly soft or the icing hasn’t set, everything you add will just sink. Let the cake rest, let the icing chill, and let the work happen at its own pace.
What to Carry With You When You Leave the Kitchen
Stop chasing the photograph and start trusting your hands; a cake isn’t finished when it looks like the picture, it’s finished when the frosting feels stable and the crumb is set.
Temperature is your silent partner in every decoration, so if your buttercream is weeping or your icing is sliding, don’t blame the technique—check the heat of the room and the temperature of your butter.
Respect the structural integrity of what you’re building, because no amount of beautiful piping can hide a cake that was rushed through its cooling or built on a foundation that wasn’t level.
Beyond the Final Swirl
At the end of the day, decorating isn’t about chasing the impossible perfection you see in a glossy magazine; it’s about understanding the physics of what’s under your spatula. We’ve talked about the structural necessity of a stable buttercream, the way temperature dictates whether your icing holds a peak or turns into a puddle, and the steady hand required to achieve a smooth finish. Remember, if your frosting feels too heavy or starts to slide, don’t blame the recipe—check your room temperature or adjust your fat content. It all comes down to managing the environment and respecting the medium. Once you stop fighting the cream and start working with its natural tension, the tools become an extension of your own hands rather than obstacles to be overcome.
If your first attempt looks more like a battlefield than a bakery window, let it go. I spent years staring at uneven edges before I realized that a cake is meant to be eaten, not just admired through a glass case. The real magic happens when you stop staring at the clock and start feeling the weight of the frosting and the resistance of the crumb. Perfection is a moving target, but true mastery is found in the rhythm of the work itself. So, pick up your offset spatula, trust your senses over a photograph, and remember that the most beautiful thing you can serve is something made with a bit of patience and a lot of heart.
Frequently Asked Questions
Why does my buttercream look like it’s curdling or separating even though I followed the measurements?
It isn’t your measurements; it’s your temperature. If your buttercream looks like cottage cheese, your butter was likely too cold when you started, or it’s fighting a sudden rush of warmth. If it’s separating into a greasy mess, the butter was far too soft. You can’t force it. Stop whisking, put the bowl in the fridge for fifteen minutes to find its center, and then try again. Trust your hands, not the scale.
How do I stop my icing from sliding right off the sides of the cake when the kitchen gets warm?
If your icing is sliding, it’s because your fat is losing the fight against the room temperature. You’ve likely used too much liquid or your butter was too soft to begin with. When the kitchen warms, that structure vanishes. Chill your cake layers thoroughly before frosting, and if you’re working in a warm room, keep a bowl of ice water nearby to chill your metal spatula. Sometimes, you just have to bake in the cold.
If my sponge is slightly uneven or has a large dome, can I still get a professional, smooth finish?
Oh, darling, don’t you fret. A domed sponge is just a bit of misplaced energy from the oven. You can absolutely get a professional finish, but you have to be honest with the cake first. Take a long serrated knife and level it—don’t hack, just saw gently—until you have flat surfaces. You’ll lose a little crumb, but you’ll gain a foundation that won’t slide. Build your layers on even ground.