I’ve spent thirty-four years watching people throw money at gadgets they don’t need, thinking a shiny countertop appliance is the secret to a decent dessert. It’s a nonsense idea. You don’t need a motorized churn to achieve a silky texture; you just need to understand how fat and cold interact. Most of those “easy” online tutorials for how to make ice cream without a machine are just recipes for icy, grainy disappointment because they ignore the physics of the freeze. They tell you what to put in the bowl, but they never tell you why your spoon is hitting crystals instead of cream.
I’m not going to give you a list of complicated contraptions or suggest you buy a specialized canister that will sit in your cupboard gathering dust. Instead, I’m going to show you how to use patience and a steady hand to master the freeze. We’ll talk about the importance of fat content and the rhythm of the stir, because texture is something you earn through technique, not something you buy at a kitchen store. If you can follow a simple ratio and don’t mind a bit of arm ache, you’ll realize that real creamery quality is well within your reach.
Relying on the Condensed Milk Ice Cream Method
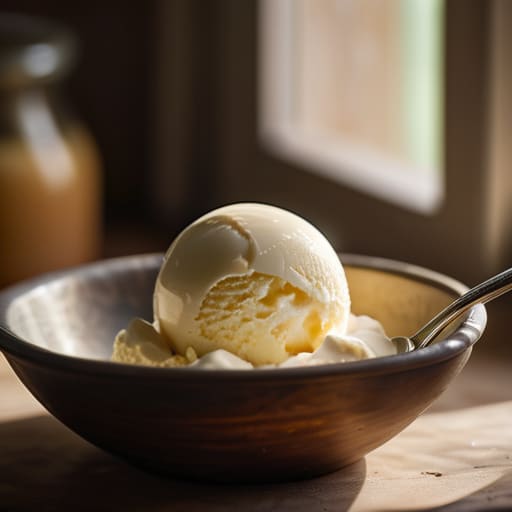
Now, if you aren’t looking to spend your afternoon vigorously whisking a bowl until your shoulder protests, the condensed milk ice cream method is your best friend. It’s a bit of a cheat, I suppose, but a clever one. By using sweetened condensed milk, you’re essentially introducing a high concentration of sugar and solids right from the start. In my bakery, we used similar principles with heavy syrups to keep pastries moist; here, that sugar serves a vital purpose by preventing ice crystals in homemade ice cream from forming into those nasty, crunchy shards that ruin a good scoop.
To do this right, you’ll want to fold your sweetened milk into a massive cloud of stiffly whipped cream. Don’t rush the folding—if you’re too heavy-handed, you’ll deflate the air you worked so hard to build, and you’ll end up with a frozen block of milk rather than a velvet cream. You want to maintain that aeration to create a structure that holds its own. It’s one of those easy homemade frozen desserts that relies entirely on how you handle the air, not on how much machinery you own.
Mastering the Whipped Cream Ice Cream Technique
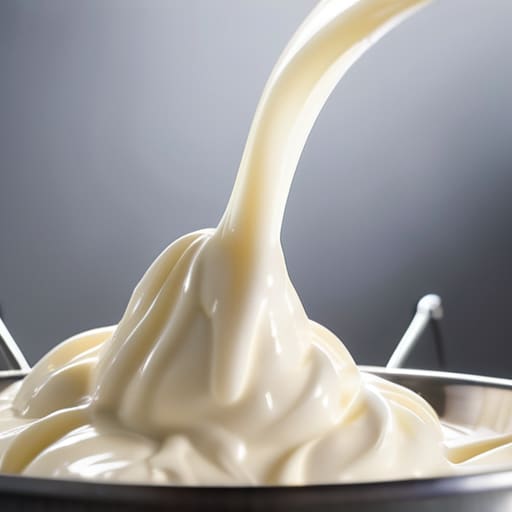
If the condensed milk method feels a bit too heavy for your liking, we can turn to the whipped cream ice cream technique, which relies on air rather than sugar density to find its structure. This is where you really learn to feel the texture. You’ll start by whipping heavy cream—make sure it’s cold, colder than you think it needs to be—until you reach stiff peaks. I always tell my apprentices that if you can’t stand the peaks up straight, the cream isn’t ready to carry the weight of your flavors. You are essentially building a structural scaffold of tiny air bubbles that will hold the fat in suspension.
Once those peaks are set, you gently fold in your flavorings and a bit of sugar. The danger here is your own enthusiasm; if you stir like you’re mixing a thick sourdough, you’ll deflate all that hard work and end up with a dense, icy block. You want to fold with a light hand, moving the spatula through the mixture as if you’re tucking a child into bed. This careful aeration is the secret to preventing ice crystals in homemade ice cream, ensuring the final result is velvety rather than gritty.
The Little Things That Keep Your Cream from Turning into Ice
- Temperature is everything; if your mixing bowl or your whisk is lukewarm, you’ve already lost the battle, so chill your equipment in the freezer for twenty minutes before you even touch the cream.
- Don’t be afraid of the fat content—if you try to make ice cream with “light” cream to save a few calories, you’ll end up with a bowl of flavored ice crystals instead of a silky custard.
- Watch the texture, not the clock; when you’re whipping by hand, you’re looking for those soft, pillowy peaks that hold their shape but still feel supple, not a stiff, grainy mass that looks like shaving cream.
- Give the mixture a proper rest in the coldest part of your fridge before it goes into the freezer, because a stable, cold base handles the freezing process much more gracefully than one that’s been sitting on a warm counter.
- If you see ice crystals forming on the surface, don’t panic—it just means your air incorporation was a bit lazy, so stir it vigorously with a heavy spoon to break them up and redistribute the cream before it sets completely.
The Baker’s Truth About Hand-Churned Ice Cream
Temperature is your silent partner; if your bowl isn’t chilled or your cream isn’t ice-cold, you aren’t making ice cream, you’re just making a lukewarm soup that will never find its structure.
Forget the pursuit of perfection in a single stir; whether you’re using condensed milk or heavy cream, the goal is to manage the crystals by being consistent with your movement, even when your arm starts to protest.
Don’t panic if the texture isn’t as smooth as a factory-made pint on the first try—ice cream is a living thing that responds to how you handle it, and sometimes a little bit of grit just means you used real ingredients.
The Truth About the Scoop
Whether you’ve gone the route of the condensed milk method for that heavy, velvety mouthfeel, or you’ve spent your afternoon whisking cream by hand until your wrist felt the burn, you’ve learned the most important lesson: ice cream is a game of temperature and physics. You don’t need a whirring motor or a fancy countertop appliance to cheat the process; you just need to understand how fat and air interact. If your texture came out a bit icy, don’t blame the ingredients—look at how quickly you froze it or how much you let the air escape. Texture is earned through attention, not through a machine that does the thinking for you.
At the end of the day, a scoop of ice cream shouldn’t be a perfect, sterile sphere like something you’d see in a glossy magazine. It should be slightly irregular, perhaps a little soft around the edges, and tasting exactly like the vanilla or fruit you poured into it. I spent thirty years watching dough rise in the dark, and I’ve learned that the best things in life happen when we stop looking for the shortcut and start looking at what’s right in front of us. Stop waiting for the perfect gadget and just get your hands cold; the reward is worth the effort.
Frequently Asked Questions
If I'm using the whipped cream method, how do I know when I've beaten it enough without turning the whole batch into sweet butter?
Watch the texture, not the clock. You’re looking for “stiff peaks”—that’s when you lift the whisk and the cream stands up straight like a little mountain instead of drooping over. If it looks glossy and smooth, you’re safe. The moment it starts looking grainy or matte, you’ve gone too far and you’re making butter. If you see it, stop immediately. Better to be slightly soft than to end up with a bowl of yellow fat.
My kitchen is quite warm today; do I need to chill my mixing bowl and whisk before I start, or will that just make a mess?
If your kitchen is running warm, you absolutely must chill your bowl and whisk. Don’t think of it as an extra step; think of it as setting the stage. If that metal is room temperature, it’ll fight you, and you’ll end up with a heavy, weeping mess instead of those lovely, stable peaks. Stick them in the freezer for twenty minutes first. It’s not about making a mess—it’s about giving your cream a fighting chance.
I noticed small ice crystals forming in my frozen mixture—was my fat content too low, or did I just not stir it often enough?
It’s likely a bit of both, but I’d bet my starter on the stirring. Crystals are just ice that hasn’t been broken up. If your fat content is low, you have less structure to hold the air, making it easier for water to find its way into clumps. But even with heavy cream, if you aren’t breaking those crystals up with a whisk every thirty minutes, they’ll grow. Texture is earned through movement, not just ingredients.