If you’ve ever spent forty dollars on a fancy countertop machine only to end up with a tub of icy, gritty disappointment, you’ve been sold a lie. People think a “complete guide to frozen desserts” needs to involve expensive gadgets and a chemistry degree, but they’re looking at the wrong end of the spoon. I’ve spent thirty-four years watching people blame their equipment when the real culprit is usually a lack of understanding regarding sugar solids and fat content. A sorbet isn’t ruined by a cheap freezer; it’s ruined because you didn’t respect the temperature of your base or you rushed the freeze, leaving behind crystals that feel like sand against the tongue.
I’m not here to sell you on a lifestyle or a shiny new appliance. Instead, I’m going to give you the truth about how heat, sugar, and air interact to create something worth eating. We will talk in ratios and percentages, focusing on how a custard should feel before it ever hits the churn. This isn’t a collection of pretty pictures; it is a practical map to mastering texture, from the silkiness of a proper gelato to the clean snap of a fruit granita.
The Chemistry of Frozen Dessert Base Ingredients
You have to understand that a frozen dessert isn’t just a cold sweet; it is a delicate, suspended architecture of fat, water, and air. If you start with poor quality frozen dessert base ingredients, no amount of expensive machinery will save you. I always tell my students that the fat—usually from heavy cream or whole milk—is what provides the structural integrity. It coats the tongue and prevents those nasty, jagged ice crystals from taking over. If your fat content is too low, you aren’t making a dessert; you’re making a flavored ice cube.
The real magic, however, lies in the invisible tug-of-war between solids and liquids. This is where the sugar content in frozen desserts becomes your most important lever. Sugar isn’t just for sweetness; it is a functional ingredient that lowers the freezing point of the water. If you skimp on the sugar because you’re worried about the calorie count, you’ll end up with a block of ice that could break a tooth. You must balance the solids to ensure you are achieving creamy dessert texture rather than a gritty, sandy mouthfeel. It’s a matter of physics, not just flavor.
Understanding the Vital Difference Between Gelato and Ice Cream
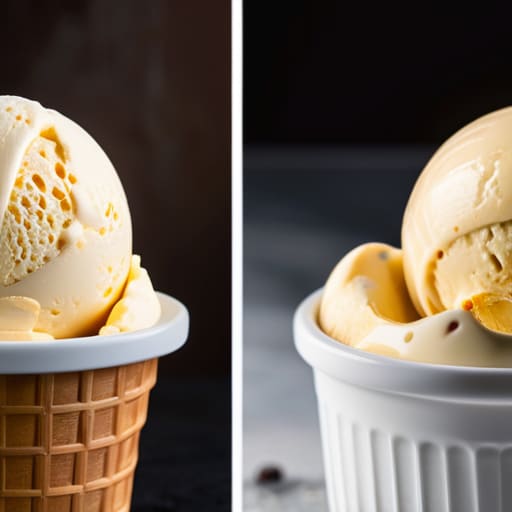
Most people walk into a shop and see two different tubs of cold sweetness, assuming the only difference is the price tag or perhaps the amount of air. They are wrong. To understand the true difference between gelato and ice cream, you have to stop looking at the flavor and start looking at the fat and the air. Ice cream is a heavy, indulgent thing; it relies on a high percentage of butterfat to carry its weight, often whipped with enough air to make it feel light and fluffy on the tongue. Gelato, however, is a different beast entirely. It uses less cream and more milk, which means the fat content is lower, but the texture is far more intense.
Because gelato has less fat to coat the palate, it relies on a higher sugar content in frozen desserts to maintain its softness. That sugar isn’t just for sweetness; it’s what prevents the mixture from turning into a solid block of ice in your machine. When you are aiming for that dense, silky mouthfeel, you aren’t just looking for creaminess—you are managing the physics of how much air is trapped in the matrix. If you over-churn, you’ve made a cloud; if you under-churn, you’ve made a brick. It’s all about the balance.
Five Truths About Temperature, Texture, and the Discipline of the Freeze
- Stop measuring by volume and start measuring by weight; a cup of heavy cream can vary wildly depending on how much air you’ve whipped into it, but 250 grams is always 250 grams, and in frozen desserts, a few grams of fat can be the difference between a silky custard and a greasy mess.
- Respect the sugar, but don’t worship it; sugar isn’t just for sweetness, it is your primary tool for controlling the freezing point, so if your sorbet is turning into a block of ice rather than a scoopable velvet, you haven’t miscalculated the flavor, you’ve miscalculated the solids.
- Temperature is a moving target, not a destination; your base might feel perfect at room temperature, but it will behave entirely differently once it hits the sub-zero chill of a home freezer, so always chill your base thoroughly—ideally overnight—before you even think about churning.
- Watch the resistance, not the clock; I don’t care if a recipe says to churn for twenty minutes, because your kitchen’s humidity and the specific fat content of your milk will dictate the speed of the freeze, and you’ll know it’s ready when the paddle meets a certain, soft tugging against the bowl.
- Avoid the temptation of the “quick fix” stabilizers; people will try to sell you powders and gums to fix a grainy texture, but graininess usually comes from large ice crystals caused by rushing the process or improper fat emulsification—patience and a steady temperature will do more for your mouthfeel than any chemical ever could.
The Three Pillars of a Successful Freeze
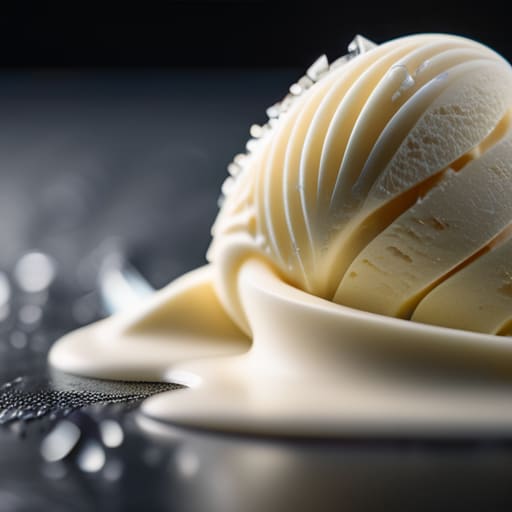
Temperature is your master, not your servant; if your base isn’t chilled thoroughly before it hits the machine, you aren’t making a dessert, you’re just making flavored ice.
Stop measuring by volume and start weighing your sugars and fats, because a cup of heavy cream is a lie that will leave your texture grainy and your mouthfeel thin.
Texture is a conversation between sugar and fat, so if your scoop feels too hard or your spoon meets no resistance, you haven’t failed the recipe—you’ve simply misjudged the balance of your solids.
The Final Scoop
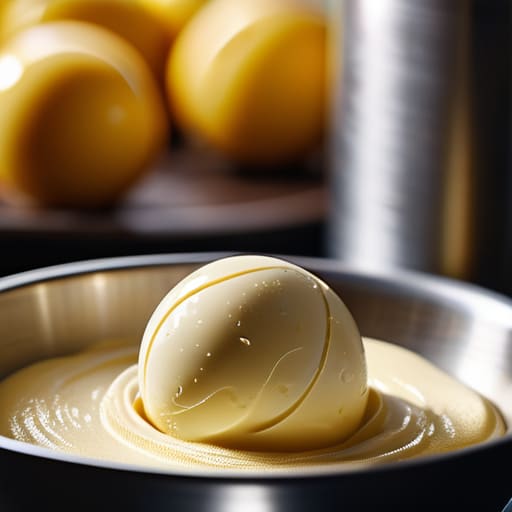
We have talked at length about the science, from the precise percentage of solids in your base to the delicate dance between fat and sugar that prevents your churn from turning into a block of ice. If you remember nothing else from this guide, remember that frozen desserts are not a matter of following a list of instructions, but of managing thermal energy and stability. You cannot cheat the physics of freezing; if your solids are too low, you get an icy mess, and if your sugar is too high, it will never set. It comes down to the balance of your ingredients and your willingness to watch how the mixture responds to the cold.
At the end of the day, don’t let a slightly grainy texture or a scoop that’s too hard discourage you. I have spent thirty-four years watching things rise, fall, and occasionally collapse, and I can tell you that even a “failed” batch is just a lesson in disguise. Most people treat dessert like a destination, but it is really a process of patience and observation. Put down the measuring cups, trust your thermometer, and stop trying to rush the freeze. If you respect the temperature and give the ingredients the time they need to find their structure, you won’t just be making a dessert; you’ll be mastering a craft.
Frequently Asked Questions
If I’m using a high-fat cream for my base, how much do I need to adjust the sugar percentage to keep the texture from becoming a block of ice?
If you’re leaning into heavy cream, you’re increasing the fat solids, which coats the tongue and provides richness, but fat doesn’t lower the freezing point like sugar does. To prevent that “block of ice” feeling, you can’t just rely on the fat for mouthfeel. You’ll likely need to bump your total solids—specifically your sugars—by about 3 to 5% to maintain that necessary softness. Don’t just add sucrose; use a bit of glucose or dextrose to keep things supple.
My homemade sorbet comes out gritty rather than smooth; is that a failure of my ingredient ratios or did I simply rush the freezing process?
It isn’t your ratio, though your sugar levels matter; it’s likely your temperature management. If you rush the freeze, you’re growing ice crystals instead of a smooth emulsion. But more often, it’s a matter of solids. If your fruit base lacks enough soluble solids—think pectin or a bit of glucose—there isn’t enough “stuff” to get in the way of the water freezing into grit. Don’t just chill it; stabilize it.
How can I tell if my custard base has reached the proper temperature for setting without relying solely on a thermometer?
You can’t let a thermometer do all the thinking for you; it’s a tool, not a brain. When you’re tempering eggs into your milk and sugar, watch for the “nappe.” Dip a spoon in—it should coat the back smoothly. Run your finger through the coating; if the line stays crisp and doesn’t bleed back into the liquid, you’ve hit that thickening point. It should feel like heavy cream, not a thin soup.