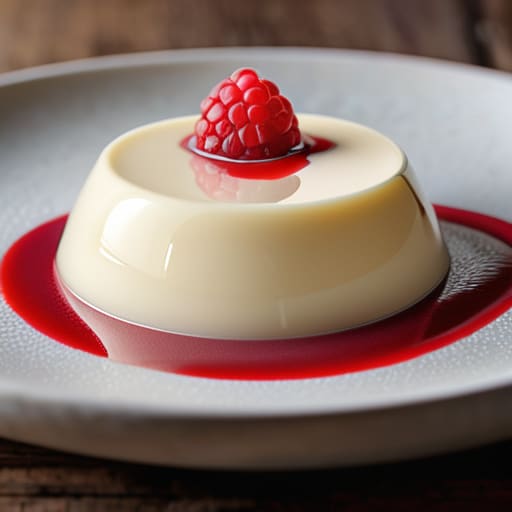
Panna Cotta Should Just Barely Stand Up
Most people think that learning how to make panna cotta is a matter of finding the perfect ratio of gelatin to cream, but they are looking at the wrong side of the equation. They treat it like a chemistry experiment where you just follow a list of instructions and hope for the best, but panna cotta isn’t a science project; it’s a lesson in temperature. I spent years watching young pastry students ruin perfectly good heavy cream because they boiled it too hard or, worse, they rushed the setting time in a frantic attempt to serve it. If you treat the cream with too much aggression or try to cheat the clock, you won’t end up with a silky dessert; you’ll end up with something that feels like rubber or, more likely, a sad, weeping puddle of sweetened milk. I am not here to give you a flashy, filtered recipe…
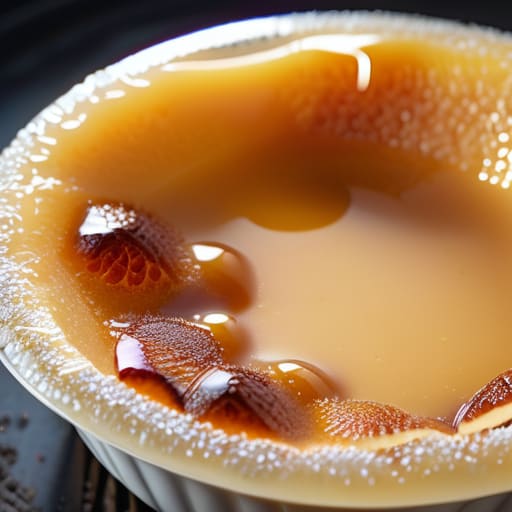
Crème Brûlée: Gentle Heat and a Hot Top
You’ve likely been told that the secret to a perfect custard is a high-end torch or a specific brand of vanilla bean, but that’s nonsense. Most people struggle with how to make crème brûlée because they treat it like a chemistry experiment rather than a lesson in temperature control. I spent decades watching people ruin perfectly good cream by rushing the tempering process or, heaven forbid, trying to caramelize the sugar while the custard underneath was still lukewarm. If you try to torch that sugar while the custard is still warm, you’ll end up with a pathetic, sugary soup instead of a crisp, glass-like crust. I’m not here to give you a list of fancy equipment or a recipe that looks pretty in a magazine but falls apart on the spoon. I’m going to show you how to listen to the custard and understand the rhythm of the heat. We…
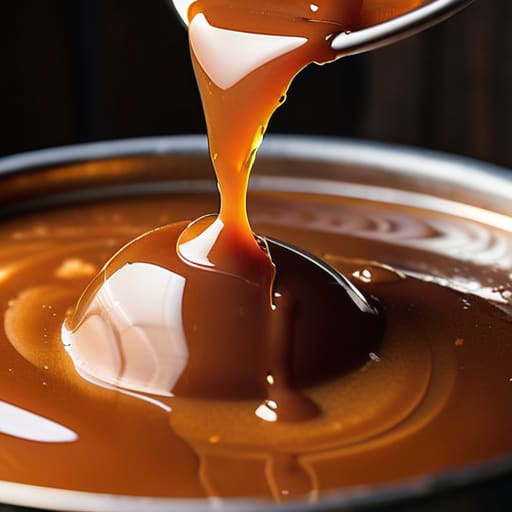
A Caramel Sauce That Pours Cold
People will tell you that the secret to a perfect caramel is a fancy thermometer or a heavy-bottomed copper pot, but they’re wrong. The real secret is simply having the nerve to watch the sugar and the sense to walk away when it starts to smoke. I spent years in my bakery watching beginners ruin batches because they were too afraid to let the heat do its work, or worse, they tried to rush the process by adding cream too quickly and ended up with a burnt, bitter mess. Learning how to make salted caramel sauce isn’t about mastering a piece of equipment; it’s about understanding the transition from pale sand to that deep, soulful amber that tells you the flavor is finally ready. I’m not going to give you a list of complicated gadgets or promises of a “miracle” ingredient. Instead, I’m going to show you how to read…
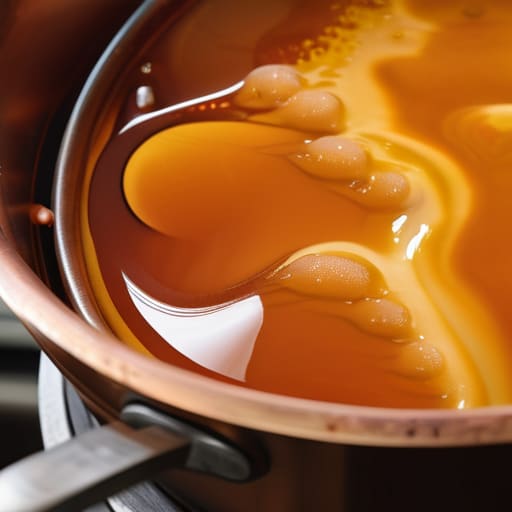
Caramel: Watch It, Do Not Stir It
I remember a Tuesday morning back in ’88, long before my shoulders decided they’d had enough of the flour dust, when a pot of sugar decided to turn on me. I was twenty-six, rushing to meet a breakfast order, and I thought I could outsmart the heat by stirring too vigorously. One moment I was watching a pale syrup, and the next, a plume of acrid smoke filled the bakery and a glob of molten amber splashed against the stovetop like liquid lava. People talk about caramel as if it’s just a sweet topping, but if you don’t understand the physics of it, you’ll find out very quickly how to make caramel safely is less about following a timer and more about respecting the volatility of the sugar itself. I’m not here to sell you some fancy, temperature-controlled gadget or a recipe that requires a degree in chemistry. I’m going…
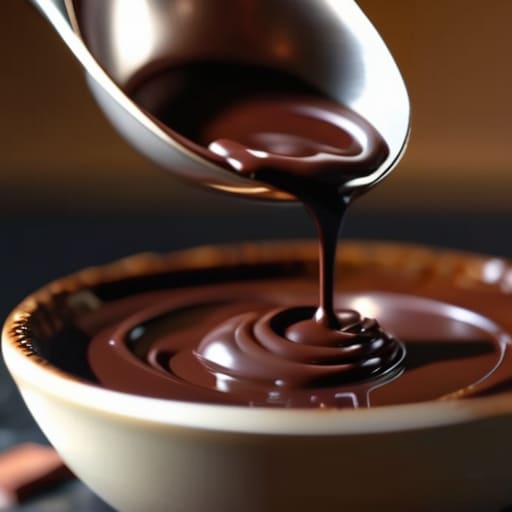
Melting Chocolate Without Seizing It
I remember standing in my shop at five in the morning, the air thick with the scent of yeast, watching a young apprentice try to melt a batch of couverture using a microwave because he was in a hurry. Within minutes, the chocolate had seized into a grainy, scorched mess that looked more like wet sand than silk. People spend a fortune on fancy gadgets and expensive molds, thinking that’s the secret to how to work with chocolate at home, but they forget that chocolate is a living thing that responds to heat and moisture with an attitude. If you treat it like a mindless ingredient, it will punish you for it every single time. I am not here to sell you on some expensive tempering machine or a complicated set of rules that require a degree in chemistry. Instead, I want to teach you the feel of the process—the…
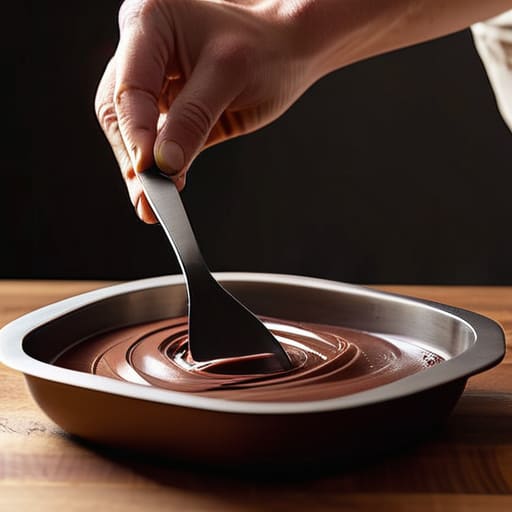
Tempering Chocolate Without a Marble Slab
You can buy all the expensive couverture in the world and still end up with a dull, streaky mess that melts the second a warm finger touches it. Most people think they need a miracle or a laboratory to master this, but the truth is that learning how to temper chocolate isn’t about magic; it is about understanding the stubborn physics of fat and temperature. I remember my first decade in the bakery, standing over a bain-marie at five in the morning, cursing a batch of dark chocolate that had turned into a grainy, grey sludge simply because I had been too impatient with the cooling stage. I thought I was doing everything right, but I wasn’t listening to what the chocolate was telling me. In this guide, I am going to strip away the fluff and tell you exactly what is happening inside that bowl. We aren’t going to…
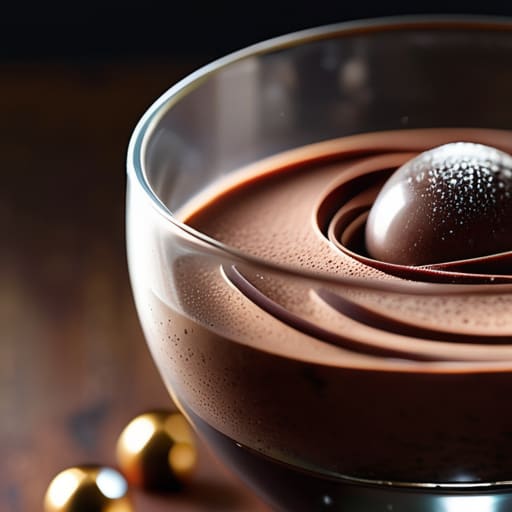
Mousse Is Aeration Held in Place
You don’t need a dozen fancy stabilizers or a chemistry degree to master how to make chocolate mousse; in fact, most of those additives are just a way to hide poor technique. I spent years watching people panic when their mousse turned into a grainy, weeping puddle, blaming the recipe when the real culprit was a bowl that was too warm or a whisking hand that was too impatient. It isn’t about the brand of cocoa you buy; it’s about the relationship between fat and temperature. If you treat the chocolate like a temperamental guest rather than a commodity, it will reward you. I’m not here to give you a list of ingredients and a glossy photograph to chase. Instead, I’m going to teach you to listen to the texture of the egg whites and feel the weight of the chocolate as it folds. We are going to focus on…
Curd Thickens Below Boiling, Never Above
I remember standing in my bakery at four in the morning, the air thick with the scent of proofing dough, watching a young apprentice try to force a batch of curd by cranking up the heat. He thought he could bully the milk into thickening by sheer force of will, but all he did was scorch the bottom and kill the very life he was trying to cultivate. People make how to make curd sound like some high-stakes laboratory experiment involving expensive thermometers and specialized cultures, but they miss the point entirely. It isn’t about the gadgets; it’s about understanding that you are managing a living, breathing transition from liquid to solid, and nature doesn’t respond well to being rushed. I’m not here to give you a list of fancy equipment you don’t need or a recipe that relies on luck. I’m going to show you how to listen to…
Lemon Tart That Sets Without Rubber
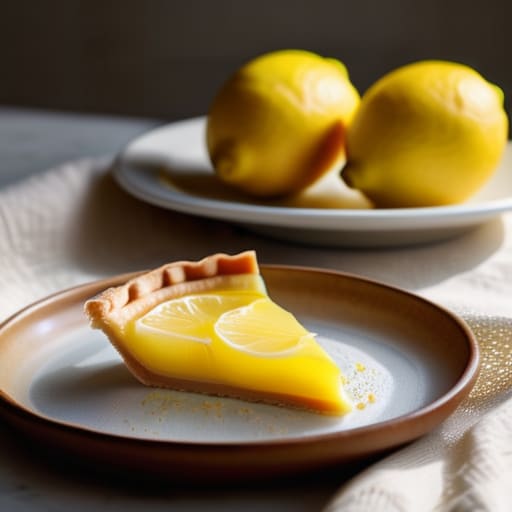
Most people think the secret to a perfect lemon tart lies in a fancy offset spatula or a way more expensive brand of butter, but they’ve got it entirely wrong. They spend hours scrolling through glossy photos, wondering why their curd is either a grainy mess or a weeping puddle, when the real culprit is usually just a lack of respect for the temperature. If you are searching for how to make lemon tart that actually holds its shape without sacrificing that bright, sharp sting of citrus, you have to stop looking at the decorations and start looking at your heat source. A tart doesn’t fail because you’re a bad baker; it fails because you tried to rush the emulsification. I’m not going to give you a list of decorative garnishes or tell you that you need a professional kitchen to get this right. Instead, I’m going to teach you…
Tarts: Crisp Base, Set Filling, No Fuss
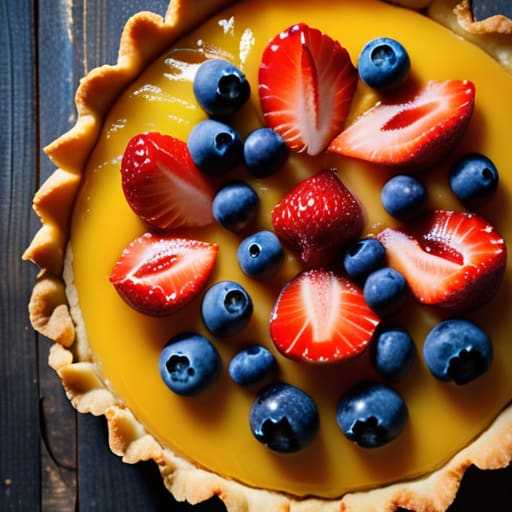
I spent thirty-four years watching people walk into my shop, eyeing the pastry cases with a mix of longing and dread, usually because they’d tried to follow some overcomplicated, ten-step recipe online that promised a “gourmet experience” but delivered nothing but a greasy, crumbling mess. Most of those glossy websites make it sound like you need a laboratory of specialized equipment and a degree in chemistry just to figure out how to make a tart that doesn’t shatter the moment a fork touches it. They focus on the decorations—the shiny glazes and the perfect fruit arrangements—while completely ignoring the fact that if your butter is too warm or your hands are too heavy-handed, all the berries in the world won’t save you from a soggy, pathetic bottom. I’m not here to sell you a dream or a list of expensive gadgets you’ll only use once. I’m going to show you…