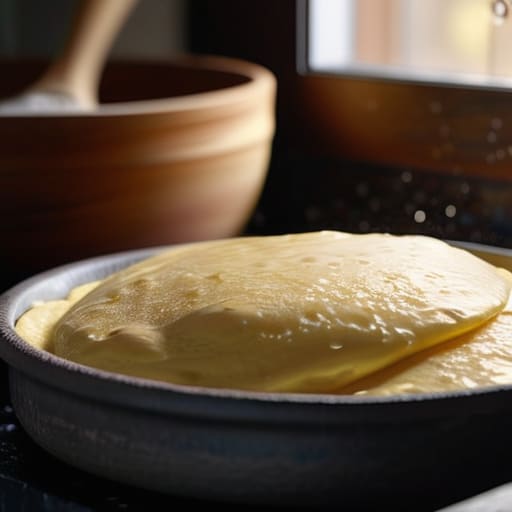
If you’ve spent any time scrolling through those glossy cooking sites, you’ve likely been told that the secret to a perfect dessert is finding the most expensive, artisan brioche or a perfectly sliced loaf of milk bread. That is a lie. If you want to learn truly how to make bread and butter pudding, you need to stop looking for perfection and start looking for stale bread. I spent thirty-four years watching dough rise and fall in my shop, and I can tell you that fresh bread is actually your enemy here; it’s too eager, too soft, and it’ll turn into a sodden, mushy mess before the custard even has a chance to set.
I’m not going to give you a list of fancy ingredients you can’t find at your local grocer, nor will I show you a photograph of a dish that looks like it belongs in a museum. Instead, I’m going to show you how to work with what you have. I’ll teach you how to balance your custard so it’s rich without being cloying, and why the temperature of your oven matters more than the brand of your butter. We’re going to focus on the texture, the soak, and the patience required to turn yesterday’s scraps into something worth the wait.
Recipe Instructions
Step 1
First, you need to get your bread ready, and I don’t mean just slicing it. You want about 450g of bread, preferably something sturdy like a brioche or a day-old sourdough that has had time to go a bit stale and firm. Tear it into chunks by hand rather than using a knife; those uneven edges are what catch the custard and create those lovely, textured nooks.
Step 2
For the custard, we aren’t using measuring cups here. You’ll want 500g of whole milk and 350g of heavy cream—that’s roughly an 80% fat ratio if you’re looking at the liquids—along with 125g of caster sugar and 4 large eggs. Whisk them together with a pinch of nutmeg and a splash of vanilla until they are perfectly integrated, but don’t go overboard with the whisking; you don’t want to whip air into it like you’re making a meringue.
Step 3
Take a heavy baking dish and butter it well—don’t be stingy, the butter is your friend here. Lay your bread chunks in the dish, and if you’re feeling indulgent, tuck some raisins or sultanas between the layers. I like to press the bread down slightly so it’s compact but not crushed, making sure there are plenty of gaps for the liquid to find.
Step 4
Pour your custard mixture over the bread. This is where most people rush, and it’s where they fail. You must let it sit for at least thirty minutes, or better yet, an hour, until the bread has soaked up the liquid like a sponge. If you put it straight in the oven, you’ll end up with a puddle of custard at the bottom and dry bread at the top, and we aren’t interested in half-measures.
Step 5
Finally, slide it into a preheated oven at 160°C. You’re looking for a slow bake, about 45 to 50 minutes, until the top is a deep, golden brown and the center has a gentle, rhythmic wobble when you nudge the dish. If it looks too pale, it’s not done; if it’s shaking like water, give it ten more minutes. Let it rest for a few minutes before you dive in—patience, remember?
Choosing the Best Bread for Pudding and the Creamy Custard Base
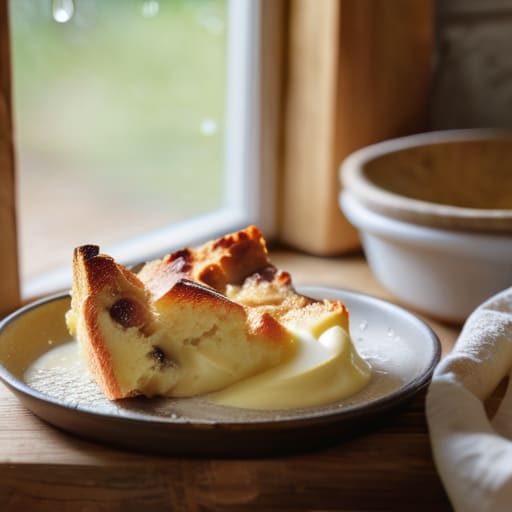
Now, don’t you go buying a fresh, soft loaf from the supermarket and expecting it to hold its own in a dish of custard. That’s a quick way to end up with a soggy, uninspired mess. The best bread for pudding is something that has had a few days to sit on the counter and lose its moisture. A sturdy, slightly crusty sourdough or a dense brioche works wonders because they have the structural integrity to soak up the liquid without collapsing into mush. If you’re looking for an easy dessert using leftover bread, look no further than those end pieces of a farmhouse loaf that have gone a bit tired; they are actually much better suited to the job than anything fresh.
As for that custard, it shouldn’t just be a liquid you pour over the top; it needs to be the soul of the dish. You want a creamy custard base that feels substantial on the tongue, which means don’t skimp on the heavy cream or the egg yolks. If you want to lean into some classic British dessert recipes traditions, a heavy hand with nutmeg or a whisper of cinnamon during the infusion stage will change everything. It’s about building layers of warmth, not just sweetness.
Mastering Oven Baking Temperature for Pudding and Sweet Spice Toppings
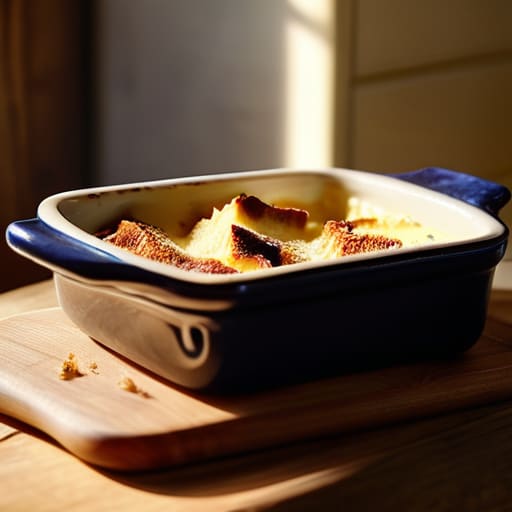
Now, don’t go turning your oven up to high just because you’re in a hurry to eat. If you blast it, you’ll end up with a scorched, crunchy skin and a center that’s still shivering with liquid. The secret to a proper oven baking temperature for pudding is a steady, gentle heat—around 160°C (325°F)—that allows the custard to set from the bottom up. You want it to rise slightly and develop a golden hue, not a blackened crust. If you notice the edges setting too quickly, simply move your dish to the middle rack or tent it loosely with foil. It’s all about the heat moving through the bread, not attacking it.
As for those sweet spice toppings, don’t be afraid to get a little messy. While cinnamon is the standard, I’ve always found a pinch of freshly grated nutmeg or even a whisper of ground cardamom changes the whole conversation. If you’re feeling particularly indulgent, a handful of sultanas soaked in dark rum before they go in will make this an extraordinary easy dessert using leftover bread. Just remember: spices bloom in the heat, so don’t overdo it or you’ll mask the lovely, milky scent of the custard.
The Baker’s Secrets for a Pudding That Doesn't Fall Flat
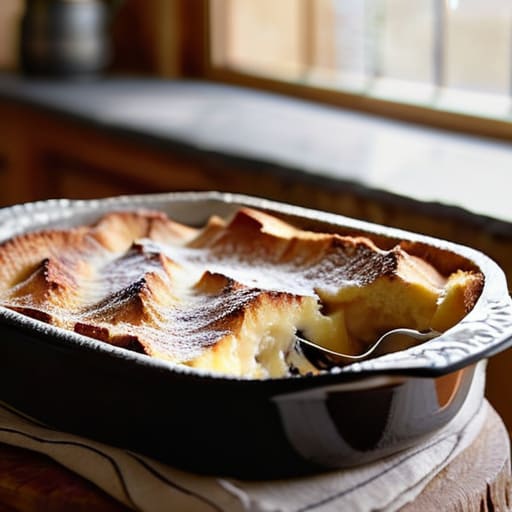
- Stop worrying about the shape of your bread; what matters is the dryness. If your loaf is fresh and soft, it’ll just turn into a sodden, heavy lump in the middle. If you don’t have day-old bread, slice it thin and leave it out on the counter overnight to let the moisture escape. You want it thirsty so it has something to drink when the custard hits.
- Don’t just pour the custard over the top and shove it in the oven. You have to let it sit. Once you’ve combined your bread and liquid, let it rest for at least twenty or thirty minutes before it ever sees a flame. You need to feel that the cubes have actually absorbed the weight of the cream; if they still feel firm and separate, it’s not ready.
- Watch your custard’s temperature, not just the clock. If you’re making your own using eggs and milk, don’t rush the heat. If you blast it, you’ll end up with sweet scrambled eggs instead of a silky base. It should be warm enough to soak into the bread, but never so hot that it shocks the eggs.
- If you like raisins or sultanas, soak them in a bit of brandy or even just warm water first. There is nothing more disappointing than biting into a piece of bread and hitting a hard, shriveled raisin that’s been baked dry. You want them plump and ready to give way.
- Give the top a bit of breathing room. If you’re adding sugar or spices to the surface, don’t pack them in too tight. You want a bit of air to circulate so the top gets that lovely, slightly crisp crust while the bottom stays creamy. It’s all about the contrast between the crunch and the soak.
The Baker’s Final Word on Pudding
Don’t be afraid of a little sogginess; if your bread hasn’t soaked up enough custard to feel heavy and almost reluctant to move, it hasn’t sat long enough.
Trust your hands over the timer—if the custard looks like it’s about to break or the top is browning too fast, adjust your rack or your heat immediately.
Remember that the best pudding comes from the leftovers you didn’t want, so use that day-old loaf and let the time do the heavy lifting for you.
The Last Bit of Heat
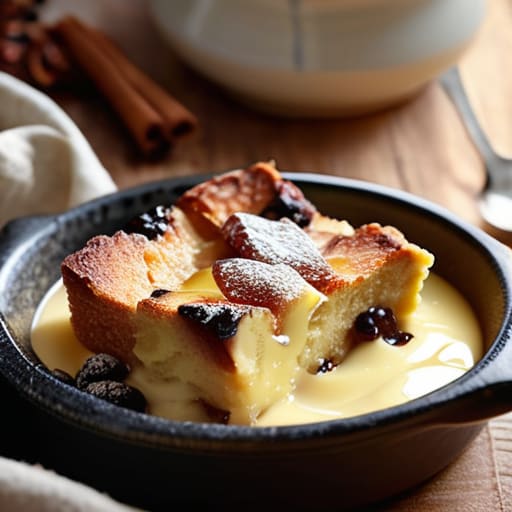
If you’ve done it right, you aren’t just looking at a dish; you’re looking at the result of a few smart choices. You didn’t fight the bread, you let it get stale and thirsty, and you didn’t rush that custard soak. Remember, the secret isn’t in the fancy spices or the expensive raisins, but in that critical window of time where the bread absorbs the cream without turning into a sodden mess. Keep an eye on your oven—if the top is browning too fast while the middle still feels a bit loose, just drop the heat and let it find its center. It’s all about respecting the moisture and the heat, ensuring every spoonful has that heavy, custard-soaked weight that tells you it’s done.
At the end of the day, don’t let a slightly burnt edge or a bit of uneven soaking ruin your appetite. I’ve spent thirty-four years pulling trays out of ovens, and I can tell you that even my mistakes tasted better than anything you could buy in a box. Baking is a conversation between you and the ingredients, and sometimes the conversation gets a little loud or a little quiet. Just trust your hands and your senses more than any timer. A pudding is meant to be warm, messy, and shared with people who don’t mind a bit of custard on their chin. Now, stop reading and go eat.
Frequently Asked Questions
My custard feels far too thin before it goes in the oven; do I need to thicken it on the stove first, or is that just the nature of the soak?
Don’t you dare touch a stove. If you thicken that custard before it hits the bread, you’ll end up with a heavy, custard-coated brick rather than a pudding. It should feel thin—almost like it’s too much liquid—because the bread needs to drink. That “thinness” is just the soak finding its rhythm. Trust the heat of the oven to set the eggs; if you rush it now, you’ll lose the soul of the dish.
Can I use a sourdough loaf if the crust is particularly thick, or will it end up feeling like I'm eating stones in my pudding?
You can certainly use it, but you can’t treat it like a soft brioche. If that crust is thick, you need to lean into the soak. Tear the sourdough into smaller, more irregular chunks than you would with a white loaf—this creates more surface area for the custard to penetrate. Let it sit in the liquid for at least twenty minutes before it even touches the oven. If it feels heavy and sodden, you’re on the right track.
If my kitchen is particularly drafty, should I increase the soaking time to make sure the bread actually absorbs the custard to the core?
Don’t go chasing more time just because there’s a draft; you’ll likely end up with a bowl of mush rather than a pudding with structure. If your kitchen is cold, the custard simply won’t penetrate as efficiently. Instead of soaking longer, keep your bread in a warmer spot while it rests. A bit of warmth helps the starch swell. Trust your hands—if the cubes feel heavy and saturated, they’re ready, regardless of the thermometer.