You can spend all morning obsessing over the perfect crumb or the exact percentage of sugar in your batter, but if you haven’t mastered how to level and layer a cake, you’re just building a house on a sand dune. I remember a wedding cake I pulled from the oven during my third year in the shop; the sponge was divine, but because I’d been too impatient to let the domes settle and hadn’t leveled them properly, the whole thing started a slow, heartbreaking lean toward the floor by the time the bride arrived. It wasn’t a recipe failure, it was a structural one. A cake that isn’t flat isn’t just ugly; it’s a ticking time bomb of sliding frosting and collapsing tiers.
I’m not going to give you a list of expensive, fancy gadgets you don’t need to buy. Instead, I’m going to show you how to use a simple serrated knife and a bit of steady handwork to get those layers perfectly flush. We’ll talk about why temperature matters when you’re slicing and how to stack your layers so they actually stay put. By the time we’re done, you’ll understand that a level cake isn’t about luck—it’s about respect for the physics of the bake.
Guide Overview
Tools & Supplies
- Serrated knife or cake leveler for slicing layers
- Offset spatula for spreading filling
- Turntable for easy rotation
- Cake layers (2-3 layers)
- Frosting or filling (1-2 cups)
- Cake boards or plates (1 unit)
Step-by-Step Instructions
- 1. First, you must let the cakes get completely cold. I don’t care if you’re in a rush to get to a party; if you try to level a warm sponge, it will tear like wet tissue paper and you’ll end up with crumbs where you wanted structure. If you can’t wait, put them in the freezer for thirty minutes, but never, ever work with a cake that still has a hint of warmth in its center.
- 2. Once they are chilled, find your longest serrated knife—the kind you’d use for a crusty sourdough loaf. Don’t use a smooth blade; you need those tiny teeth to saw gently through the crumb rather than crushing it. Hold the knife level, steady your non-dominant hand firmly on the top of the cake, and let the knife do the work. If you press too hard, you aren’t cutting, you’re squashing.
- 3. Now, you have to decide how much of that “dome” is actually useful. Most people think they need to shave off a massive amount, but if your oven was steady, you might only need a thin slice to make it flat. Take those scraps and don’t throw them away; keep them in a bowl to make cake pops or a trifle later, because wasting good flour and eggs is a sin I won’t tolerate.
- 4. Before you even think about stacking, you need a “dam.” Place your first layer on your board and pipe a ring of stiff buttercream around the outer edge. This isn’t just for decoration; it acts as a structural levee to keep your filling from leaking out the sides and making your cake slide like it’s on ice.
- 5. Spoon your filling—be it curd, ganache, or jam—into the center of that ring. Use a small offset spatula to spread it out, but stay well away from the buttercream wall. You want a level surface here, so if your filling is a bit runny, let it sit in the fridge for a moment to set before you even consider adding the next layer.
- 6. When you place the second layer on top, don’t just drop it. Place it gently and then use the flat of your hand to give it a very light press. You aren’t trying to flatten the cake, you’re just ensuring there are no air pockets trapped between the layers that might cause the whole thing to tilt once you’ve applied the final frosting.
- 7. Finally, if the layers feel a bit wobbly, don’t panic. Stick a couple of wooden dowels or even thick straws into the center of the bottom layer to act as a spine. A cake that is well-supported is a cake that won’t suffer a structural collapse when you’re halfway through the decorating process.
Seeking Even Cake Layers Through the Precision of Cake Leveling Tools
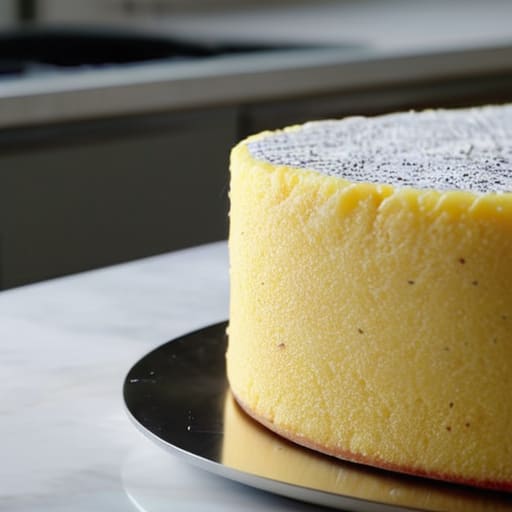
Now, I know what you’re thinking—you’ve got your knife, you’ve got your steady hand, and you’re ready to go. But if you are serious about building something that won’t lean like a tower in a gale, you might want to look into proper cake leveling tools. I spent years trying to eyeball it with a serrated blade, and while it works for a simple sponge, it’s a recipe for frustration when you’re aiming for professional results. A decent cake leveler—the kind with the adjustable wire—takes the guesswork out of the equation. It doesn’t care if your hand shakes a little or if the kitchen is humid; it just gives you a perfectly flat plane every single time.
Using these tools isn’t about being fussy; it’s about cake structural integrity. If your layers aren’t perfectly flush, the weight of the top tiers will find the weakest point and start a slow-motion slide. When you’re practicing cake decorating for beginners, the temptation is to hide those uneven bumps under thick layers of buttercream, but that’s just a temporary fix. A leveler ensures the foundation is honest, so you aren’t fighting the physics of your own creation halfway through the assembly.
Ensuring Cake Structural Integrity by Preventing Cake Sliding
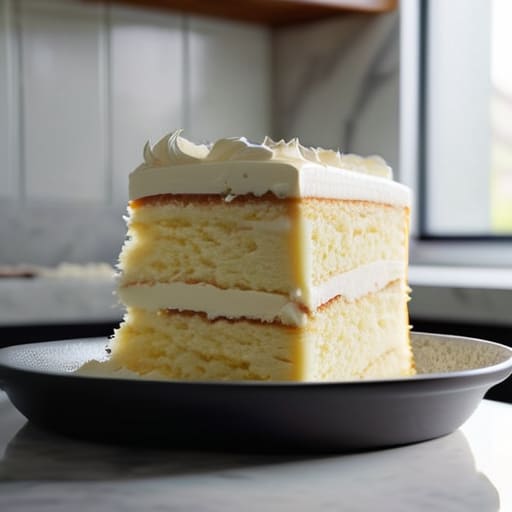
You can spend all morning perfecting your even cake layers, but if you don’t respect the physics of the build, that beautiful work will end up in a heap on the counter. The biggest mistake I see—especially with those just starting out with cake decorating for beginners—is assuming that frosting alone is a structural adhesive. It isn’t. Frosting is a lubricant. If you stack heavy layers on top of a soft, room-temperature buttercream without a plan, you aren’t building a cake; you’re building a slow-motion landslide.
To truly master cake structural integrity, you have to think like an architect, not just a decorator. I always tell people that preventing cake sliding starts with a cold crumb and a steady center. If you are building something taller than a standard sponge, you must use dowels or straws to create a skeleton. These supports carry the weight of the upper tiers so the bottom layers don’t have to. And for heaven’s sake, chill your layers before you even think about stacking them. A cold, firm cake is a stable cake, and stability is the only thing standing between a masterpiece and a mess.
Five Truths from the Bench: Avoiding the Cracks and Slumps
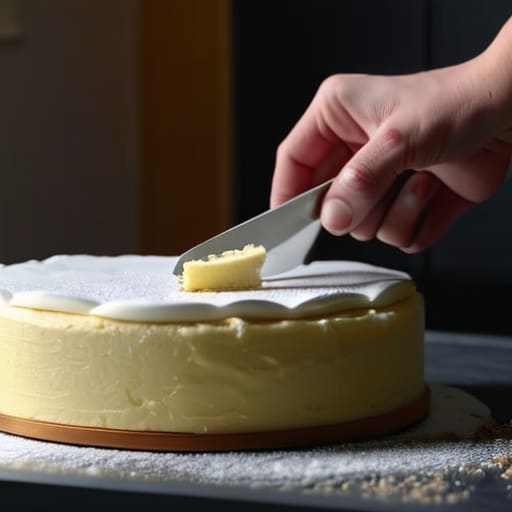
- Chill your layers before you even touch a knife; a warm cake is a fragile, weeping thing that will tear under the slightest pressure, whereas a cold cake behaves like a solid.
- Stop trying to force a knife through a dome; if you feel resistance, you aren’t cutting, you’re crushing, and a crushed crumb will never hold your buttercream steady.
- Use a crumb coat as a structural foundation, not just a cleaning step—that thin, chilled layer of frosting acts like the mortar between bricks, sealing in the loose bits so they don’t ruin your final finish.
- Don’t trust a level that looks flat to your eye; use a spirit level or a simple plumb line if you have to, because a fraction of a degree at the base becomes a leaning tower by the third layer.
- If you find yourself fighting the cake, step away and let it firm up in the fridge; a baker who rushes a temperamental sponge is a baker who ends up with a pile of crumbs and a headache.
The Baker’s Truth: Three Things to Carry with You
Never trust a dome; a cake that looks beautiful in the pan is a cake that will lean like a tired house once you start stacking, so trim those tops flat and even before you even think about the frosting.
Stability is won in the details, not the decorations; if your layers aren’t anchored with a bit of buttercream or a steady hand, all the pretty piping in the world won’t stop your hard work from sliding into a heap.
Respect the temperature of your tools and your hands; a cake that is too warm or a knife that is too dull will tear at the crumb, and once you’ve damaged that structure, you can’t bake it back into shape.
The Final Build
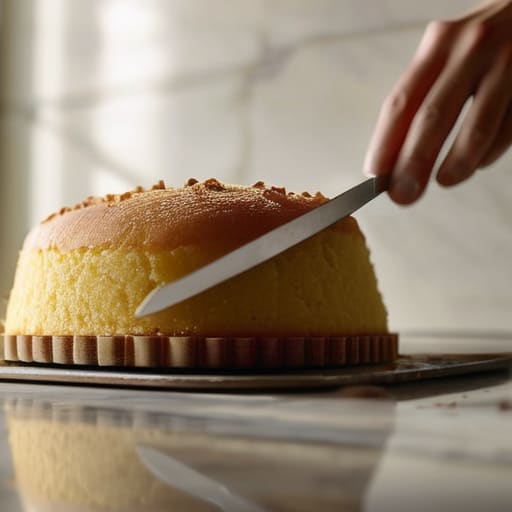
At the end of the day, a beautiful cake isn’t built on luck; it’s built on the quiet work you did before the frosting ever touched the sponge. You’ve learned that leveling isn’t just about making things look pretty for a photograph, but about creating a stable foundation so your hard work doesn’t end up in a heap on the cake board. Remember that whether you are using a professional serrated tool or a steady hand with a knife, the goal is the same: structural integrity. If your layers are flat and your crumb is properly stabilized, you have already won half the battle. Don’t let a slightly uneven dome discourage you; just trim it, trust your measurements, and move forward.
I know it can feel tedious when you just want to get to the decorating, but baking has always been about the discipline of the process. There is a specific kind of peace that comes from knowing your layers are level and your stack is secure, allowing you to focus entirely on the artistry of the finish. Don’t rush the cooling, and don’t be afraid to start again if a layer feels too fragile to hold its own weight. Most importantly, remember that even the most professional baker has had a lopsided cake slide right off the table. It’s not a failure; it’s just a lesson in gravity. Now, take a breath, pick up your spatula, and finish what you started.
Frequently Asked Questions
What if my cake layers are so crumbly that they fall apart the moment I try to level them?
If your layers are crumbling like dry sand, stop fighting them. You’re trying to force a structure that isn’t there. Usually, this means your bake was too dry or your fats were too cold. Don’t reach for the knife; reach for a little simple syrup. Brush the layers liberally to hydrate those crumbs. If they’re still too fragile, freeze them hard first. A cold cake is a structural cake; it’s much easier to handle when it isn’t fighting you.
Is there a way to tell if my layers are actually level just by looking at them before I start cutting?
Don’t trust your eyes at eye level; they’ll lie to you every time. If you want to know the truth, set your cake on a perfectly flat surface—not a countertop that might have a slight dip—and step back. Look at it from a low angle, almost level with the table. If one side seems to be “growing” toward you or casting a shadow where there shouldn’t be one, you’ve got a slope.
How much of the cake am I actually supposed to lose to the scraps when I'm leveling, or am I being too wasteful?
You’re feeling guilty about the scraps, aren’t you? Stop that. If you’re losing ten to fifteen percent of your cake to the knife, you aren’t being wasteful; you’re being honest. A cake that leans or slides isn’t a “rustic” choice—it’s a structural failure. I’d rather see a pile of crumbs on my counter than a wedding cake that looks like it’s mid-collapse. If the scraps bother you, bake a little extra batter next time.