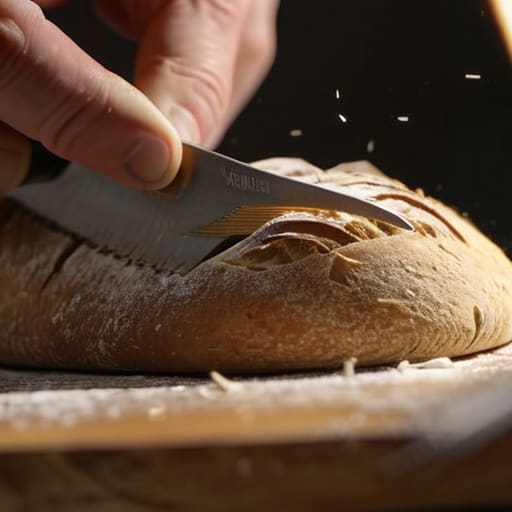
If you’ve spent any time scrolling through those glossy recipe sites, you’ve likely been told that you need a hundred-dollar digital scale, a specialized Dutch oven, and a degree in chemistry to bake a decent loaf. They’ll drown you in jargon and expensive gadgets, promising that this is the only complete guide to bread making you’ll ever need, provided you buy their specific brand of organic heirloom flour. It’s nonsense. I spent thirty-four years in a bakery where the oven had no thermostat and the “equipment” was mostly flour-dusted hands and a heavy wooden table. Most of those fancy tutorials forget the most important thing: bread isn’t a math problem to be solved with expensive tools; it’s a living thing that responds to how you treat it.
I’m not here to sell you a lifestyle or a set of designer bowls. What I am going to give you is the truth about how flour, water, salt, and time actually behave when they meet your kitchen’s temperature. We are going to talk in weights and percentages because I won’t have you losing a bake to a “heaping cup” of flour, and we are going to focus on the feel of the dough rather than the perfection of a photograph. By the time we’re done, you won’t just be following a recipe; you’ll be understanding the alchemy.
Selecting the Right Flour Types for Bread Making
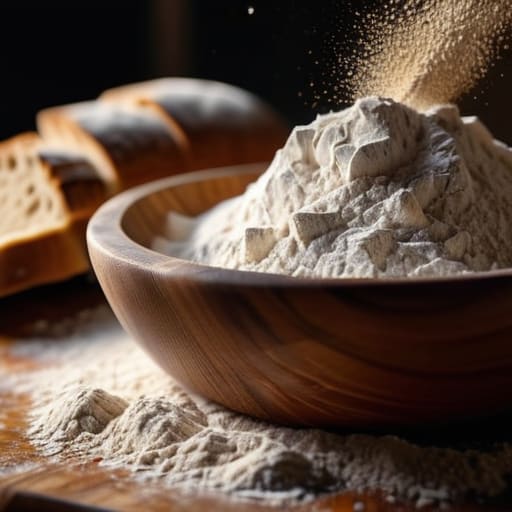
Now, don’t go wandering into the supermarket aisle thinking every white bag is created equal. If you want to see a real artisan bread oven spring, you have to understand what’s actually inside your flour. Most people grab “all-purpose” because it’s easy, but that stuff is often too weak to hold the structure of a serious loaf. You’re looking for protein—specifically, the kind that builds a strong gluten network. For a standard loaf, a good bread flour with about 12% to 13% protein is your baseline. If you’re working with something lower, your dough will likely feel slack and puddle in the bowl, no matter how much you try to shape it.
If you’re moving toward something more specialized, like a long-fermented sourdough, you might want to experiment with whole wheat or rye. These add incredible flavor, but they act like little sponges; they soak up water much faster than white flour. When you’re learning the ropes of flour types for bread making, remember that adding whole grains changes your hydration math entirely. You can’t just swap them one-for-one and expect the same result. You have to listen to the dough and adjust your water accordingly.
Understanding the Living Yeast Fermentation Process
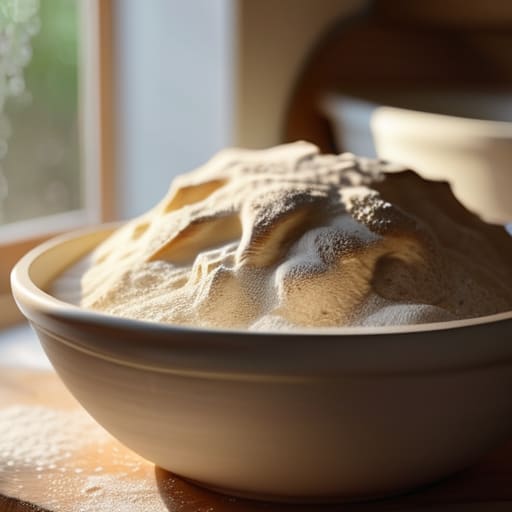
Now, let’s talk about the life inside your bowl. When we talk about the yeast fermentation process, we aren’t just talking about a chemical reaction; we are talking about feeding a living thing. Yeast is hungry, and it is temperamental. It wants warmth, it wants food, and it wants to be left alone to do its work. If you try to rush it by cranking up the heat in your kitchen, you aren’t helping; you’re just making the yeast work too fast, which leads to a dough that lacks depth and tastes like nothing but alcohol.
The real magic happens when you stop looking at the clock and start looking at the bubbles. I can tell you exactly how long a dough has been fermenting just by the way it smells—sweet, slightly tangy, and alive. You must pay close attention to your proofing dough temperature, because a drafty window or a hot radiator can change your timeline by hours. If the dough feels sluggish and heavy, it’s likely too cold. If it feels like it’s about to collapse under its own weight, it’s gone too far. Trust the movement of the dough, not the timer on your phone.
The Things They Don't Tell You in the Cookbooks
- Stop reaching for the measuring cups. If you want to bake bread that actually behaves, you use a scale. I don’t care if the recipe says “two cups of flour”—that’s a guess, not a measurement. I work in grams and percentages because a cup of flour can weigh anywhere from 120 to 160 grams depending on how much you packed it in, and that’s the difference between a beautiful, airy crumb and a heavy, dense brick.
- Learn to read the dough, not the clock. A recipe might tell you to let your dough rise for two hours, but if your kitchen is a drafty stone room in January, two hours won’t do a lick of good. You need to look for the signs: is it doubled in size? Does it feel light and aerated when you poke it? If it hasn’t moved, give it more time. The dough doesn’t care what your timer says.
- Respect the hydration. When I talk about a dough, I’m going to tell you it’s 75% hydration before I tell you how much water to pour. This is vital because it tells you how the dough is going to feel under your hands. A 60% dough is a sturdy, predictable thing that holds its shape easily; a 78% dough is a sticky, soulful, living mess that requires more finesse and a gentle touch.
- Watch your temperature like a hawk. Most beginners blame a “bad” yeast or a “bad” recipe when their bread fails, but usually, they just ignored the room temperature. If your water is too hot, you’re killing your hard work; if it’s too cold, your fermentation will stall entirely. I always aim for a dough temperature around 24-26°C—it’s the sweet spot where the magic happens without getting out of control.
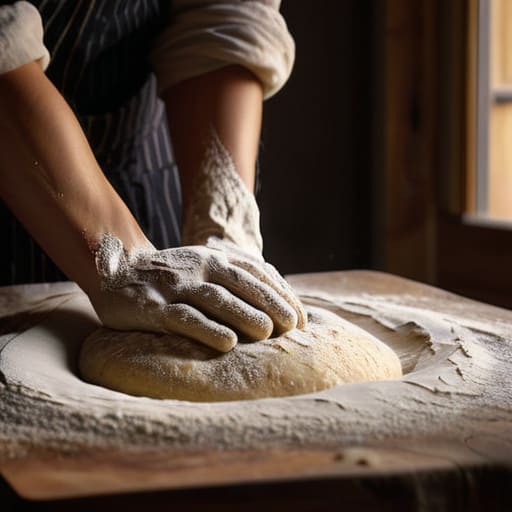
- Be gentle with the gas. When you’re folding or shaping your dough, remember that you are handling millions of tiny bubbles you worked so hard to create. If you manhandle the dough like you’re kneading heavy clay, you’ll knock the life right out of it. Treat it with a bit of respect; you want to build structure, not deflate the very air that makes the bread worth eating.
The Three Truths of the Baker’s Bench
Stop reaching for measuring cups; they are the enemy of consistency. If you want to understand your dough, you must use a scale and speak in percentages. A 75% hydration dough behaves entirely differently than a 65% one, and until you know your numbers, you’re just guessing in the dark.
Your kitchen is an active ingredient in every loaf. If your dough isn’t rising, don’t blame the yeast or the flour—check the temperature of your water and the draft coming through your window. Most “failed” recipes are actually just victims of a cold room or a rushed fermentation.
Trust your hands more than your eyes. A photograph can show you a beautiful crust, but it can’t tell you if the crumb is tight because you handled the dough too roughly or if the structure is weak because you didn’t give it enough time to rest. Learn to feel the tension in the gluten, not just look for the color.
The Baker's Final Word
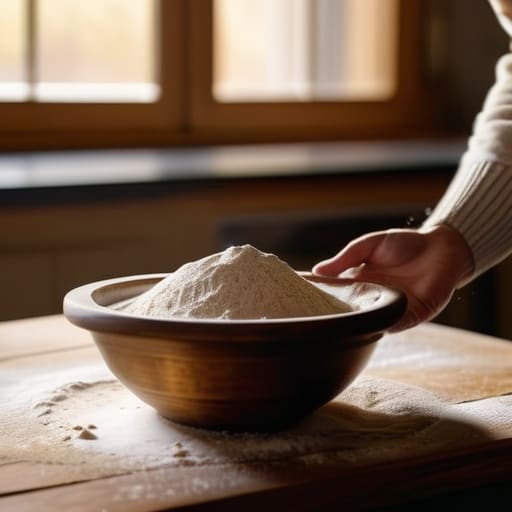
At the end of the day, making bread isn’t about memorizing a list of steps; it is about understanding how your flour, water, and yeast are behaving in your specific kitchen. We have talked about choosing the right protein levels in your flour and how to respect the slow, living dance of fermentation, but none of those technicalities matter if you ignore the environment around you. Remember that your scale is your best friend and your hands are your best sensors. If the dough feels slack, give it more time; if it feels tight and angry, let it rest. You cannot force a loaf to rise faster by turning up the heat, and you cannot fix a rushed fermentation with more salt. Trust the process over the clock.
I spent thirty-four years waking up before the sun just to see how a specific batch of dough would respond to a humid Tuesday or a biting winter morning. I’ve ruined more loaves than I care to admit, but every single failure taught me more than a perfect bake ever could. Don’t let a flat loaf or a heavy crumb discourage you from trying again tomorrow. Bread is a conversation between you and the ingredients, and sometimes, you just need to listen a little longer. So, flour your bench, check your temperatures, and most importantly, have the patience to let the dough tell you when it is ready.
Frequently Asked Questions
My dough feels like a sticky, unmanageable mess—is my hydration too high, or have I just not developed enough strength yet?
Don’t panic; a sticky mess is often just a dough that hasn’t found its backbone yet. If you’re running at 75% hydration or higher, it’s going to feel unruly at first. You haven’t failed; you’ve just skipped the structural development. Stop adding flour—that’s how you kill the crumb. Instead, give it more time and a few more sets of folds. Once that gluten network tightens, that “mess” will turn into silk.
Why does my bread come out heavy and dense even when I follow the timings exactly?
You’re following the clock, but you aren’t following the dough. Timings are just suggestions; they don’t know if your kitchen is a drafty cellar or a sun-drenched pantry. If your loaf is dense, you’ve likely under-proofed it because you were too eager to bake, or your water was a few degrees too cold, stalling the yeast. Stop staring at the timer and start watching the bubbles and the spring. Trust the dough, not the clock.
If I'm using a sourdough starter instead of commercial yeast, how do I adjust my weights and fermentation schedule to compensate?
Switching to sourdough isn’t just swapping ingredients; it’s changing the clock. You’ll likely use a 20% inoculation—that’s your starter weight relative to your flour. Because a starter is a slow, wild dance compared to the sprint of commercial yeast, you must extend your bulk fermentation. Don’t watch the timer; watch the dough. It needs to look aerated and feel jiggly, not just hit a specific minute mark. Patience is your new primary ingredient.