I’ve spent thirty-four years watching people throw away perfectly good flour because they thought a collapsed crust meant they’d failed a “test.” You’ll see it all over the internet: expensive additives, fancy new “foolproof” flour blends, or complicated gadgets promised to save your bake. Let me tell you something—none of that nonsense will teach you how to fix a flat loaf. When that dough hits the oven and instead of reaching for the sky, it just spreads out like a puddle, it isn’t because you bought the wrong brand of salt or lacked a high-tech mixer. It’s usually because your kitchen was a drafty tomb, or your hands were far too impatient with the fermentation.
I’m not here to sell you a miracle ingredient or a new way to measure by volume; I’m here to tell you what the dough is trying to say. We are going to look at the actual mechanics—the temperature, the hydration, and the rhythm of your hands—to figure out exactly where the air went. I promise to give you the truth about why your bread didn’t rise, so you can stop guessing and start actually understanding your dough.
Neglected Gluten Development Techniques and Weak Structure
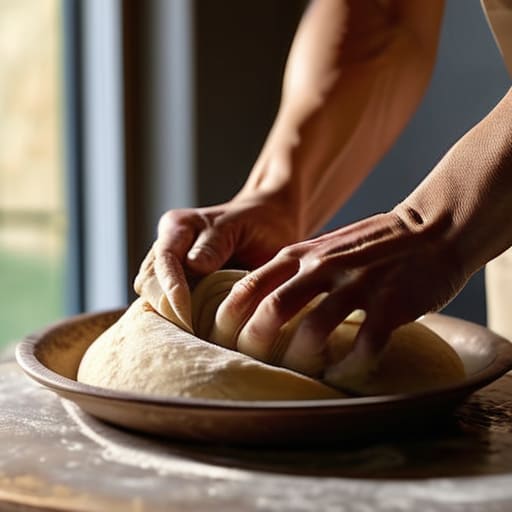
Now, if your dough looks like a puddle of soup rather than a cohesive ball, we need to talk about your bread dough structure. You can have the finest flour in the county, but if you haven’t built the internal scaffolding necessary to hold those gases, your loaf will simply surrender the moment it hits the heat. I see so many people skip the folds because they are in a hurry, thinking that a few minutes of vigorous kneading is enough. It isn’t. You aren’t just mixing ingredients; you are weaving a web.
If you find yourself struggling with a slack mass, you likely need to revisit your gluten development techniques. I prefer a series of gentle stretch-and-folds every thirty minutes during the initial bulk fermentation. This builds strength without tearing the delicate fibers we’re trying to cultivate. If you’ve pushed your sourdough hydration levels too high without the corresponding strength to support it, the dough will feel like it’s melting through your fingers. Don’t panic, though; just stop, let it rest, and give it the structural discipline it’s begging for.
The Silent Sabotage of Mismanaged Sourdough Hydration Levels
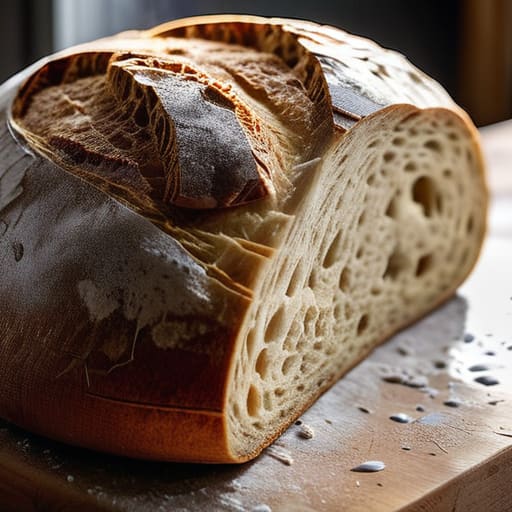
Now, let’s talk about the water. If you’re looking at a puddle of dough that has no intention of holding its shape, the culprit is almost certainly your sourdough hydration levels. I see people chasing those high-percentage, “open crumb” recipes they see online, thinking more water equals more magic. But water is a structural challenge, not just an ingredient. If you jump from 70% to 85% hydration without understanding how your flour handles that liquid, you aren’t baking bread; you’re managing a soup.
When the hydration is too high for the strength of your flour, the bread dough structure simply cannot support the gas produced during the yeast fermentation process. The bubbles expand, but the walls of the dough are too thin and weak to hold them, leading to a loaf that spreads sideways like a pancake instead of climbing upwards. If your dough feels slack and unmanageable, don’t just keep adding water to “help” it. You need to balance that moisture with more vigorous folding or, quite frankly, a bit of humility and a lower percentage until your technique catches up to your ambition.
Five Ways to Stop Your Dough From Giving Up the Ghost
- Watch your thermometer, not just the clock. If your kitchen is sitting at 18°C (64°F) and you’re trying to proof a high-hydration dough, it’s going to sit there like a stone. You can’t rush fermentation, but you can certainly provide a warmer, more consistent environment—like a turned-off oven with the light on—to give those yeasts the encouragement they need to actually move.
- Stop treating your dough like a stranger. If you’re seeing a flat, slack mess, you likely haven’t built enough tension during your shaping. You need to feel that skin tighten under your palms. If the dough feels like a wet rag rather than a bouncy, elastic ball, you haven’t given it the structural integrity it needs to hold its own weight once it hits the heat.
- Respect the “over-proof” warning signs. There is a very fine line between a well-fermented dough and a dough that has exhausted itself. If your loaf looks like it’s straining to hold its shape even before it goes into the oven, or if it feels bubbly and fragile like a soap bubble, you’ve gone too far. It has run out of gas, and no amount of scoring will save a loaf that has already collapsed internally.
- Check your salt, and check it early. Salt isn’t just for flavor; it’s a regulator. It tightens the gluten network and slows down fermentation so you don’t overshoot your window. If you’re forgetting the salt or adding it too late, the dough will ferment wildly and then lose its ability to hold structure, leaving you with a pancake instead of a boule.
- Mind your flour’s strength. You can’t bake a sturdy loaf with flour that lacks the protein to back it up. If you’re using a low-protein pastry flour for a high-hydration sourdough, you’re fighting a losing battle from the start. The flour needs enough muscle to carry the water, or the dough will simply spread outward rather than upward.
Lessons from a Flat Loaf
Stop blaming your flour and start looking at your thermometer; a cold kitchen will stall a fermentation every single time, no matter how much starter you use.
Respect the dough’s strength by giving it the folds it asks for, because a flat loaf is often just a dough that never learned how to hold its own weight.
Ditch the measuring cups for a scale and learn to feel the hydration; if the dough feels like a puddle instead of a supple, elastic living thing, your percentages are off.
The Baker’s Final Lesson
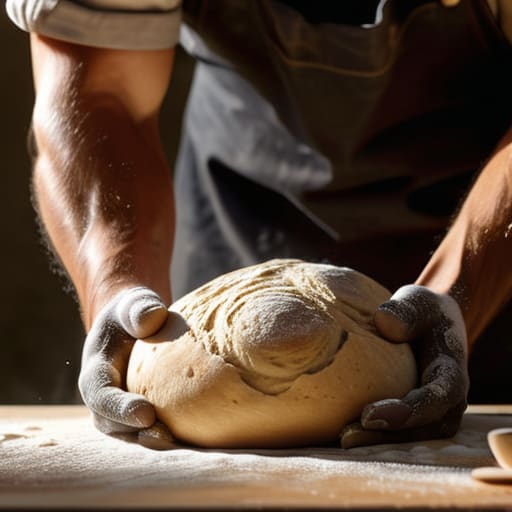
At the end of the day, a flat loaf is rarely a mystery; it is a conversation between you and your environment that you simply haven’t finished having yet. Whether you neglected to build that gluten network through proper folding, or you let your hydration climb too high without the strength to support it, the answer lies in the physicality of the dough. Stop looking for a mistake in the flour measurements and start looking at your kitchen temperature, your timing, and how much respect you gave the fermentation process. If you can master the relationship between strength and water, you stop being someone who follows a recipe and start being someone who actually understands bread.
Don’t let a collapsed crumb make you want to sweep the flour off the bench and walk away. I’ve spent thirty-four years pulling trays out of the oven, and I can tell you truthfully that even the best bakers have days where the dough just refuses to cooperate. The difference between a hobbyist and a baker is that the baker knows a failed loaf is just instructional data for the next one. Dust your hands, check your starter, and remember that patience is the only ingredient you cannot buy in a bag. Tomorrow morning, the oven will be hot again, and you will try again.
Frequently Asked Questions
My dough felt perfectly elastic during the folds, so why did it still pancake out the moment I shaped it?
If it felt elastic during folds but flattened like a pancake during shaping, you’ve likely over-proofed. You were feeling the strength of the gluten, yes, but you pushed the fermentation too far. The dough’s structure was exhausted; the gases had expanded the cell walls to their absolute limit, and once you touched it to shape it, the tension simply vanished. It wasn’t a lack of strength, it was a lack of stamina. Watch your bulk fermentation more closely next time.
If I suspect my kitchen temperature is the culprit, should I move the dough to a warmer spot mid-rise, or will that shock the yeast?
Don’t you dare move it suddenly. If you take a dough that’s been sitting in a 65°F kitchen and shove it next to a radiator, you’ll shock the yeast and end up with an uneven, structural mess. Instead, find a slightly warmer spot—like inside an oven that’s turned off with the light on—and let it drift toward that warmth. Gentle transitions are everything; dough doesn’t like surprises, and neither do I.
I used the weights you suggested, but my dough still feels much slack and wetter than yours does—is my flour just too weak for this hydration?
It’s likely your flour, darling. If you’re running at 78% hydration with a standard supermarket all-purpose, you’re asking for trouble; that flour simply hasn’t the protein strength to hold that much water. It’ll feel like a puddle because the gluten can’t build a scaffold. Try dropping to 72% or find a high-protein bread flour. Don’t fight the dough—if it feels like it’s melting through your fingers, it’s telling you it’s overwhelmed.