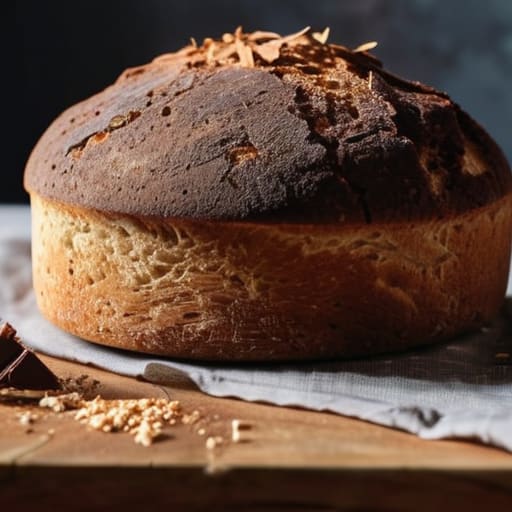
Most people will tell you that the secret to a good loaf is how much muscle you can put into it, but they are lying to you. They think if you aren’t sweating over a floured counter, you aren’t really baking. I spent thirty years working a wood-fired oven that demanded everything from my shoulders, so I know a thing or two about hard work, but I also know that when it comes to learning how to make no knead bread, your hands are actually your biggest liability. If you try to force the structure, you’ll just tear the gluten apart; the real magic happens when you step away and let time do the heavy lifting for you.
I’m not going to give you a glossy, filtered recipe that promises perfection in an hour. Instead, I’m going to give you the actual mechanics of the dough—the hydration levels, the temperature shifts, and the way it should feel under your fingertips when it’s finally ready. We are going to focus on the science of patience rather than a list of complicated steps. By the time we’re done, you won’t just have a loaf; you’ll understand why it rose.
Recipe Details
Ingredients
- 3 cups All-purpose or Bread flour
- 1.5 cups Warm water
- 1.5 tsp Salt
- 0.5 tsp Active dry yeast
Recipe Instructions
Step 1
First, get your scales out. We aren’t using measuring cups here; they are too imprecise for a proper dough. You’ll need 400g of strong bread flour (which is 100%), 300g of room temperature water (75% hydration), 8g of fine sea salt (2%), and 1g of instant yeast (0.25%). Mix them in a large bowl until no dry flour remains. It’s going to look like a shaggy, unappealing mess, and that is exactly how it should be. Don’t try to smooth it out; just ensure the water has found every bit of flour.
Step 2
Cover that bowl tightly with plastic wrap or a damp cloth and leave it on your counter. Now, this is where most people stumble because they want to see progress. You aren’t going to do anything for at least 12 to 18 hours. We are letting the enzymes do the heavy lifting that your arms would otherwise have to do. If your kitchen is particularly chilly, lean toward the 18-hour mark; if it’s warm, 12 might be plenty.
Step 3
Once the dough has doubled in size and looks bubbly and alive, it’s time to shape it. Sprinkle a heavy hand of flour onto your work surface. Gently tip the dough out—don’t punch it, for heaven’s sake—and fold the edges toward the center to create a loose ball. It should feel soft and pillowy, like a cushion, not tight and resistant. If you fight the dough, it will fight you back.
Step 4
Place your dough ball into a heavy Dutch oven that you’ve preheated in the oven at 230°C (450°F). The pot needs to be screaming hot to mimic a professional hearth. Carefully drop the dough into the pot, put the lid on, and bake for 30 minutes. That lid is crucial; it traps the steam escaping from the dough, which is the only way you’ll get that crackly, golden crust instead of a dull, hard one.
Step 5
Remove the lid for the final 15 minutes of baking. This is when the magic happens and the color deepens into a rich chestnut. When you pull it out, it might sound hollow if you tap the bottom, but do not slice into it immediately. I know it smells heavenly, but the bread is still cooking inside. If you cut it while it’s steaming hot, you’ll ruin the crumb and turn it gummy. Let it rest on a wire rack for at least an hour. Patience is the final, and most important, step.
Mastering Flour Water Salt Yeast Ratios for Perfection
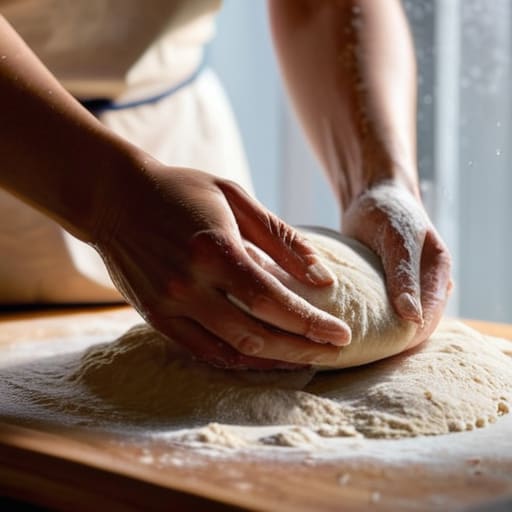
When people ask me about the secret to a good loaf, they expect me to name a fancy brand of flour or a specific type of yeast. They don’t realize that the real magic lies in the flour water salt yeast ratios. In the recipe I gave you, we are working with a high hydration—about 75%—which is why the dough feels a bit like a sticky, unruly child. If you find the dough too difficult to handle, don’t go adding more flour; that’s the quickest way to turn a light, airy loaf into a dense brick. Instead, focus on your handling technique. A little more patience during the folding process will do more for your crumb than any extra scoop of flour ever could.
If you want to experiment, remember that these ratios are your foundation. You can lean into a slower overnight bread dough rising to develop more complex, tangy flavors, almost like a sourdough without the headache. If your kitchen is particularly chilly, don’t panic—just give it more time. The dough doesn’t care about your schedule; it only cares about the temperature.
The Magic of Overnight Bread Dough Rising
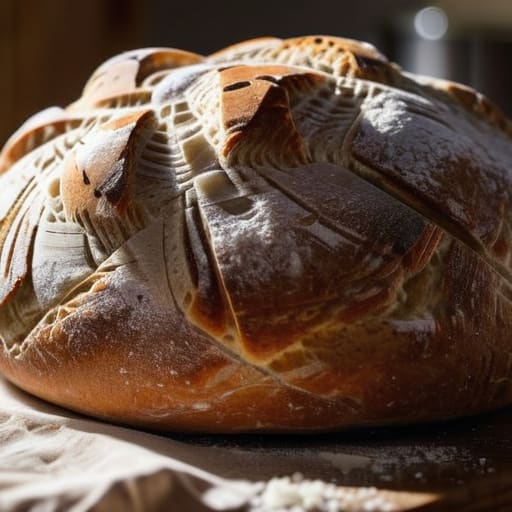
Now, don’t go thinking that leaving the dough on the counter all night is just a way to save yourself some work. It isn’t. What you’re actually doing is stepping out of the way and letting the artisan bread fermentation process do the heavy lifting that your hands used to do. When you give a dough twelve to eighteen hours to sit, you aren’t just waiting; you are allowing enzymes to break down those starches into complex sugars. That is where the flavor lives. If you try to rush this by adding more yeast, you’ll end up with a loaf that tastes like nothing but nothingness.
I’ve seen many a beginner panic when they see large, irregular bubbles forming in the bowl the next morning. Don’t you dare poke them or deflate them out of nervousness. Those bubbles are the proof that the time was spent well. This overnight bread dough rising period is when the structure builds itself. If your kitchen is particularly chilly, don’t fret—just give it an extra hour or two. The dough will tell you when it’s ready; it will look slumped, aerated, and slightly shiny. Just listen to it.
Five Things Your Recipe Won't Tell You
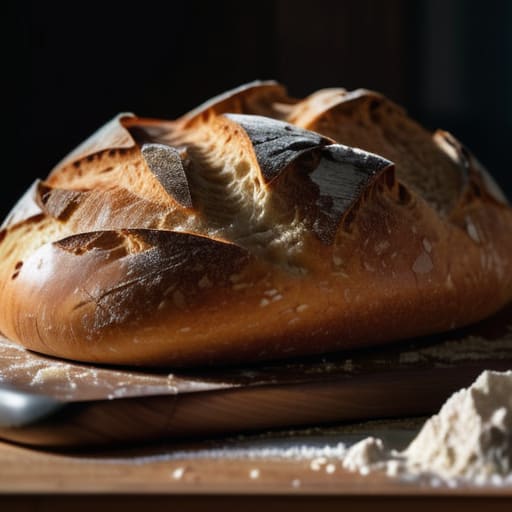
- Stop looking at the clock and start looking at the room. If your kitchen is drafty or cold, that “overnight” rise might turn into a “two-day” rise. Don’t panic; just let the dough do what it needs to do. The dough doesn’t care about your schedule, and neither should you.
- Watch your water temperature like it’s gold. I always aim for a dough temperature around 25% higher than the ambient air if I’m working in a chilly house. If you use water straight from a cold tap in January, you’re essentially putting your yeast to sleep for the night.
- Stop poking it so much. No-knead bread relies on a slow, structural development of gluten through hydration, not through your physical strength. Every time you aggressively fold it when you should be letting it rest, you’re breaking the very tension you’re trying to build.
- Use a scale, not a measuring cup. I don’t care if the recipe says two cups of flour; that’s a lie depending on how tightly you pack that cup. Stick to my weights—75% hydration is a beautiful, tacky thing, but if you’re guessing with cups, you’ll end up with a brick.
- The steam is your best friend in the oven. Since we aren’t building a massive amount of tension through kneading, we need that initial burst of steam to keep the crust soft while the bread expands. If you aren’t using a heavy Dutch oven to trap that moisture, you’re making toast, not bread.
The Three Things That Actually Matter
Stop looking at the clock and start looking at the dough; a recipe might tell you twelve hours, but if your kitchen is drafty and cold, that dough isn’t finished until it actually looks alive and bubbly.
Throw your measuring cups in the back of the pantry and use a scale, because even a slight error in a “cup of flour” is enough to throw your hydration off and turn a beautiful loaf into a dense brick.
Respect the fermentation, not just the ingredients; no-knead bread relies on time to build structure, so if you try to rush the process by adding more yeast, you’ll end up with a loaf that tastes like a brewery instead of a bakery.
The Baker's Final Word
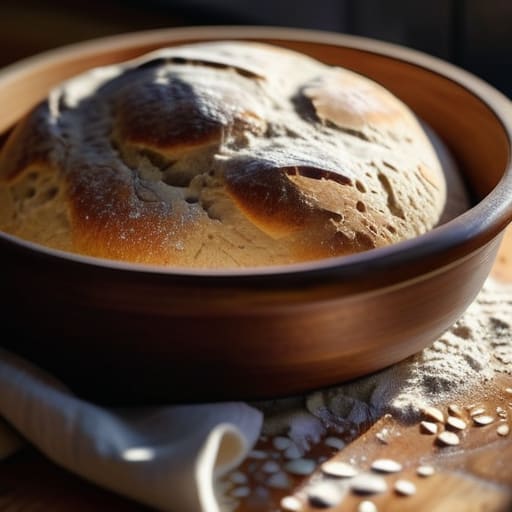
If you walk away with nothing else, remember that no-knead bread isn’t about the lack of effort; it is about the surrender of control. We have talked about why your hydration matters—that 75% to 80% range is where the magic lives—and why you must respect the ambient temperature of your kitchen rather than fighting it. You don’t need a heavy stand mixer or the strength of a professional to get a decent crust; you just need to understand that time is your primary tool. If the dough feels too slack, don’t panic and add more flour like it’s a mistake; just give it another hour to relax and find its own strength.
I spent thirty-four years watching dough rise in the dim light of a pre-dawn bakery, and I can tell you that the most beautiful loaves are rarely the ones that look like the pictures in a magazine. They are the ones that smell like life and have a crumb that tells a story of a slow, quiet night. Don’t be afraid if your first loaf is a bit lopsided or if the bottom is a little too dark. Baking is a conversation between you and the flour, and perfection is a moving target. Just keep your hands gentle, your scale accurate, and remember that the best bread is the kind you make with a bit of soul and a lot of patience.
Frequently Asked Questions
My dough didn't rise much overnight; did I use too little yeast or was my kitchen just too cold?
It’s almost certainly the temperature, not the yeast. If your kitchen was chilly, those little microbes simply went to sleep instead of working. Yeast is a living thing; it needs warmth to thrive. Next time, try tucking your bowl inside a turned-off oven with the light on. It’s a gentle, steady warmth that mimics a summer afternoon. Don’t go dumping in more yeast—that just makes bread taste like a brewery. Give it warmth and time instead.
Why is my no-knead loaf coming out gummy in the middle instead of having that airy crumb?
If your center is gummy, you haven’t finished the job. Most people pull the loaf out because the crust looks dark, but the heart is still wet. It’s usually one of two things: your oven wasn’t hot enough to set the structure, or you sliced it too soon. If you cut into a warm loaf, the steam escapes too fast and turns the crumb into glue. Let it rest. Truly. Wait until it’s cold.
Can I use a different type of flour, or will a lower protein content ruin the structure since I'm not kneading it?
You can, but you have to respect the physics. Since we aren’t building structure with our hands, we’re relying on the gluten to develop itself over time. If you drop down to a low-protein pastry flour, that dough will feel slack and puddle like porridge; it won’t hold the gases. If you must swap, try a blend, but keep your hydration a touch lower. If the dough feels too wet to hold a shape, it’s because your flour can’t handle the water.