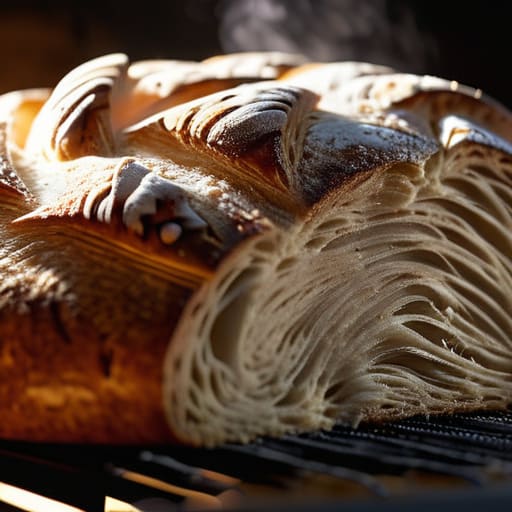
Most people think that learning how to make ciabatta requires a high-tech kitchen or a specialized mixer that costs more than my first car, but they couldn’t be more wrong. I spent thirty years in a bakery where the only thing “high-tech” was a heavy wooden table and a window that let in the morning light, and let me tell you, the dough didn’t care about the gadgets. The real struggle isn’t the equipment; it’s that most recipes treat hydration like a suggestion rather than the soul of the bread. If you’re trying to follow a guide that tells you to use measuring cups, you’ve already lost the battle before the flour even hits the water.
I’m not here to sell you on a lifestyle or show you a polished photograph of a loaf that looks perfect but tastes like nothing. Instead, I’m going to show you how to work with a high-hydration dough that actually behaves, focusing on the temperature and the feel of the gluten rather than a timer on your phone. We are going to use weights, we are going to respect the fermentation, and I will teach you how to listen to the dough so you can finally master the art of the open crumb.
Recipe Details
Ingredients
- 500g Bread flour
- 400ml Warm water
- 10g Sea salt
- 7g Active dry yeast
- 5g Sugar
Recipe Instructions
Step 1
First, we need to get our ingredients on the scale. For this loaf, we’re looking at a high hydration of 80%. You’ll need 500g of strong bread flour, 400g of room-temperature water, 10g of sea salt, and 5g of instant yeast. Don’t go hunting for a measuring cup; if you try to “scoop” your way through a ciabatta, you’ll end up with a brick instead of a cloud. Mix the flour and yeast in a large bowl, then pour in the water. Use your hand to swirl it until no dry flour remains. It will look like a shaggy, unappealing mess, but don’t panic—that’s exactly how it should look.
Step 2
Now, we let the salt do its work. Sprinkle the 10g of salt over that wet mass and dimple it in with your fingers. Instead of traditional kneading—which would be a crime against this much water—we are going to use the autolyse and fold method. Cover the bowl with a damp cloth and let it rest for 30 minutes. This gives the flour time to actually drink the water and start building its own strength without you having to manhandle it.
Step 3
We need to build structure through “strength building,” not through muscle. Over the next two hours, you’ll perform a series of stretch and folds. Every 30 minutes, reach under one side of the dough, pull it up high until you feel the tension, and fold it over the center. Rotate the bowl and do this four times. You’ll notice that by the third set, the dough stops feeling like a puddle and starts feeling alive and elastic. If your kitchen is particularly chilly, don’t be afraid to give it an extra 30 minutes of rest between folds; dough doesn’t follow a clock, it follows the temperature.
Step 4
Once the dough has doubled in size and is filled with visible bubbles, it’s time for the shaping. This is where most people fail because they are too rough. Ciabatta means “slipper” in Italian, and it should be flat and airy. Heavily flour your work surface—don’t be shy, we need the flour to prevent sticking—and gently tip the dough out. Do not degas the dough like you’re punching a bag; you want to preserve every single one of those precious air pockets. Use a bench scraper to gently guide the dough into a rough rectangle, fold it once over itself, and let it sit for 20 minutes.
Step 5
Finally, we bake. Preheat your oven to 240°C (about 465°F) with a heavy baking stone or an inverted tray inside. Carefully slide your dough onto a piece of parchment paper, making sure you haven’t popped the bubbles, and get it into the oven. For the first ten minutes, I want you to toss a handful of ice cubes into a hot pan at the bottom of the oven. That burst of steam is what creates the thin, crackly crust that defines a proper ciabatta. Bake for another 15-20 minutes until the crust is a deep, golden brown. Most importantly: let it cool on a wire rack before you even think about slicing it. If you cut it while it’s hot, the steam escapes and the inside turns gummy. Patience, remember?
Mastering High Hydration Dough Techniques and Flour Protein Content
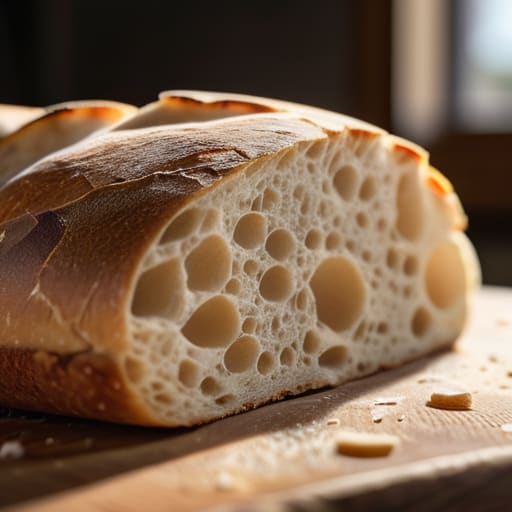
If you’re staring at that pool of wet dough and feeling like you’ve made a mistake, stop. You haven’t. That slack, sticky mess is exactly what you want for a proper open crumb structure. The secret isn’t in more flour; it’s in the flour protein content for ciabatta. You need a bread flour with a high protein count—think 12.5% or higher—to give you the structural strength to hold all that water. If you use a weak, all-purpose flour, you’ll just end up with a gummy puddle that refuses to hold its shape.
Because we aren’t working with a stiff dough that you can punch or knead like a standard sandwich loaf, you have to be gentle. I rely heavily on the stretch and fold method during the bulk fermentation. Instead of wrestling the dough, you simply reach under it, pull it up, and fold it over itself. This builds strength without knocking the air out. It’s a conversation, really; you’re teaching the gluten to support itself. If the dough feels like it’s fighting you, give it more time to relax.
The Stretch and Fold Method for an Open Crumb Structure
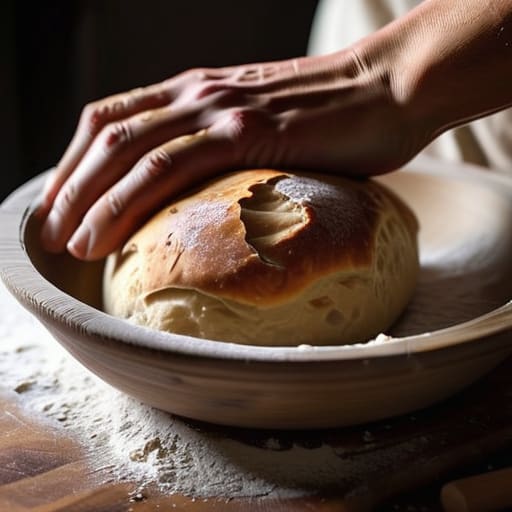
Now, if you’ve followed the weights I gave you, you’re likely staring at a bowl of something that looks more like a puddle than a loaf. Don’t panic; that’s exactly where we want to be. Because we are working with such a high water content, you cannot treat this dough like a standard sandwich loaf. You won’t be kneading it on a floured counter until your forearms ache—that would just tear the life right out of it. Instead, we rely on the stretch and fold method to build strength. Every thirty minutes or so, reach under the dough, pull it upward until you feel that slight resistance, and fold it over itself. It’s a gentle conversation between your hands and the gluten.
As you repeat these folds, you’ll notice the texture shifting from a slack mess to something that holds its shape with a certain supple dignity. This is how we achieve that elusive open crumb structure—those beautiful, irregular air pockets that make a ciabatta worth the effort. If you rush this, or if your kitchen is too chilly to let the fermentation move at its own pace, you’ll end up with a dense, gummy center. Be patient. Let the dough develop its own architecture through time and touch, rather than trying to force it into submission.
Five Truths for a Loaf That Actually Breathes
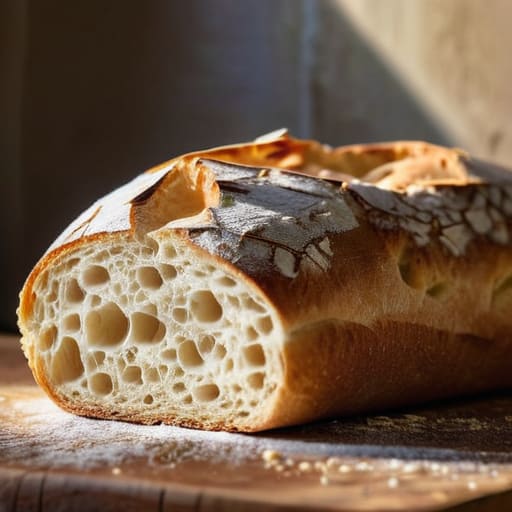
- Stop fighting the stickiness. At 80% hydration, your dough is going to look like a mess, and that’s exactly how it should be. If you try to knead it like a standard sandwich loaf, you’ll knock the life right out of it. Use wet hands, not flour, to move it around. Flour is for the work surface at the end; if you add it now, you’re just messing with the math and making the dough heavy.
- Watch the temperature, not the clock. If your kitchen is a chilly 18°C (64°F), that dough is going to take its sweet time, and that’s fine. But if you’re working in a warm kitchen, it’ll move like a sprinter. Don’t trust a timer to tell you when the bulk fermentation is done; trust the bubbles and the way the dough feels like it’s pushing back against your palm.
- Respect the “slap and fold.” Since we aren’t traditional kneading, you need to build strength through tension. When you’re doing your folds, don’t be shy. You want to feel that gluten structure starting to wake up—it goes from being a puddle to feeling like a cohesive, elastic membrane. If it feels limp and lifeless, it needs more time and more gentle encouragement.
- Handle it like it’s made of glass during the shaping stage. This is where most people ruin a perfectly good ciabatta. Once you’ve achieved that beautiful, airy structure, the last thing you want to do is squeeze the air out of it. Gently tip the dough onto a heavily floured surface, divide it, and let it settle. If you manhandle it, you’ll end up with a dense brick instead of those glorious, gaping holes we’re after.
- Use steam to give it room to grow. When that dough hits the oven, it needs a sudden burst of moisture to keep the crust soft for those first few minutes. Without steam, the crust sets too quickly and traps the bread, preventing the “oven spring.” Whether you’re using a Dutch oven or a tray of boiling water in the bottom of your oven, make sure that heat is wet and aggressive.
The Three Truths of a Good Ciabatta
Stop looking at the clock and start looking at the dough; fermentation isn’t a countdown, it’s a biological process that responds to your kitchen’s temperature, not the timer on your oven.
Respect the water—at 80% hydration or higher, the dough will feel like a living, slippery thing that wants to escape your hands, so don’t try to fight it with heavy kneading, just guide it with gentle folds.
Precision is your only friend when it comes to ingredients; use a scale to weigh your flour and water every single time, because a single cup of “flour” can vary enough to turn a beautiful, airy loaf into a dense brick.
The Last Rise
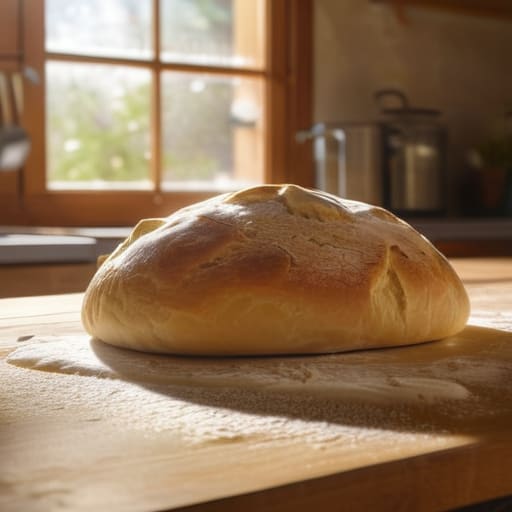
If you’ve followed along, you know that ciabatta isn’t something you can bully into submission. We’ve talked about why that 80% hydration is non-negotiable for those big, beautiful air pockets, and why you must respect the flour’s protein content to keep that structure from collapsing. Remember, those stretch and folds aren’t just chores; they are how you build strength in a dough that wants to be liquid. If your kitchen was a bit too chilly today and the bulk fermentation felt sluggish, don’t panic and don’t add more yeast. Just watch the dough, not the clock, and wait for it to show you that pillowy, aerated life before it ever touches the oven.
At the end of the day, your first loaf might look more like a flat pancake than a professional boule, and that is perfectly fine. I spent my first few years at the bakery fighting with dough that refused to cooperate, and every “failure” taught me more about temperature and handling than any textbook ever could. Baking is a conversation between your hands and the grain, and sometimes the grain needs a little more time to speak. So, clean your scale, wipe down your bench, and remember that patience is your most vital ingredient. The crust will crisp, the crumb will open, and the smell of toasted flour will make every minute of waiting worth it.
Frequently Asked Questions
My dough feels like a puddle of soup and won't hold any shape at all; am I using the wrong flour or is my hydration just too high?
Don’t panic; a puddle isn’t a failure, it’s just a dough that hasn’t found its strength yet. If you’re at 80% hydration or higher, it’s going to behave like soup initially. It’s likely not the flour, but a lack of structure. Give it more time and more frequent stretch-and-folds. You have to build that gluten network through handling, not just ingredients. Wait for it to feel tacky and elastic, not just wet.
Why did my ciabatta come out heavy and dense instead of having those big, beautiful air pockets I see in photos?
It’s rarely the recipe, darling; it’s usually the handling. If your crumb is tight, you’ve likely either under-proofed the dough or, more commonly, you were too rough during the final shaping. High hydration dough is a living thing—it needs air, not a squeeze. You might also have worked it too much, degassing those precious bubbles you spent hours building. Check your kitchen temperature; if it’s chilly, that yeast is just sleeping on the job.
I don't have a professional steam oven—how can I get that thin, crispy crust at home without the dough drying out too fast?
Don’t fret about the fancy equipment; a professional steam oven is just a way to keep moisture from escaping. At home, you want a Dutch oven. It traps the steam the dough releases itself, creating that perfect, thin crust without drying out the interior. If you don’t have one, toss a few ice cubes into a heavy tray at the bottom of your oven right as you slide the loaf in. It’s crude, but it works.