Stop looking for the “secret ingredient” or that expensive, high-tech mixer that promises to do the work for you. If you think your pizza is failing because you lack a fancy stone or a specific brand of imported flour, you’ve been lied to by people who have never had to pull a tray out of a wood-fired oven at four in the morning. Most people struggle with how to make pizza dough because they are too busy watching a timer and not nearly busy enough watching the dough. You can follow a recipe to the letter, but if your kitchen is drafty or your hands are too aggressive with the gluten, that dough is going to fight you every step of the way.
I’m not here to give you a list of complicated steps that require a chemistry degree; I’m here to teach you how to feel the life in the flour. I will show you exactly how to manage your hydration—we’re looking at a lovely 65% here—and how to respect the time it takes for yeast to actually wake up. By the time we’re done, you won’t need a photograph to know your dough is ready; you’ll know it in your bones.
Recipe Instructions
Step 1
First, we need to get our weights sorted. For a standard dough that won’t fight you too much, you’ll want 500g of strong bread flour (100%), 325g of water (65% hydration), 10g of fine sea salt (2%), and 3g of instant yeast (0.6%). Don’t go grabbing a measuring cup; they are notoriously dishonest about how much flour you’re actually putting in the bowl. Pour your water into a large vessel first, then whisk in your yeast until it’s just dissolved, and finally add your flour and salt.
Step 2
Now, we mix. Use your hand or a sturdy spoon to bring the flour into the water until no dry patches remain. It will look like a shaggy, unappealing mess, but don’t let that fool you. Cover the bowl with a damp cloth and let it rest for about twenty minutes—I call this an autolyse, though I never cared much for the fancy names. This simple rest allows the flour to fully hydrate so the gluten starts forming itself without you having to break your back.
Step 3
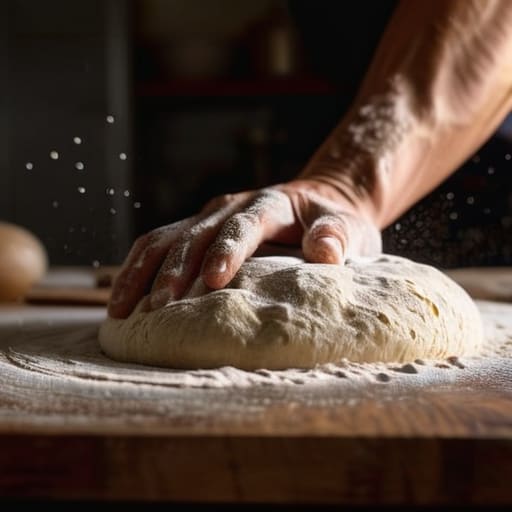
It’s time to work the dough. Turn it out onto a clean surface—no need for extra flour, just use what’s already in the dough—and begin your kneading. If you’re doing it by hand, push the dough away with the heel of your palm, fold it back, turn it, and repeat. You aren’t looking for a specific number of minutes; you are looking for the texture to change. You want it to go from a sticky, lumpy clump to something that feels smooth, elastic, and slightly bouncy under your fingers.
Step 4
Once the dough feels alive, shape it into a tight, smooth ball and place it in a lightly oiled bowl. Cover it properly; a drafty kitchen is the fastest way to kill a rise. Now, you must wait. Depending on how warm your kitchen is, this could take an hour or three. If your house is chilly, don’t panic and turn the oven on—just be patient. You’re looking for the dough to roughly double in size and look full of tiny, gentle air bubbles.
Step 5
When the dough is ready, gently tip it onto a floured surface. I don’t want to see you using a rolling pin; that’s just a way of squeezing all the hard work out of the air bubbles we just spent hours building. Instead, use your fingertips to press the dough outward from the center, leaving the edges a bit thicker to create that beautiful crust. If the dough keeps snapping back like a rubber band, it’s still too tight—let it rest for ten minutes and try again.
Flour Protein Content and the Yeast Activation Process
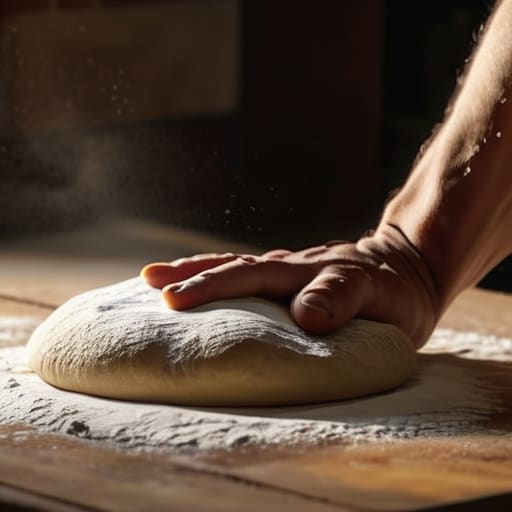
If you’re looking for that airy, charred crust you see in the streets of Naples, you have to stop treating flour like it’s all the same. The secret isn’t in the oven; it’s in the flour protein content for pizza. If you use a weak, all-purpose flour, your dough will simply lack the structural backbone to hold those beautiful air bubbles. You want something with strength—something that can stand up to the stretch. I always tell my neighbors to look for a high-protein bread flour or, if they can find it, a proper “00” flour. It provides the gluten network necessary to trap the gases, turning a flat cracker into a true Neapolitan style dough.
Then there is the yeast. People get so nervous about the yeast activation process, treating it like a delicate chemistry experiment, but yeast is a living thing, not a lab specimen. If you’re using active dry, let it bloom in warm water until it’s foamy; if you’re using instant, just mix it in. The real trick is understanding that yeast is a slave to temperature. If your kitchen is a drafty cellar, your dough will take its sweet time; if it’s a sauna, it’ll run away from you. Watch the dough, not the clock.
High Hydration Dough Tips and Neapolitan Style Dough
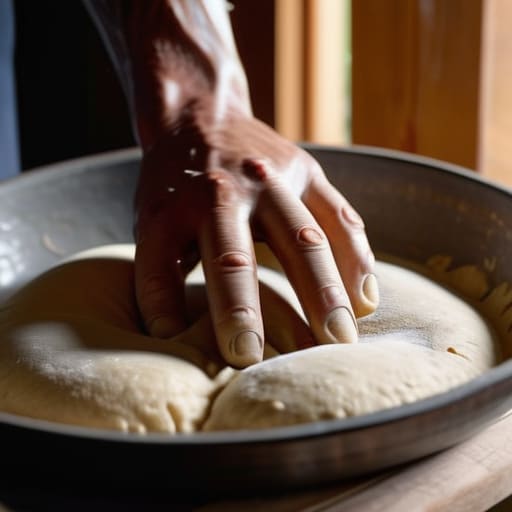
If you find yourself craving that airy, blistered crust you see in those Roman pizzerias, you’ll need to experiment with some high hydration dough tips. Moving from a standard 60% hydration up to 65% or even 70% changes everything; the dough stops being a manageable ball and starts acting more like a living, breathing creature. It will be sticky, yes, and it will fight you if you try to manhandle it. My advice? Stop trying to fight the stickiness with extra flour. Instead, lean into gentle folds rather than aggressive kneading. If you use a mixer, you might overwork the gluten before you even realize it, so I always prefer watching the dough develop its strength through a series of rhythmic folds.
For those chasing a true Neapolitan style dough, remember that simplicity is your greatest tool. You aren’t looking for a heavy, bready texture, but a light, digestible crumb. This requires a mastery of dough proofing techniques, specifically a long, cold ferment in the fridge. This slow chill allows the enzymes to do the work that heat cannot, creating those beautiful charred bubbles without making the dough feel like a brick in your stomach.
Five Things the Recipe Won't Tell You
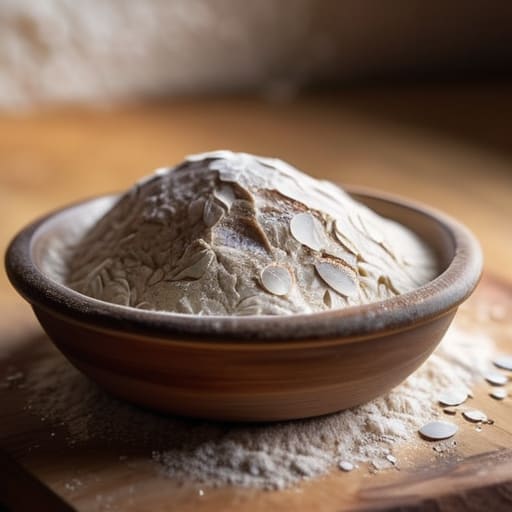
- Stop watching the clock and start watching the dough. If your kitchen is a drafty five degrees colder than usual, that dough is going to take longer to wake up, and that is perfectly fine. Don’t rush it just because a timer went off; wait until it actually looks aerated and feels light.
- Temperature is your invisible ingredient. If you use water straight from the tap in the middle of winter, you’re essentially putting your yeast into a deep sleep before it even starts working. Use lukewarm water—not hot, never hot—to give the yeast a gentle nudge rather than a shock.
- Learn the language of your hands. A dough shouldn’t feel like a heavy lump of clay; it should feel alive, slightly tacky, and responsive. If it feels tight and stubborn, it needs more time to relax; if it’s a puddle, it needs more strength through folds, not necessarily more flour.
- Resist the urge to add “dusting flour” during the shaping process. Every time you throw extra flour onto the bench to make things easier for yourself, you’re messing with your hydration percentage and drying out the crumb. Use just enough to keep it from sticking, and not a gram more.
- Give the dough its dignity during the final proof. If you manhandle it or slam it around right before it hits the oven, you’ll knock out all that beautiful gas you spent hours cultivating. Handle it like it’s made of silk, not like you’re punching a bag.
Three Things to Carry in Your Mind When the Flour Hits the Table
Trust your hands, not the clock; if the dough feels tight and stubborn, it needs more time to relax, even if the recipe says it should be ready.
Ditch the measuring cups for good and use a scale, because a “cup” of flour can vary by twenty grams depending on how hard you pack it, and twenty grams is the difference between a supple dough and a brick.
Watch the temperature of your kitchen as closely as you watch the oven, because a cold room will steal your fermentation time and a hot room will make your yeast run through its life cycle before you’ve even shaped the loaf.
The Final Proof
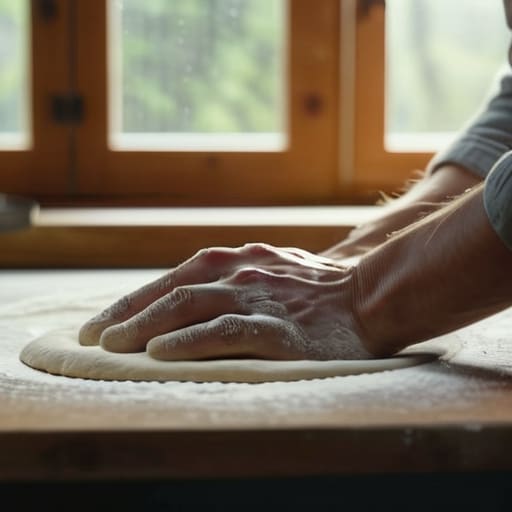
At the end of the day, making a proper pizza dough isn’t about following a list of commands; it’s about understanding the relationship between your flour, your water, and the air in your kitchen. We’ve talked about why you need to respect that protein content and why a higher hydration requires a gentler touch, but remember that the scale is your best friend and the temperature of your hands is your most honest guide. If your dough feels tight, give it time to relax; if it feels slack, don’t panic and start dumping in flour like you’re trying to bury a secret. Most mistakes are just the dough trying to tell you that the room is too cold or you’re moving a bit too fast.
Don’t let a flat crust or a gummy center discourage you from reaching for the flour again tomorrow. I spent thirty-four years watching dough rise and fall, and I can tell you that even the most seasoned bakers have days where the yeast decides to take a nap. The magic happens in that quiet space between the mixing and the baking, where you stop looking at the clock and start listening to the dough. Put your phone away, get your hands a little dusty, and just enjoy the process. That is where the real flavor lives.
Frequently Asked Questions
My dough feels like a sticky, unmanageable mess instead of a smooth ball; did I use too much water or is my flour just weak?
Don’t panic; a sticky mess is just a dough that hasn’t found its rhythm yet. If you’re at 65% hydration and it’s weeping, your flour likely lacks the protein to hold that water, or you haven’t let it autolyse long enough to absorb it. Give it twenty minutes to rest. If it’s still a disaster, add flour 2% at a time, but watch your hands—don’t fight the dough, just guide it.
I followed the weights exactly, but my dough isn't rising nearly as much as the pictures show—is my kitchen too cold or is my yeast dead?
Don’t go blaming the yeast just yet; it’s usually the room, not the fungus. If your kitchen is sitting at 65°F, that dough is essentially hibernating, not dying. It’s slow, but it’s working. Check your water temperature next—if it was too cold, you’ve just put the yeast to sleep. Give it time and a warmer spot, perhaps near the oven, and let it find its rhythm. Dough doesn’t follow a clock; it follows the heat.
How can I tell if I've over-kneaded the dough by feeling the texture, rather than just watching the clock?
You’ll know you’ve gone too far when the dough stops feeling like a living thing and starts feeling like a rubber band. It’ll lose that soft, pillowy elasticity and become bouncy, almost snapping back aggressively when you poke it. If it feels tight, angry, and begins to tear rather than stretch, you’ve broken the structure. Stop listening to the timer; listen to your palms. You want it supple and smooth, not stubborn and springy.