I’ve spent thirty-four years watching people treat gluten-free baking like some sort of dark magic or a high-priced science experiment that requires a laboratory to master. They’ll hand you a bag of expensive, pre-mixed flour and tell you it’s a miracle, but when your loaf comes out looking like a dense, sandy brick, they won’t tell you why. Most of these online tutorials are nothing more than a collection of pretty photographs that ignore the reality of how moisture and starch actually behave. If you are looking for a complete guide to gluten free baking that relies on fancy additives and “magic” ingredients to fix a lack of structure, you’ve come to the wrong kitchen.
I’m not here to sell you a proprietary blend or a way to pretend you’re making wheat bread. I want to teach you how to understand the ratios and the hydration so you can actually feel when a dough is ready. We are going to talk about weights, temperatures, and why your binders are behaving like temperamental teenagers. My promise to you is simple: no fluff, no expensive gimmicks, just the honest mechanics of how to make something edible and delicious using real, predictable logic.
Decoding the Alchemy of Gluten Free Flour Blends
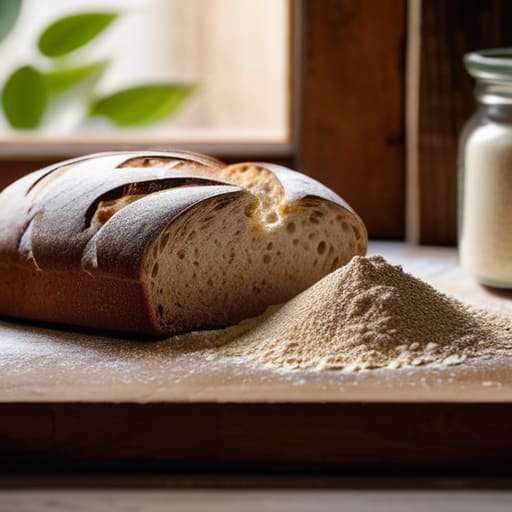
Most people approach a bag of pre-mixed gluten free flour blends as if it were a magic potion, but if you want to actually understand the science, you have to look past the label. When you are replacing wheat flour in baking, you aren’t just swapping one powder for another; you are trying to reconstruct a structural engine that isn’t there. Wheat has gluten to hold the gases from your yeast, but in a gluten-free world, that structure has to be built from scratch using starches and proteins. If your loaf comes out looking like a dense brick, it’s likely because your blend lacks the right balance of “heaviness” from something like sorghum or millet to offset the “lightness” of potato or tapioca starch.
Then there is the matter of the binder, the glue that keeps the whole thing from turning into a pile of crumbs. You’ll see a lot of talk about xanthan gum vs guar gum, and while both serve to mimic that elastic pull, they behave differently under heat. Xanthan is a workhorse that provides a reliable structure, whereas guar can sometimes feel a bit more “gummy” if you aren’t careful with your hydration. Don’t just dump it in; pay attention to how the dough responds to the moisture. If it feels like wet sand, your binder hasn’t done its job yet.
Mastering Gluten Free Bread Science Through Ratios
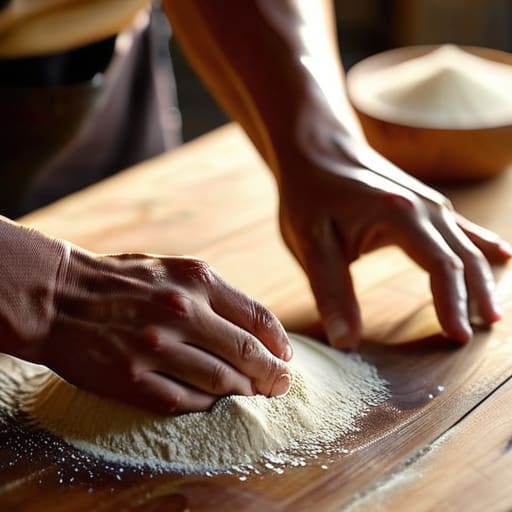
If you want to understand gluten free bread science, you have to stop thinking about “flour” as a single thing and start thinking about it as a structural foundation. In a wheat loaf, the gluten is the scaffolding; in our world, we have to build that scaffolding from scratch using starches and gums. I always start with my hydration levels. For a standard gluten-free loaf, I’m looking at roughly 85% to 95% hydration depending on the thirstiness of my blend. If you try to treat a gluten-free dough like a wheat dough and keep it stiff, you’ll end up with a brick that could break a tooth.
The real magic—and the real frustration—lies in the binders. You’ll often see people debating xanthan gum vs guar gum, and while both serve to mimic that elastic pull we miss, they behave differently under heat. Xanthan is a workhorse that provides excellent structure, whereas guar can sometimes make things feel a bit more gummy if you aren’t careful. Don’t just follow a list of ingredients; feel the dough. It should be more like a thick, tacky paste than a traditional ball of dough. If it feels like it’s fighting your hands, it’s likely too dry. Give it a moment to hydrate, or better yet, give it more water.
Five Truths to Keep Your Gluten-Free Loaves from Crumbing
- Forget the “cup” and find a scale; in gluten-free baking, a single extra ounce of flour can turn a supple dough into a dry, sandy brick, so always work in weights and percentages to keep your hydration consistent.
- Treat your dough like a living thing, not a clock; because gluten-free blends rely heavily on starches and gums, they don’t always rise on a schedule, so you must watch the dough’s volume and feel rather than staring at the timer.
- Don’t be afraid of a little extra moisture; gluten-free flours are thirstier than wheat, so if your dough feels like stiff clay instead of a soft, tacky mass, you likely need to increase your hydration by 3% to 5% to prevent a crumb that feels like sawdust.
- Give your flour time to hydrate; I never rush a mix, and you shouldn’t either—letting your batter or dough rest for twenty minutes before the final shaping allows those thirsty starches to fully absorb the water, which stops that gritty, unpleasant mouthfeel.
- Temperature is your silent partner; if your kitchen is drafty, your binders won’t perform and your rise will stall, so keep your proofing environment warm and steady to give those starches the energy they need to hold their structure.
The Baker's Truths for Gluten-Free Success
Stop reaching for the measuring cups; if you aren’t using a scale to track your weights and percentages, you are merely guessing, and gluten-free flour is far too temperamental to leave to chance.
Listen to the dough with your hands, not your eyes; since you don’t have the structural “spring” of gluten to rely on, you must learn to feel when the hydration is right and when the dough needs more rest to settle.
Respect the environment as much as the ingredients; a cold kitchen or a rushed proofing period will ruin a gluten-free loaf faster than a bad flour blend ever could, so give your dough the time and warmth it demands.
The Baker's Final Word
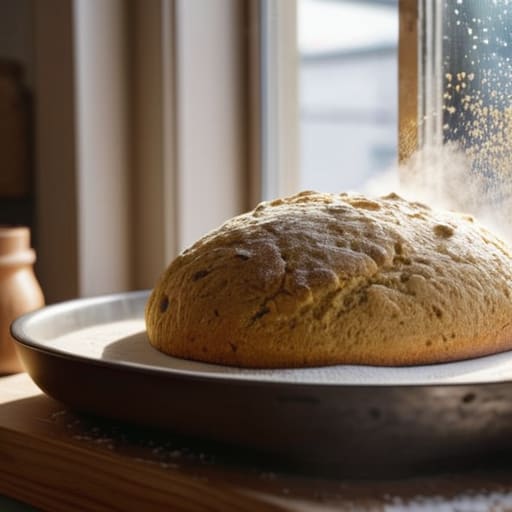
If you’ve followed along this far, you know that gluten-free baking isn’t about finding a magic bag of flour that does the work for you; it’s about understanding the mechanics of what you’re actually doing. We’ve talked about why those percentages matter, why your hydration levels will shift depending on whether you’re using rice flour or potato starch, and why a scale is your most honest friend in the kitchen. Remember, if your loaf comes out heavy or crumbly, don’t go hunting for a new recipe immediately. Look at your ambient temperature, check if you rushed the proof, or see if your binders were properly hydrated. Most failures aren’t written in the ingredients, they are hidden in the handling and the timing.
At the end of the day, your kitchen is going to be a mess of fine dust and sticky dough, and that is exactly how it should be. You will have days where the crumb is tight and the crust is dull, and you will have days where the smell of a fresh, golden loaf makes your heart ache in the best way possible. Don’t let the fear of a “failed” bake keep you from the bench. Baking is a conversation between your hands and the flour, and even the mistakes teach you something about the grain. So, set your scale, watch your dough instead of a timer, and trust your senses above all else. Patience is the only ingredient you can’t buy, so use it generously.
Frequently Asked Questions
Why do my gluten-free loaves always turn out gummy or dense in the middle, even when I follow the weights exactly?
If your weights are spot on but the middle is still gummy, you’re likely fighting a battle with moisture or structure. Most people rush the bake or underestimate how much water those starches crave. If the crumb feels like wet sand, you’ve either pulled it out too early or your hydration is fighting a lack of binder. Trust your thermometer, not the clock; that center needs to reach temperature to set properly.
If I'm using a different flour blend than the one suggested, how do I adjust my hydration percentage so the dough doesn't turn into a puddle?
Listen, every blend is a different beast. One might have more rice flour, which drinks water like a parched traveler, while another is heavy on starches and sits there like a wet sponge. If your dough looks like a puddle, you’ve overshot your hydration. Don’t panic. Start with 5% less water than the recipe calls for, then add it back, a tablespoon at a time, until the dough feels tacky but holds its shape.
How much can I actually rely on commercial xanthan gum, or should I be looking at other binders to get the structure right?
Xanthan gum is a fine tool, but don’t treat it like a magic wand. It’s a stabilizer, not a structural engineer. If you rely solely on it, your loaves will end up gummy and dense, like wet sand. I prefer a blend—perhaps a bit of psyllium husk alongside your xanthan. The husk gives that lovely, elastic pull that mimics real gluten, while the xanthan holds the gas. Trust the texture, not just the label.