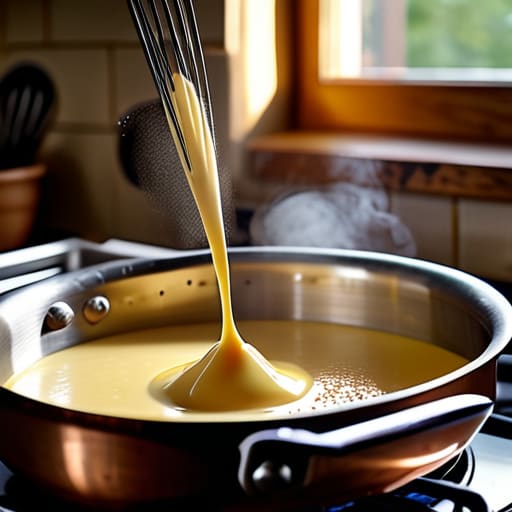
I remember the first time a young woman walked into my bakery, looking absolutely defeated because her “gluten-free” loaf had come out of her oven looking less like bread and more like a heavy, damp brick. She’d followed a recipe to the letter, but she was looking for a miracle in a bag of expensive, pre-mixed flour. That’s the great lie of the modern kitchen: that you can just swap wheat for a bag of sawdust and expect the same magic. The truth about how gluten free baking differs isn’t found in a fancy brand name or a “special” ingredient; it’s found in the fact that you’ve lost the very glue that holds a crumb together. You aren’t just changing flours; you are rebuilding the architecture of the bread from the ground up.
I’m not here to sell you a proprietary blend or tell you that you need a laboratory to bake a decent muffin. I’m going to tell you how to think about hydration, binders, and structure so you can stop guessing. We are going to look at the science of what’s missing and, more importantly, how to replace it using weights and logic rather than luck.
Replacing Gluten in Bread Without the Crutch of Protein
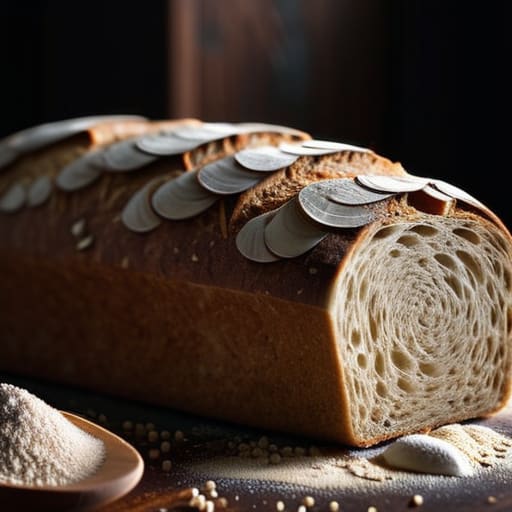
When you’re working with wheat, the gluten is your scaffolding; it’s the invisible web that catches the gas and holds the shape. When you start replacing gluten in bread, you aren’t just swapping one powder for another—you are trying to build a house without a frame. Since you don’t have that elastic protein to do the heavy lifting, you have to get clever with your flour blend ratios for baking. I never trust a single-flour approach; you need the starch from something like potato or tapioca to provide the “give,” paired with something more structural like buckwheat or sorghum to prevent the loaf from turning into a dense, gummy brick.
The real trick, though, is mimicking the stretch. This is where people get tripped up by the chemistry of binders. You’ll often see debates about xanthan gum vs guar gum, but to me, it’s less about the name and more about how they handle moisture retention in gluten free flour. Xanthan is a workhorse that provides a reliable, albeit slightly more rigid, structure, whereas guar can sometimes feel a bit more temperamental in a warm kitchen. You aren’t just looking for a glue; you’re looking for a way to trap air so your bread actually breathes.
The Crucial Math of Flour Blend Ratios for Baking
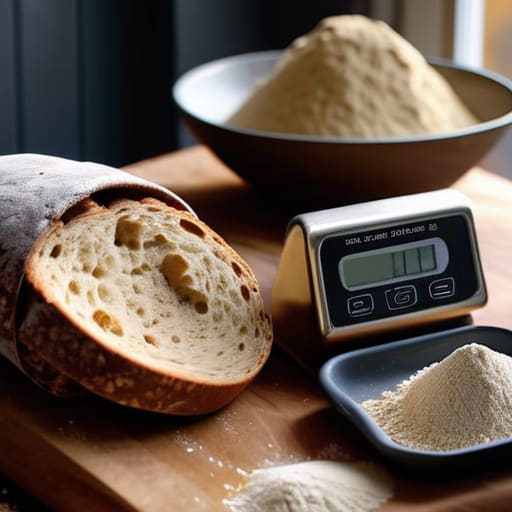
If you’ve spent any time in a kitchen, you know that a cup of flour is a liar. One person’s cup is packed tight like a brick, and another’s is light as a feather. When you’re working with gluten-free ingredients, that inconsistency is even more dangerous. You cannot rely on volume; you have to rely on the scale. To get a decent crumb, you need to master your flour blend ratios for baking by looking at the protein content in alternative flours. If you’re using nothing but rice flour, your loaf will be a sandcastle—it’ll crumble the moment you look at it. You need the heavy hitters like sorghum or millet to provide some backbone, balanced against the lighter starches to keep it from feeling like a lead weight in your stomach.
It’s a delicate balancing act of structure and hydration. Because you aren’t relying on a gluten network to trap gases, you’re essentially building a scaffolding out of starch and gums. This is where people often trip up: they focus so much on the dry ingredients that they forget about moisture retention in gluten free flour. These alternative starches are thirsty; they’ll soak up water differently than wheat ever did. If your math is off, you’ll end up with a loaf that is either a gummy mess or a dry cracker. You have to watch how the dough responds to the liquid, not just how the numbers on the page look.
The Baker’s Intuition: Five Things Your Flour Blend Won't Tell You
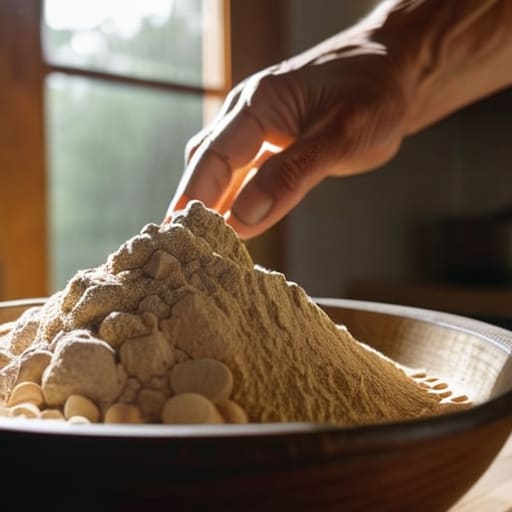
- Stop looking for “elasticity” and start looking for “viscosity.” In my old shop, I could feel the gluten fighting back against my hands; in gluten-free baking, there is no fight. You aren’t building tension, you’re managing a thick, heavy paste. If your batter feels like wet sand, you’ve failed the hydration; it should feel more like a heavy, slow-moving sludge that holds its shape when you lift the spoon.
- Hydration is your new best friend, but she’s a fickle one. Because you’re likely using starches like tapioca or arrowroot alongside your rice flours, those ingredients are thirsty—thirstier than wheat. If you use a standard “cup” measurement, you’ll end up with a crumb that feels like sawdust. I always tell people to aim for a higher hydration percentage than they think they need, because those starches will drink up the moisture while the dough sits on the counter.
- Respect the “Resting Period” or don’t bother starting. When I worked the wood-fired oven, I knew dough needed time to relax. With gluten-free blends, that time is even more critical. You need to let your batter sit for at least twenty to thirty minutes before it hits the heat. This allows the much coarser rice flours to fully hydrate, which is the only way to prevent that gritty, sandy texture that ruins a perfectly good loaf.
- Temperature isn’t just about the oven; it’s about the moisture. In wheat baking, a cold kitchen slows fermentation. In gluten-free baking, a cold kitchen can turn your dough into a brick because you lack the protein network to trap those precious gases. If your kitchen is drafty, warm your liquids. You need that thermal energy to help those starches gelatinize properly during the bake.
- Abandon the idea of “kneading.” If I ever saw a novice trying to knead a gluten-free dough like a sourdough, I’d have to step in. You aren’t developing anything by working it aggressively; you’re just knocking the air out of a structure that is already fragile. Instead, think of it as “folding” or “incorporating.” You want to be gentle, moving the mass just enough to ensure the binders—be they xanthan gum or psyllium husk—are evenly distributed through the weight of the flour.
What to Carry in Your Pocket When You Leave the Kitchen
Stop looking for a “replacement” and start looking for a “reconstruction”—you aren’t just swapping wheat for something else, you are building a structural scaffold from scratch using gums, starches, and binders.
Throw your measuring cups in the bin; in gluten-free work, a single gram of error in your hydrocolloids or starches can turn a beautiful loaf into a dense, gummy brick.
Respect the hydration, because gluten-free doughs are thirsty and unpredictable—they don’t behave like a living, breathing dough you can “feel,” so you have to learn to trust the math and the moisture levels you’ve set.
The Heart of the Matter
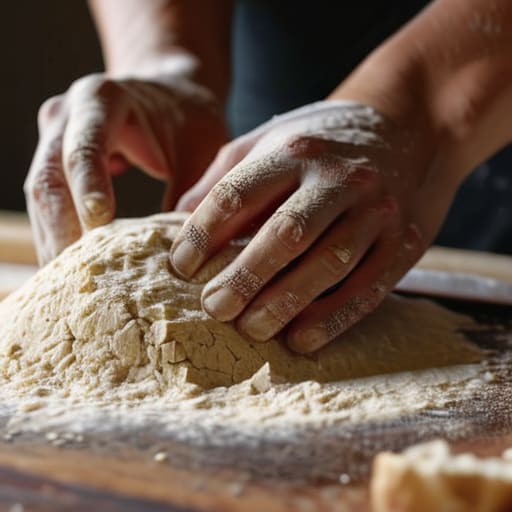
If you’ve followed me this far, you know I don’t believe in magic fixes, only in understanding what’s happening on your workbench. Gluten-free baking isn’t about finding a “perfect” replacement for wheat; it’s about managing the absence of structure by mastering your hydration and your binders. We’ve talked about why you can’t just swap flours like you’re swapping tea bags, and why those ratios and percentages are your only real map through the woods. You have to account for the extra moisture these starches crave and the way they lack the elastic memory of a traditional dough. It is a different kind of physics, and once you stop trying to make it behave like wheat, you’ll finally start seeing what it’s actually capable of.
Don’t let a flat loaf or a gummy crumb discourage you. In my thirty-four years, I’ve seen more dough fail because of a rushed baker than a bad recipe, and that holds true here too. Gluten-free baking requires you to be more observant, more patient, and a bit more intuitive with your hands. It might take a few more tries to find your rhythm, but trust the process and watch the dough, not the clock. When you finally pull a loaf out of the oven that smells right and holds its shape, you’ll realize that patience is the ingredient that makes the difference between a substitute and a masterpiece.
Frequently Asked Questions
If I'm not using a traditional sourdough starter, how do I know if my gluten-free dough is actually fermenting or just sitting there getting gummy?
You look for the life in it, not just the bubbles. If it’s just sitting there looking like heavy, wet clay, it’s dead in the water. You want to see a slight, aerated lift and a scent that’s tangy—not sour like milk, but bright, like a ferment. If it smells fermented but feels like thick sludge without any lightness, you’ve likely over-hydrated your starches and choked the yeast. Watch the texture, not just the clock.
Since I can't rely on the dough "springing back" to tell me it's ready, what physical signs should I be looking for to know I've developed enough structure?
You won’t get that elastic snapback, so you have to stop looking for resistance and start looking for cohesion. Since you lack that gluten web, you’re looking for a dough that feels unified rather than shaggy. When you pull it, it shouldn’t tear instantly like wet sand; it should stretch slightly before it gives. If it feels heavy and slumped, your binders haven’t caught yet. You’re feeling for a certain “tack” that holds its shape.
How do I adjust my hydration percentages when switching from wheat to a starch-heavy blend without turning my loaf into a brick?
You have to treat starch like a sponge that’s gone thirsty. When you move from wheat to a starch-heavy blend, you’re losing that elastic protein net, but you’re gaining ingredients that drink water like a desert traveler. If you stick to your usual 70% hydration, that dough will feel like wet sand and bake into a brick. Bump your hydration up by 5% to 10% initially. Watch the dough, not the clock; it should feel tacky but hold its shape, not slop through your fingers.