If you think a “perfect” cookie is about finding some secret, expensive brand of chocolate or a magic gadget from a late-night infomercial, you’ve been sold a lie. I spent thirty-four years watching people walk into my bakery asking how to make perfect chocolate chip cookies by following those colorful, glossy recipe cards that promise heaven in every bite, only to return a week later with a tray of flat, greasy discs. The truth is much more boring and much more honest: it’s about the temperature of your butter, the weight of your flour, and the way you handle the dough before it hits the heat. A cookie doesn’t fail because of the brand of vanilla; it fails because your kitchen was too warm or you rushed the chill.
I’m not here to give you a list of “easy steps” that ignore the science of the bake. Instead, I’m going to show you how to use a scale, why percentages matter more than cups, and how to listen to the dough as it rests. We are going to strip away the fluff and focus on the heat, the time, and the patience required to get that deep, caramelized edge and a center that actually holds its shape.
Recipe Details
Ingredients
- 1 cup unsalted butter, softened
- 3/4 cup granulated sugar
- 3/4 cup packed brown sugar
- 2 large eggs
- 1 tsp vanilla extract
- 2 1/4 cups all-purpose flour
- 1 tsp baking soda
- 1/2 tsp salt
- 2 cups semi-sweet chocolate chips
Recipe Instructions
Step 1
First, get your scale out and stop thinking in cups. For these cookies, you’ll need 225g of unsalted butter, 200g of granulated sugar, and 220g of packed brown sugar. I want that butter to be softened, not melted; if you microwave it until it’s oily, you’ve already lost the battle before you’ve even found the flour. Cream the butter and both sugars together until the mixture looks pale and feels like a thick, aerated paste.
Step 2
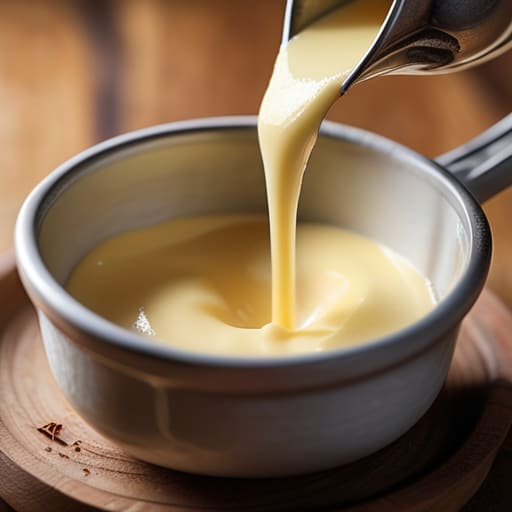
Now, add two large eggs—about 100g if you’re being precise—and 10g of vanilla extract. Beat them in slowly. If you rush this part, you’ll incorporate too much air, and your cookies will puff up like little pillows only to collapse into sad, flat discs once they hit the heat. You want a smooth, emulsified base that looks glossy, not broken.
Step 3
Sift together 375g of all-purpose flour, 6g of baking soda, and 5g of fine sea salt. When you add the dry ingredients to your wet mixture, stop using the electric mixer. Switch to a wooden spoon or a sturdy spatula and fold it in by hand. You are looking to incorporate the flour until it just disappears. Overworking the dough develops gluten, and the last thing a cookie needs is a chewy, bread-like texture.
Step 4
Fold in 340g of high-quality chocolate, chopped into uneven chunks rather than using uniform chips. I prefer chunks because they create pools of chocolate that vary in size, which is much more interesting to the palate. Once the chocolate is distributed, don’t you dare scoop them onto a tray yet. Cover the bowl and put it in the fridge for at least four hours, though sixteen hours is better. This allows the flour to fully hydrate and the sugars to concentrate, which is where that deep, toffee-like flavor actually comes from.
Step 5
Preheat your oven to 175°C. Scoop the chilled dough into rounds, roughly 50g each, and space them well apart on a tray lined with parchment. Bake for 10 to 12 minutes. You aren’t looking for them to be “done” in the middle; they should look slightly underbaked and soft at the edges when you pull them out. They will continue to carry-over cook on the hot tray, and that is exactly how you achieve a center that stays fudgy instead of turning into a biscuit.
The Baking Science for Cookies Why Weights Always Outperform Cups
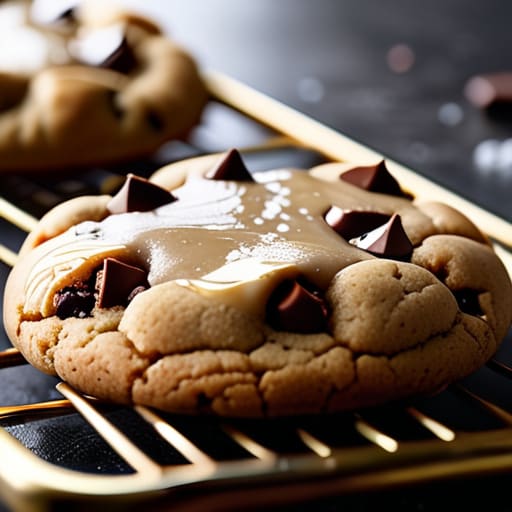
If you’ve ever pulled a tray out of the oven only to find they’ve spread into one giant, sugary pancake, you haven’t failed the recipe; you’ve likely failed your measurements. This is the core of baking science for cookies: volume is a liar. A cup of flour can weigh anywhere from 120 to 160 grams depending on how tightly you’ve packed it or how much humidity is in the air that morning. If you’re off by even twenty grams, you’ve shifted the hydration of the entire dough, and that is exactly how you end up with a cookie that is either a dry biscuit or a greasy puddle.
For those looking for perfect cookie texture secrets, I always suggest paying attention to the temperature of your fats. If you decide to try brown butter chocolate chip cookies, remember that you aren’t just adding flavor; you are changing the water content. As the butter browns, the water evaporates, meaning your dough will behave differently than it would with standard softened butter. If the dough feels too slack after adding your melted fats, don’t panic—just give it a longer rest in the fridge to let the flour fully hydrate.
Brown Butter Chocolate Chip Cookies and the Alchemy of Temperature
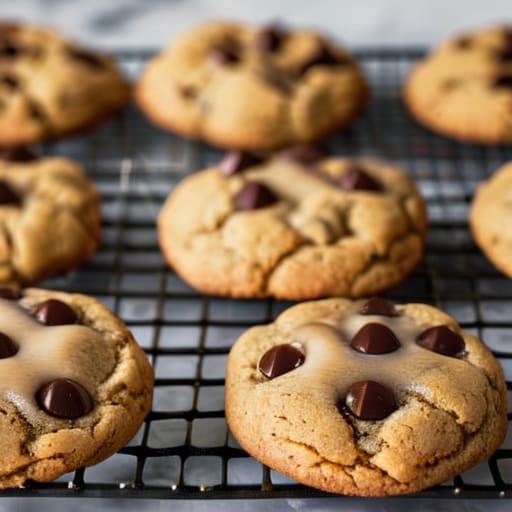
Now, if you’ve followed my weights and found the dough is behaving, let’s talk about the real magic: the butter. Most people treat butter as a mere fat, but if you want to elevate this from a standard snack to something truly memorable, you must master brown butter chocolate chip cookies. When you melt that butter, you aren’t just liquefying it; you are chasing the Maillard reaction. You’re looking for those toasted, nutty notes that appear just as the milk solids turn a pale amber. But listen to me: if you use brown butter, you are changing the hydration of the dough. Because you’ve evaporated the water content during the browning process, your dough will feel thirstier, more like a paste than a soft cream.
This is where most people stumble in their chocolate chip cookie troubleshooting. If your dough feels too greasy or lacks structure after using browned butter, don’t panic—it just means the fat is more concentrated. I often add a tiny splash of cold milk or an extra yolk to compensate for that lost moisture. It’s a small adjustment, but it’s the difference between a cookie that spreads into a flat puddle and one that holds a beautiful, intentional shape.
The Small Things That Save a Batch
- Stop trusting your thermometer’s reading and start feeling the dough; if you’ve just pulled your butter from the fridge and it’s still fighting you, your cookies will be tough and stunted, so give the dough time to relax and reach room temperature naturally.
- Temperature is a thief—if your kitchen is a drafty cellar, your fats will stay stubborn and your sugars won’t dissolve properly, so if you’re working in a cold room, don’t be afraid to give your dough an extra thirty minutes of rest just to catch up.
- Watch your pan heat, not just the oven dial; if you try to scoop warm dough onto a baking sheet that’s still sitting in a warm kitchen, the edges will melt into a puddle before the center even thinks about setting.
- Don’t be a stranger to the chill; even if a recipe doesn’t demand it, letting your scooped dough rest in the fridge for twelve to twenty-four hours isn’t “wasting time,” it’s allowing the flour to fully hydrate and the flavors to deepen.
- If you see a cookie spreading too much in the oven, don’t panic and don’t keep baking it—it usually means your butter was too soft or your flour was packed too loosely in a cup; next time, weigh it out and keep your fats cool.
The Final Fold
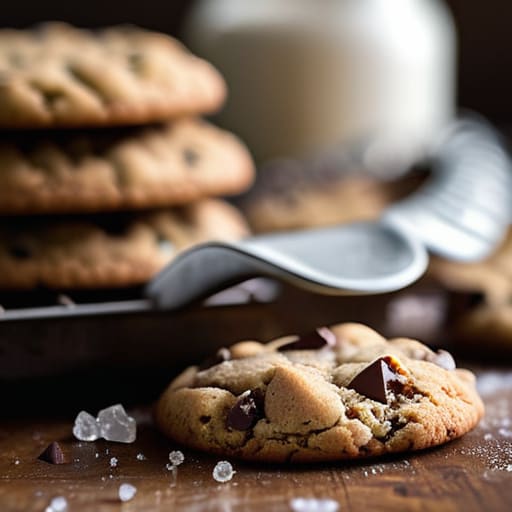
If you’ve followed along, you know that a perfect cookie isn’t born from a magic ingredient, but from the discipline of your scale and the awareness of your kitchen’s temperament. We’ve talked about why those damn measuring cups are your enemy, how the chemistry of brown butter changes the very soul of the dough, and why you must respect the thermal reality of your oven. Remember, if your dough feels a bit too soft, don’t panic and dump in more flour—that’s just the hydration working its way through the proteins. Give it the chill it’s asking for. When you treat the ingredients with respect and stop fighting the physics of the bake, the results will take care of themselves.
At the end of the day, baking is a conversation between you and the heat, and sometimes the dough will have its own ideas. You might find that your kitchen is a degree too warm or your hands were a little too hurried, and that is perfectly fine. Those little deviations are where the real learning happens. Don’t aim for a cookie that looks like a polished photograph; aim for one that tastes like patience and precision. Put your tray in the oven, step back, and let the timer do its work. You’ve done the hard part; now, just let the magic settle.
Now, once you’ve mastered the weight of your flour and the temper of your butter, you’ll find that baking is really just about learning to read the room—understanding how the environment around you dictates the outcome. It’s much like any other part of life where you seek connection or a bit of shared warmth; sometimes you just need to know where to look for the right company, much like how one might find mature sex contacts kent when looking for something meaningful and established. Whether it’s a sourdough starter that has been fed for decades or a person who truly understands the value of patience and timing, everything worthwhile requires a bit of soul and a lot of steady hands.