I’ve spent half my life watching people walk into my shop, pointing at a tray of golden, flaky scones and asking if I used some sort of secret, expensive imported butter or a specialized pastry cutter. It’s nonsense. Most people struggle with how to make scones properly not because they lack fancy equipment, but because they are fighting against the heat of their own hands or rushing the dough before it’s ready to rest. I remember standing in my bakery at five in the morning, flour coating my lungs, realizing that a scone isn’t a chemistry experiment to be mastered; it’s a lesson in temperature and restraint.
I’m not going to give you a list of “gourmet” additives or tell you that you need a copper bowl to succeed. Instead, I’m going to give you the truth in weights and percentages, because if you can’t weigh your flour, you aren’t really baking, you’re just guessing. I will show you how to feel for that specific, shaggy texture and why the coldness of your fat is more important than any brand name. We are going to focus on the physics of the crumb, and I promise you, once you stop chasing the recipe and start listening to the dough, you’ll never go back to those heavy, leaden pucks again.
Why Cups Lie and Cold Butter Technique Matters
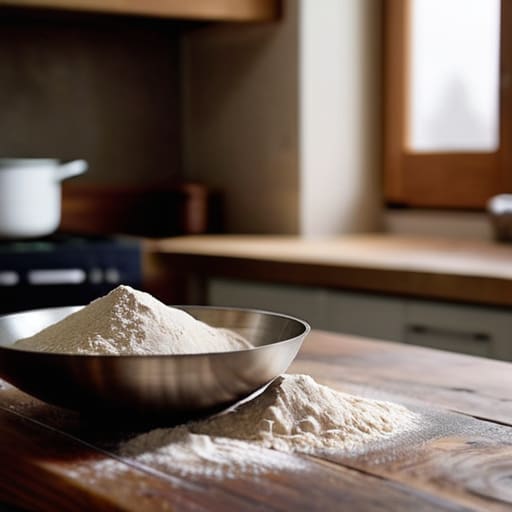
If you walk into my kitchen and ask for a cup of flour, I’ll tell you that you’re asking for a lie. A cup of flour can weigh anywhere from 120 to 160 grams depending on how tightly you’ve packed it or how much humidity is in the air that morning. In a scone, that discrepancy is the difference between a tender crumb and a heavy, leaden brick. I work in percentages because the math doesn’t change when the weather does. You must weigh your flour to ensure your hydration is exact; otherwise, you’re just guessing, and guessing is the enemy of a good bake.
Once you have your weights sorted, we turn to the fat. Most people treat butter like an afterthought, but the cold butter technique for pastry is what actually dictates your results. You want those little pebbles of butter to remain distinct and frozen right up until they hit the oven’s heat. As the dough bakes, those tiny pockets of fat melt, creating steam that pushes the layers apart. This is the secret to achieving true flaky scone texture tips—if you let the butter soften or work the dough too much with warm hands, you’ll end up with something more like a biscuit than a proper scone.
The Science of Leavening Agents in Scones
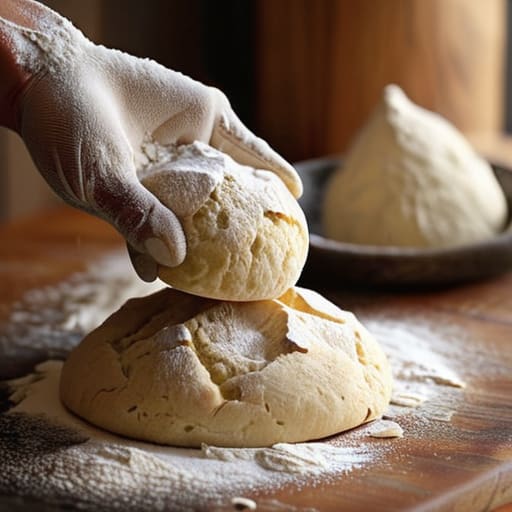
Now, don’t go thinking a scone is just a biscuit with an identity crisis; it relies entirely on how those leavening agents in scones interact with your moisture. Most people reach for baking powder like it’s magic dust, but it’s actually a chemical reaction waiting for a trigger. When that powder hits your liquid—whether it’s buttermilk or heavy cream—it begins to release carbon dioxide. If you’ve been overworking the dough with warm hands, you’ve already started the clock, and you’re wasting the lift before the loaf even hits the heat.
The real magic happens in the oven, provided you haven’t accidentally melted your fat into the flour. You want those little pockets of air to expand rapidly against the structure of the grain. This is why preventing tough scones is less about the brand of powder you buy and more about how quickly you can get that dough into a hot oven. If you spend too long fussing with the shape, the chemical reaction begins to stall, and you’ll end up with something more akin to a dense puck than a light, aerated crumb.
The Five Truths of a Proper Scone
- Stop treating your butter like it belongs in a pan; it should be so cold it feels like a stone in your palm, and you must work it into the flour until you see pea-sized lumps, not a smooth paste.
- Listen to your hands when you add the liquid—if the dough feels tacky and resists you, stop adding milk immediately, because once you’ve over-hydrated a scone, no amount of flour will save its crumb.
- Respect the fold and the tension; you aren’t kneading bread, so don’t treat it like it. A few gentle turns to build layers is all you need, otherwise, you’ll squeeze the air out before it even hits the oven.
- Give the dough its space to rest in the fridge for twenty minutes before cutting; it lets the flour hydrate properly and ensures that your butter stays solid enough to create those much-needed steam pockets.
- Forget the “golden brown” photos you see online and watch the height instead; a proper scone should climb straight up, not spread out like a pancake, which is your signal that your kitchen was too warm or your hands were too heavy.
The Three Truths of a Proper Scone
Stop reaching for that measuring cup; weigh your flour and fat in grams so you aren’t guessing, because a scone that’s too heavy is just a very expensive biscuit.
Respect the temperature of your hands and your kitchen, for if that butter melts before it hits the oven, you’ve lost the lift you worked so hard to create.
Learn to read the dough’s resistance rather than following a clock, knowing that a handful of extra flour is a mistake, but an extra minute of resting is a gift.
The Baker's Final Word
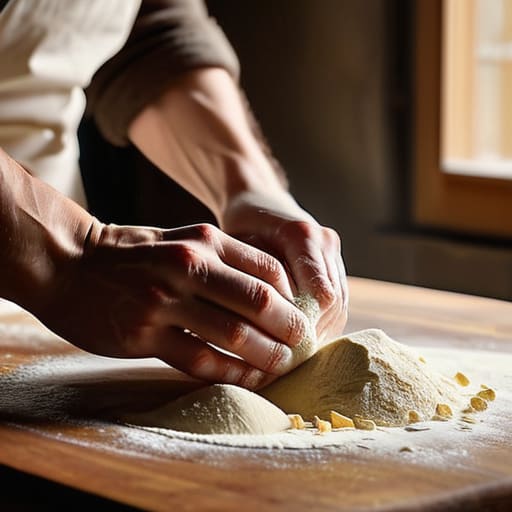
At the end of the day, making a proper scone isn’t about following a list of instructions like a robot; it’s about understanding the relationship between your ingredients. You’ve learned that weighing your flour is the only way to ensure the hydration is right, that keeping your butter cold is the difference between a crumbly delight and a heavy biscuit, and that the leavening agents need a gentle hand rather than a frantic knead. If your kitchen is too warm or you’ve overhandled the dough, don’t go looking for a new recipe to blame. Instead, look at your hands and your thermometer. Once you stop fighting the dough and start listening to how it reacts to the temperature and the touch, you’ll find that the science of baking becomes a conversation rather than a chore.
I spent thirty-four years waking up before the sun just to see the steam rise off a fresh tray, and I can tell you that the best things in life cannot be rushed. You might mess up the first few batches—I certainly did when I was sixteen—but that is just the dough teaching you its secrets. Don’t be afraid of a little mess or a slightly uneven edge; a scone doesn’t need to look like a polished photograph to taste like heaven. Just keep your scale handy, your butter chilled, and trust your instincts more than the clock. Patience is the only ingredient you can’t buy in a shop, so take your time and enjoy the process.
Frequently Asked Questions
My dough feels much stickier than yours does; am I using too much hydration or is my flour just weaker?
It’s likely a bit of both, but don’t panic. If you’re at 65% hydration and it’s a mess, your flour might be lacking the protein to hold that water. But more often, it’s how you’ve handled it. If you’ve overworked the dough or let it sit too long in a warm kitchen, the structure softens and turns tacky. Trust your hands, not just the math; if it’s sticky, add a dusting of flour, not a mountain.
I followed the temperature instructions exactly, but my scones still came out heavy and flat instead of tall and craggy—what did I miss?
If your temperatures were spot on but they still sat like stones, you likely over-worked them. When you handle dough too much, you develop the gluten, turning a delicate scone into something more akin to a biscuit or a roll. You want those layers to lift, not to be squeezed shut by heavy hands. Next time, mix until it’s just barely holding together—it should look a bit shaggy and unlovely. Trust the shagginess.
Can I use my sourdough starter to provide the lift instead of relying on baking powder, or will that ruin the texture?
You certainly can, but you’ll be trading a quick, airy lift for something much more soulful. Using your starter—let’s say at 100% hydration—will give you a deeper, more complex tang and a tighter, more substantial crumb. Just remember: you can’t rush it. You’ll need a longer fermentation to let those wild yeasts do their work, or you’ll end up with heavy stones instead of scones. It’s a lovely change, provided you have the patience.