You don’t need a dozen fancy stabilizers or a chemistry degree to master how to make chocolate mousse; in fact, most of those additives are just a way to hide poor technique. I spent years watching people panic when their mousse turned into a grainy, weeping puddle, blaming the recipe when the real culprit was a bowl that was too warm or a whisking hand that was too impatient. It isn’t about the brand of cocoa you buy; it’s about the relationship between fat and temperature. If you treat the chocolate like a temperamental guest rather than a commodity, it will reward you.
I’m not here to give you a list of ingredients and a glossy photograph to chase. Instead, I’m going to teach you to listen to the texture of the egg whites and feel the weight of the chocolate as it folds. We are going to focus on the rhythm of the work—the precise moment the aeration is right and the exact temperature where the cocoa stays silk-smooth rather than seizing. By the time we’re done, you won’t need a cookbook to tell you if it’s ready; you’ll just know.
Recipe Details
Ingredients
- 200g high-quality dark chocolate, chopped
- 3 large organic eggs, separated
- 50g granulated sugar
- 250ml heavy whipping cream
- 1 pinch sea salt
Recipe Instructions
Step 1
First, we deal with the chocolate. You’ll need 200g of high-quality dark chocolate—at least 60% cocoa solids, please, because if the chocolate is mediocre, the mousse will be too. Chop it finely with a sharp knife; don’t just break it into chunks. You want small, uniform shards so they melt evenly. Set them in a heatproof bowl and melt them over a gentle bain-marie. If you see even a single bead of steam or a drop of water enter that bowl, the chocolate will seize, and you’ll be left with a gritty, ruined mess instead of silk.
Step 2
While that’s melting, grab your eggs. I like to use three large ones, separated. You want the yolks in one bowl and the whites in another, perfectly clean. If a speck of yolk gets into those whites, they won’t whip, and you’ll be staring at a puddle of yellow liquid instead of a cloud. Whisk the yolks with about 30g of sugar until they turn a pale, creamy color and feel thick and ribbon-like when you lift the whisk. This is where you build the foundation of the flavor.
Step 3
Now, the temperature becomes your master. You must let that melted chocolate cool down before you introduce the yolks. If the chocolate is too hot, you’ll scramble the eggs; if it’s too cold, it will clump the moment the yolks hit it. It should feel merely warm to your touch—around 35°C to 40°C. Once it’s at that sweet spot, fold the yolk mixture into the chocolate. Don’t stir it like you’re beating a rug; use a spatula to cut through the center and fold the mass over itself until it is uniform.
Step 4
This is the part where most people lose their nerve and their texture. Take your egg whites and whisk them, gradually adding 30g more sugar, until you have stiff peaks. You aren’t looking for a dry, grainy foam; you want them to be glossy and hold their shape, but still look supple and alive. If you over-whisk them until they look like shaving cream, they will be impossible to fold in without deflating the whole batch.
Step 5
Finally, we marry the two. Take a small scoop of those whites and stir it vigorously into the heavy chocolate base—this is called “sacrificing” a bit of air to lighten the load. Then, take the rest of the whites and fold them in with the utmost gentleness and respect. Use a large, sweeping motion. You want to see streaks of white disappearing into the dark chocolate, but you don’t want to work the air out of it. Once it’s combined, spoon it into ramekins and let it sit in the fridge for at least four hours. The chill is what sets the fats and gives you that melt-on-the-tongue finish.
Selecting the Best Chocolate for Mousse and Perfecting Dark Chocolate Ganac
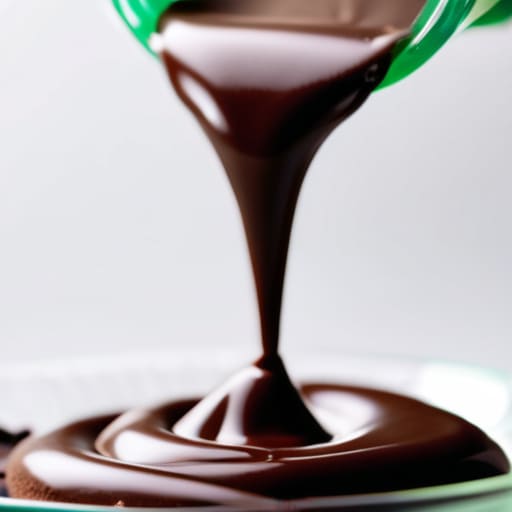
When you’re looking for the best chocolate for mousse, forget the supermarket bars that taste more like wax than cocoa. You want something with a high cocoa butter content; it’s that fat that gives you a velvet mouthfeel rather than a greasy film. If you’re making a variation using a base of ganache, pay close attention to your ratios. A common mistake is rushing the pour, but you must let the cream sit against the chocolate until it’s just warm enough to melt it. If you force it or whisk too violently, you’ll break the emulsion and ruin that silky dark chocolate ganache texture we’re aiming for.
Once you move into the aeration stage, remember that your tools matter less than your touch. Whether you are using an egg white meringue method or a specific whipping heavy cream technique, the goal is to trap air without bruising it. When you begin folding ingredients gently, don’t look for a uniform color immediately. If you overwork it, you’ll knock the life out of the bubbles and end up with a dense pudding instead of a cloud. Give it enough chilling time in the fridge to set properly; a mousse that hasn’t rested is just expensive chocolate soup.
Mastering the Egg White Meringue Method and Whipping Heavy Cream Technique
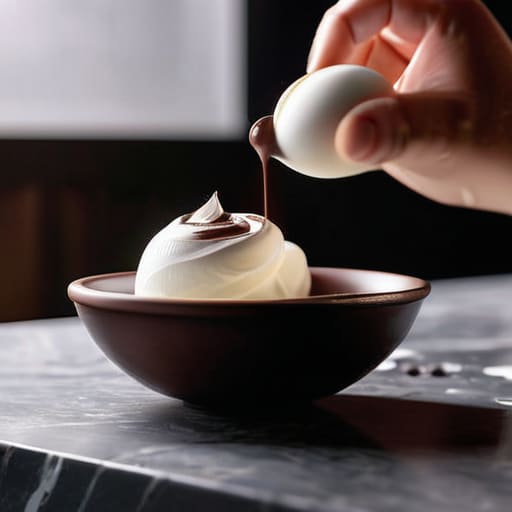
Now, let’s talk about the two pillars of this dessert: the air and the fat. When you use the egg white meringue method, you aren’t just making foam; you are building a structural scaffold. I’ve seen too many people whip their whites until they look like dry, clumpy clouds, but you want them to be glossy and firm, like the tip of a stiff paintbrush. If you overwork them, they’ll lose their elasticity and weep, leaving your mousse heavy instead of ethereal. The same goes for your whipping heavy cream technique. Don’t watch the clock; watch the bowl. You want soft, pillowy peaks that hold their shape but still feel like silk. If you go straight to stiff peaks, you’re asking for butter, and nobody wants a grainy mousse.
The real magic, however, happens when those two worlds meet. When you are folding ingredients gently, you are performing a delicate negotiation between the heavy chocolate and the light air. Use a wide spatula and a sweeping motion—never stir. If you’re too aggressive, you’ll pop every bubble you worked so hard to create. It’s a test of temperament, really. Once it’s combined, give it a proper chilling time for mousse—at least four hours, though I’d say overnight if you have the discipline.
The Discipline of Folding Ingredients Gently and Respecting Chilling Time F
Now, this is where most people lose their nerve. You’ve spent time perfecting your whipping heavy cream technique until it’s glossy and holds its shape, and you’ve carefully prepared your chocolate base, but the moment you bring them together, the temptation to stir like you’re mixing a batter is overwhelming. Don’t do it. If you stir, you’re essentially murdering the air you worked so hard to trap. You must practice the discipline of folding ingredients gently, using a wide spatula to cut through the center and lift from the bottom, turning the mixture over itself. It should feel like you are tucking a child into bed—soft, rhythmic, and entirely without force.
Once that marriage of fat and air is complete, you must respect the silence of the refrigerator. I’ve seen many a cook try to sneak a spoonful from the bowl while it’s still setting, but you cannot rush the chemistry. The chilling time for mousse is non-negotiable because it allows the cocoa butter to stabilize the structure. If you pull it too early, it will be nothing more than a rich, heavy liquid; give it the hours it asks for, and it will reward you with a texture that melts the second it hits the tongue.
Five Things the Recipe Won't Tell You About Mousse
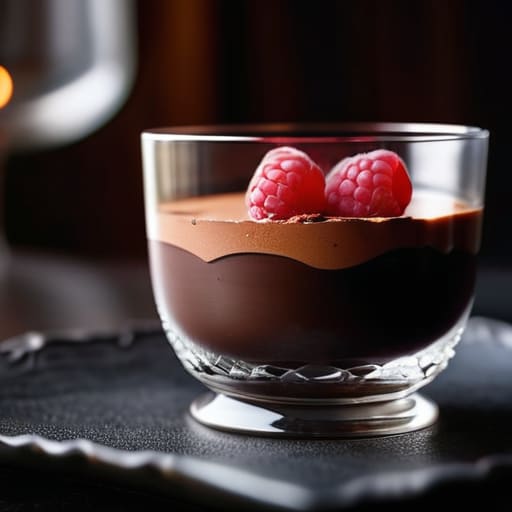
- Watch your temperature like a hawk; if you pour that warm ganache into your whipped cream while it’s still too hot, you’ll melt the air right out of it, and you’ll be eating chocolate soup instead of mousse.
- Stop looking at the clock and start looking at the bowl; your egg whites are ready when they hold a soft, pillowy peak that curls over like a wave, not when a timer tells you to stop.
- If your chocolate feels grainy or stiff, you’ve likely pushed it too hard or let it cool too unevenly—mousse needs that silky, fluid movement to incorporate properly without losing its soul.
- Use a wide, flat spatula rather than a spoon for folding; a spoon cuts through the air bubbles, but a spatula sweeps them up, preserving the lightness that makes the whole thing worth the effort.
- Give it more time than you think it needs; a mousse that’s been rushed out of the fridge will feel heavy on the tongue, but one that has sat undisturbed in the cold has had time to truly set its structure.
The Three Truths of a Proper Mousse
Temperature is your silent partner; if your chocolate is too hot, it will deflate your cream, and if it’s too cold, you’ll end up with tiny, gritty flecks of cocoa instead of a smooth silk.
Stop looking at the clock and start looking at the bowl; you’ll know the cream is ready when it holds a soft, rounded peak that looks like it’s about to sag, not when a timer dings.
Respect the fold and the chill, because rushing the mixing or pulling the mousse out of the fridge too early is how you trade a cloud-like texture for a heavy, collapsed mess.
The Final Fold
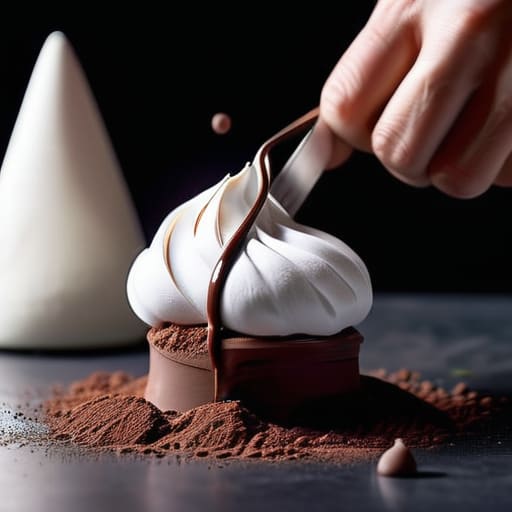
If you’ve followed the weights and kept your hands steady, you’ll see that a proper mousse isn’t just a dessert; it’s a balance of physics and restraint. Remember that the chocolate must be warm enough to flow but never so hot that it cooks your cream, and that the meringue is a fragile architecture you must protect at all costs. Most people fail because they try to force the ingredients together, but you must learn to listen to the texture of the fold. If the mixture feels heavy or starts to look grainy, you’ve likely moved too fast or worked the fat too hard. Respect the temperature, trust your scales over your eyes, and let the chill do the heavy lifting in the fridge.
At the end of the day, don’t let a slightly deflated bubble or a slow set discourage you. Baking—and even dessert making—is a conversation between you and the ingredients, and sometimes the ingredients want to talk back. If your first attempt isn’t quite as airy as a cloud, don’t throw it away; just look at what happened. Was the kitchen too cold? Did you rush the chocolate? Every “failure” is just a lesson in how heat and air behave, and those lessons are the only things that truly make you a cook. Now, grab a spoon, find a quiet corner, and enjoy the sweetness you’ve earned.
Frequently Asked Questions
My mousse came out grainy and heavy instead of airy; did I overwork the chocolate or did my cream lose its structure?
It sounds like a temperature battle you lost. If it’s grainy, your chocolate was likely too hot when it met the cream, or it cooled too fast and began to seize. If it’s heavy, you either over-whisked that cream into butter before folding, or you were too aggressive with the spatula and knocked the air right out of it. Don’t rush the temperature; let the chocolate sit until it’s just barely warm to the touch.
If my kitchen is particularly cold in the winter, should I warm my bowl or adjust the temperature of the chocolate to prevent it from seizing during the fold?
Don’t you dare try to warm the chocolate itself; if you push that temperature too high, you’ll lose the structure and end up with a heavy, greasy sludge. Instead, warm your mixing bowls in a low oven first. A cold bowl is the enemy of a delicate mousse. If your kitchen is frigid, work quickly and keep your chocolate at a gentle, fluid warmth—not hot—so it greets the cream like a soft embrace rather than a shock.
I used a high-percentage dark chocolate and the mousse set much firmer than expected—is that a matter of cocoa solids or did I use too little fat?
It’s the cocoa solids, dear. High-percentage dark chocolate is packed with more cocoa butter and less sugar; that fat is what sets the structure. When you use a 70% or higher, you’re essentially building a firmer ganache base. It isn’t necessarily that you lacked fat, but that your solids were more aggressive. Next time, if you want that cloud-like melt, lean toward a slightly lower percentage or add a touch more cream to soften the blow.