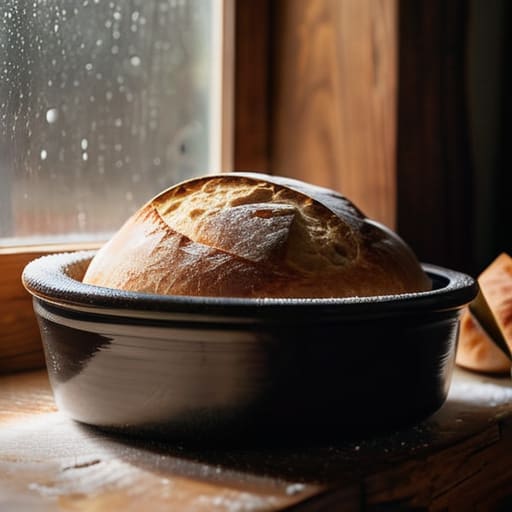
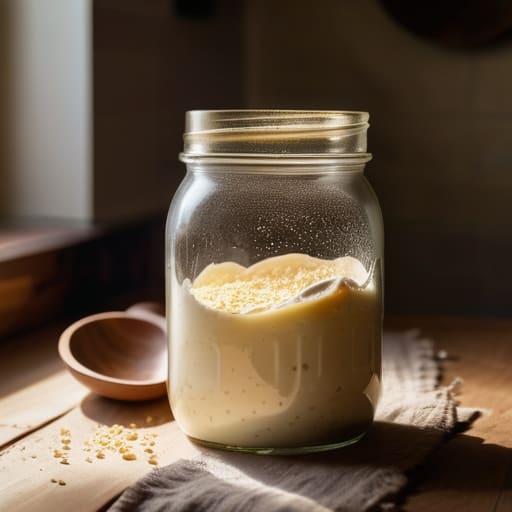
I remember standing before my old wood-fired oven at four in the morning, my shoulders aching and the air thick with the scent of toasted grain, watching a loaf emerge with a crust so dull it looked like wet cardboard. I had followed every “professional” tip the magazines threw at me, yet I still couldn’t figure out how to get a better crust that actually sang when you sliced it. People will try to sell you expensive steam injection ovens or specialized stone decks, claiming those are the secrets, but they’re just selling you hardware to mask a lack of understanding. A crust isn’t something you buy; it’s something you earn through heat and moisture.
I’m not here to give you a shopping list of gadgets or a complicated ritual that requires a degree in thermodynamics. Instead, I’m going to tell you what is actually happening inside that oven when the steam hits the dough and the sugars begin to caramelize. We are going to talk about temperature, timing, and the physical reality of how heat interacts with your bake. I promise to give you the honest, weight-based truth of the matter, stripped of the fluff, so you can finally stop chasing a photograph and start baking real bread.
Dough Hydration and Crust the Weight of Water
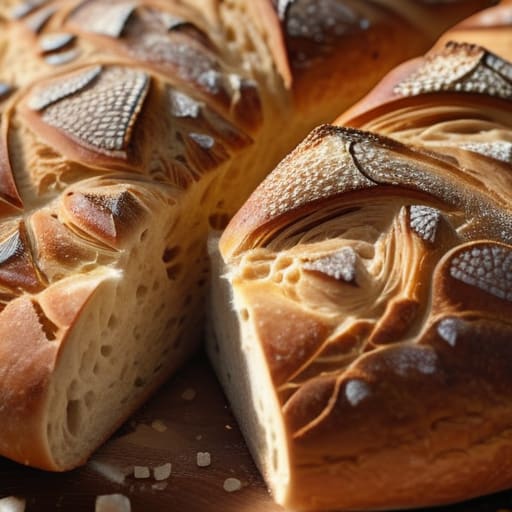
Now, don’t go thinking a crust is just a hard shell; it’s a direct conversation between your flour and your water. If you’re working with a stiff dough—say, something around 60% hydration—you’re going to get a tight, sturdy crumb and a crust that’s more like a cracker. But if you want that shatteringly crisp, thin shell that sings when you tap it, you need to push your dough hydration and crust relationship higher. I usually aim for 75% or even 80% for my sourdough. That extra water doesn’t just make the bread airy; it provides the fuel for the steam that expands the loaf and thins out the outer layer before it sets.
Be warned, though: higher hydration is a temperamental beast. A wetter dough wants to spread like a puddle if you haven’t built enough strength through folding. If you jump straight to a high-water recipe without understanding how the gluten holds that moisture, you’ll end up with a gummy mess rather than a masterpiece. You have to feel the tension in the dough; it should feel supple and alive, not like a wet sponge. When you get that balance right, the water evaporates just enough to leave behind a structure that is both light and incredibly crisp.
Maillard Reaction in Baking the Soul of Color
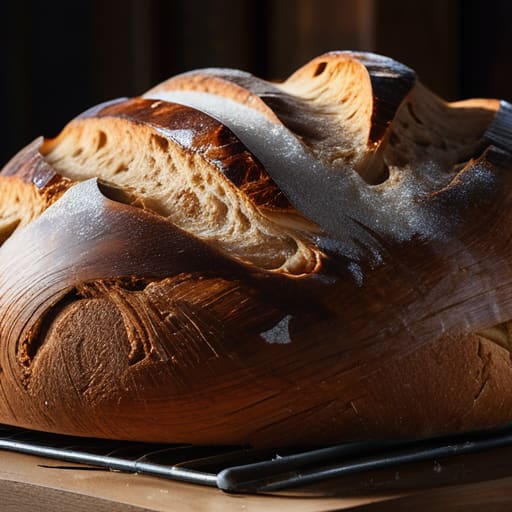
Now, let’s talk about the color. If your loaf looks like a pale, sad ghost when it comes out of the oven, you haven’t actually finished baking; you’ve just heated it up. That deep, mahogany glow we all crave is the result of the Maillard reaction in baking, a fancy way of saying the sugars and amino acids are finally having a proper conversation. It’s not just about looking pretty, though; that chemical dance is what builds the complex, toasted flavors that make a crust worth biting into.
To get there, you cannot be timid with your oven temperature for bread. If you bake too low for too long, you’ll end up with a dry, leathery skin instead of a crackling shell. You need that initial blast of intense heat to kickstart the transformation. I always tell my students: don’t just watch the clock, watch the hue. You’re looking for that transition from a dull tan to a rich, burnished bronze. It’s a narrow window, and if you miss it, you’re left with nothing but a cracker.
Five Ways to Stop Making Cardboard and Start Making Crust
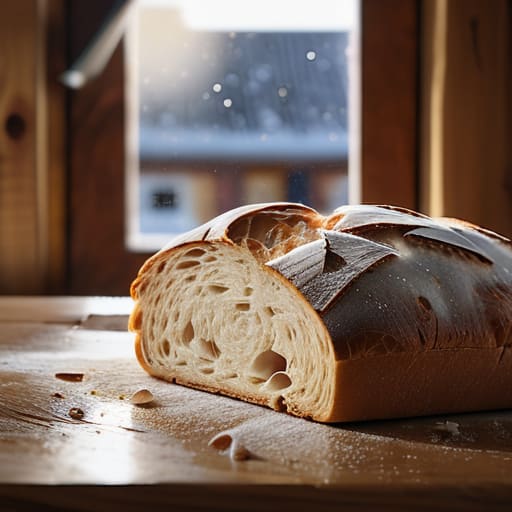
- Stop trusting your oven dial and start watching the steam; if you don’t give the dough a humid environment for those first ten minutes, the surface will set too quickly and your crust will be dull and leathery instead of crackling and thin.
- Respect the temperature of your dough, not just the air; if you’re working with a cold mass of dough straight from a chilly kitchen, it won’t expand properly in the heat, leaving you with a crust that feels dense rather than crisp.
- Use a heavy vessel to trap the moisture your dough breathes out; whether it’s a Dutch oven or a heavy cast iron pot, you need that micro-climate to keep the skin of the loaf supple enough to stretch before it hardens.
- Watch your salt percentage because it does more than just flavor; a dough with too little salt won’t have the structural strength to hold the gases that create those beautiful, thin, blistered crusts we all crave.
- Learn to feel the tension in your shaping, not just the look of the ball; if you don’t build enough surface tension during the final shape, the loaf will spread like a pancake and your crust will be thick and heavy instead of light and shattered.
The Baker’s Truth: Three Things to Remember
Stop trusting your oven dial and start watching the steam; a crust needs that initial burst of moisture to expand and find its soul before the heat sets it in stone.
Respect your hydration percentages, but remember that water is a living thing—if your kitchen is drafty, that dough will feel tighter and demand more patience than the math suggests.
Color is not just decoration, it is flavor; if your loaf is pale and tastes like nothing, you haven’t let the heat and the sugars do their work long enough to reach the Maillard stage.
Beyond the Oven Door
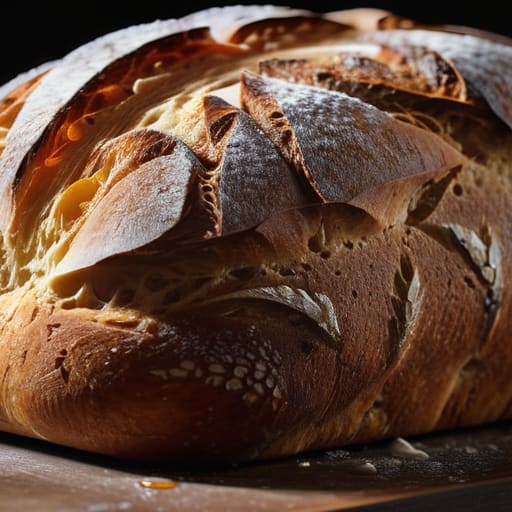
At the end of the day, a beautiful crust isn’t some magical accident; it is the result of managing the variables we can actually control. You have to balance your hydration percentages to ensure the crumb has room to expand, and you must respect the chemistry of the Maillard reaction by giving the heat enough moisture to work its magic. If your loaves are coming out looking like pale, leathery stones, stop looking for a new recipe and start looking at your steam levels and your oven’s true temperature. It is rarely the flour’s fault; it is usually a matter of giving the dough the environment it needs to transform from a wet mass into something architectural.
Don’t let a few flat loaves or a dull crust discourage you from the flour on your hands. I spent thirty-four years waking up before the sun, and I can tell you that even on my best days, the dough doesn’t always do what I want it to do. There is a specific kind of joy in that struggle—the moment you pull a loaf out and hear that delicate, crackling song of a crust cooling in the air. Baking is a conversation between your hands and the elements, and as long as you keep listening to the dough instead of just watching the clock, you will eventually find your rhythm. Patience is the only ingredient you can’t buy, so use it generously.
Frequently Asked Questions
If I’m using a high-hydration dough, how do I stop it from becoming a gummy, pale mess instead of getting that crisp, crackly shell?
If your high-hydration dough is coming out gummy and pale, you’re likely suffocating it. You need heat and steam, not just more water in the flour. That “gummy” texture happens when the interior moisture can’t escape because the crust set too early or too weakly. Stop relying on your oven’s light; get a heavy Dutch oven in there to trap that initial steam. It forces the crust to stay elastic longer, allowing for a proper expansion before the heat finally sets that crackly, golden shell.
My oven thermometer says it's at the right temperature, but my crust still looks like it was baked in a damp basement—how do I know if I'm actually getting enough steam?
If your crust looks dull and lifeless, your oven might be hot, but it’s thirsty. A thermometer only tells you the air temperature, not the humidity. To know if you’re getting enough steam, look for the “spring.” If the loaf expands vigorously before the crust sets, you’ve succeeded. If it stays stunted and matte, you’re missing that initial burst of moisture. Stop relying on the dial and start watching how the dough breathes.
I’ve tried adding sugar to get more color, but now my crust is tough and tastes like a biscuit; what am I doing wrong with my Maillard reaction?
Sugar is a shortcut, and shortcuts usually leave a bitter aftertaste. When you dump sugar into the dough, you aren’t just encouraging color; you’re changing the very structure of the crumb. You’ve essentially turned your bread into a sweet, enriched dough, which is why it feels like a biscuit. If you want deep color without that heavy, cookie-like texture, stop looking at the pantry and start looking at your steam and your oven’s thermal mass.