Most people think that learning how to make brioche is about mastering a complex ratio of eggs and flour, but they’ve got it backwards. They spend hours obsessing over the perfect brand of butter while their dough turns into a greasy, lifeless puddle because they didn’t understand the temperature of the room. I spent my first few years in the bakery thinking I was doing something wrong, only to realize I was fighting the fat instead of working with it. You can have the finest ingredients in the world, but if you rush the incorporation or let the dough get too warm under your palms, you aren’t making brioche—you’re just making expensive, heavy bread.
I’m not here to give you a glossy photograph or a list of fancy tools you don’t need. Instead, I’m going to show you how to listen to the dough. We are going to work with precise weights and percentages so you actually know what’s happening in your bowl, and I’ll tell you exactly when to stop kneading and when to let the yeast do the heavy lifting. This is about patience and feel, not just following a set of instructions blindly.
Recipe Details
Ingredients
- 500g All-purpose flour
- 10g Instant yeast
- 60g Granulated sugar
- 10g Salt
- 4 Large eggs
- 250g Unsalted butter, room temperature
- 125ml Whole milk
Recipe Instructions
Step 1
First, you must wake up your yeast. I use a 50% hydration ratio for my liquid components, so mix your warm milk with your yeast and a pinch of that sugar. Let it sit for ten minutes until it’s foamy and smells alive. If it doesn’t bubble, don’t bother continuing; your yeast is tired, and a tired yeast will never give you the lift a brioche demands.
Step 2
Mix your flour, the rest of the sugar, and your salt into that milk. This is your base, and I want you to mix it until it forms a shaggy, cohesive mass. At this stage, the dough will feel heavy and stubborn, almost like a wet clay. Don’t panic and don’t add more flour just because it looks messy; you are building the structure that will eventually hold all that butter.
Step 3
Now comes the part where most people lose their patience. Begin adding your room-temperature butter, one piece at a time. You cannot just dump it in and hope for the best. You must work it into the dough—either by hand if you have the stamina or with a stand mixer—until the butter is fully incorporated. The dough should transition from a greasy mess into something supple and elastic. If it feels like it’s tearing, stop, let it rest, and try again.
Step 4
Once the dough is smooth and passes the windowpane test, cover it and let it rise. This is where the “time” part of my manifesto comes in. In a warm kitchen, this might take an hour; in a drafty cottage, it might take three. I always prefer a long, slow rise in the refrigerator overnight. This cold fermentation develops the flavor and makes the dough much easier to handle when you’re ready to shape it.
Step 5
Shape your dough into your desired loaf or rolls, being careful not to be too aggressive. You want to create tension on the surface without knocking the air out of those beautiful bubbles you worked so hard to grow. Place them in your tin, let them proof one last time until they look puffy and proud, and then bake. Watch the color, not the timer; you want a deep, golden hue that tells you the sugars have properly caramelized.
Mastering the High Fat Bread Recipe Without Rushing the Fat
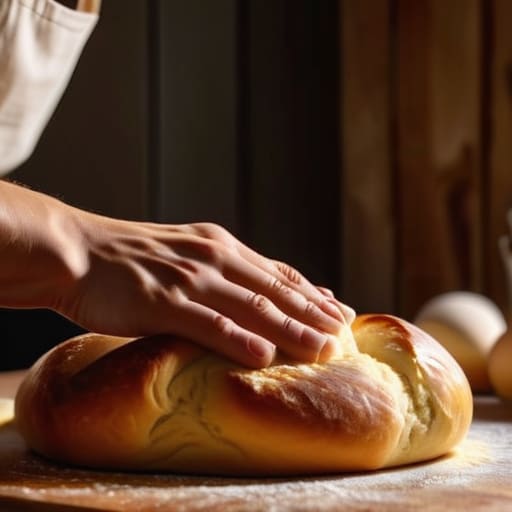
The mistake I see most often with an enriched yeast dough like this isn’t the ingredients; it’s the impatience. People want to see that butter fully incorporated within five minutes, but if you force it, you’ll end up tearing the gluten structure rather than building it. When you are working through your kneading brioche technique, the dough will feel greasy and unmanageable at first. That’s normal. Don’t panic and add more flour—that is the quickest way to turn a cloud-like loaf into a brick. Instead, keep working it until the dough stops feeling like a mess and starts feeling supple and alive under your palms.
Once you’ve finished the heavy work, the real test begins during the rise. When you are proofing brioche dough, remember that fat slows things down. A cold kitchen will make this dough take ages, so don’t go chasing it with a hot oven; just find a steady, lukewarm corner. If you want that professional, lacquer-like finish, don’t be stingy with your egg wash for golden crust. It should be a thin, even veil, not a thick sludge. Patience is your best tool here.
The Patience Required for Perfect Proofing Brioche Dough
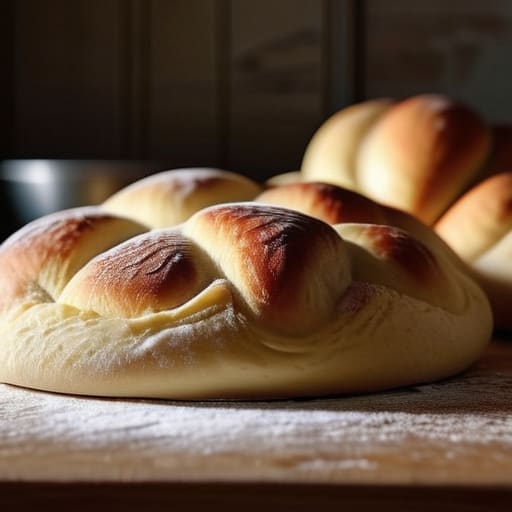
Now, listen closely, because this is where most people lose their way. You’ve done the hard work of incorporating that butter, and now you’re tempted to hurry. Don’t. When you are proofing brioche dough, you aren’t just waiting for air bubbles; you are waiting for the yeast to negotiate with all that heavy fat. Because this is such a rich, enriched yeast dough, the fermentation moves more sluggishly than a lean sourdough. If your kitchen is drafty, it will take even longer. I always tell my apprentices: if the dough doesn’t feel like a soft, pillowy cloud that gently springs back when poked, it isn’t ready. Patience is your primary tool here.
If you find yourself staring at a bowl that refuses to grow, check your surroundings. A cold countertop is the enemy of a successful rise. If you’re in a rush, you might be tempted to use a warm oven, but please, don’t—you’ll cook the yeast before it even wakes up. Once it has reached that perfect, airy volume, apply your egg wash for golden crust with a gentle hand. You want a finish that shines like polished mahogany, not a heavy, sodden mess.
Five Things Your Recipe Won't Tell You About Brioche
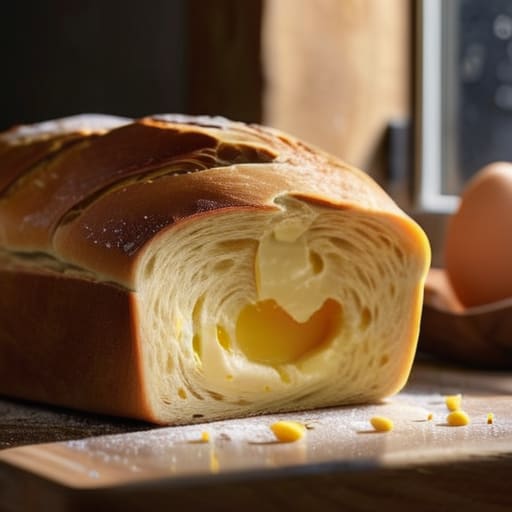
- Temperature is your silent partner; if your kitchen is a drafty cellar or your hands are running hot, that butter is going to behave badly. Keep your butter cool but pliable—think the consistency of a soft earlobe—and if the dough starts feeling greasy rather than silky, get it into the fridge immediately.
- Stop looking at the clock and start looking at the dough. A recipe might say “proof for two hours,” but if your house is cold, that dough could take four, and if you’re rushing it, you’ll end up with a heavy, dense brick that tastes more of yeast than of rich cream.
- Respect the gluten development before you even think about adding the fat. You must build a strong, elastic structure with just the flour, water, eggs, and yeast first; if you dump that butter in too early, you’ll coat the proteins and they’ll never find each other to build the strength you need.
- Forget the idea of “mixing” and start thinking about “incorporating.” When you add the butter, do it one piece at a time, letting the dough swallow it up before adding more, until the dough stops being a shaggy mess and starts feeling like a living, supple thing that pulls away from the sides of the bowl.
- Use a scale, not a cup. A cup of flour can weigh anywhere from 120 to 160 grams depending on how hard you packed it, and in a high-hydration, high-fat dough like brioche, that margin of error is the difference between a cloud-like loaf and a puddle of dough.
Three Things to Carry in Your Mind While You Bake
Trust your hands over your eyes; a brioche dough should feel like a soft, supple earlobe under your fingers, not a sticky mess or a tight ball of clay.
Respect the temperature of your kitchen and your ingredients, because if that butter gets too warm before it’s incorporated, you’ll end up with a greasy crumb instead of a silky one.
Forgive the clock and follow the dough; if the room is cold, let it rise longer, and if the dough feels heavy and sluggish, give it the time it’s asking for rather than forcing it into the oven.
The Baker's Final Word
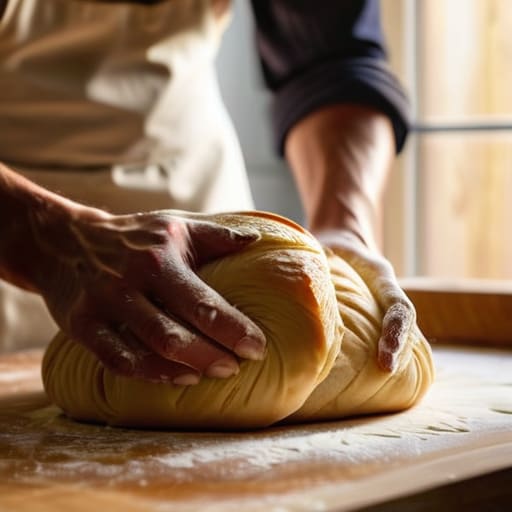
If you’ve followed along, you know that brioche isn’t just a recipe; it’s a lesson in temperament. We’ve talked about the necessity of high hydration and the way that heavy fat content can make a dough feel temperamental if you try to force it. Remember, the secret isn’t in a fancy mixer or a temperature-controlled proofing box—it’s in the way you listen to the dough. If it feels tight or stubborn, give it more time to relax. If the butter isn’t incorporating smoothly, stop and let the dough rest. Most failures in brioche happen because someone tried to fight the physics of the fat rather than working with it. Respect the temperature, watch your dough’s strength, and let the time do the heavy lifting for you.
At the end of the day, your first loaf might not look like the ones in the glossy magazines, and that is perfectly fine. Bread is a living thing, and sometimes it needs a bit more warmth or a slightly longer rest than you anticipated. Don’t let a slightly flat loaf discourage you; instead, look at it as a conversation between your hands and the flour. Once you stop chasing perfection and start feeling the rhythm of the fermentation, you’ll find that the magic happens in the quiet moments of the rise. Now, get your hands floury and go see what you can create.
Frequently Asked Questions
My dough is still a sticky, weeping mess and won't hold its shape—did I add too much butter or is my flour too weak?
It’s likely neither, or perhaps a bit of both. If it’s “weeping,” your butter was likely too warm when you incorporated it; it’s emulsifying into a liquid rather than staying trapped in the gluten structure. But if it’s just a sticky, slack mess, you haven’t built enough strength yet. Don’t reach for more flour—that’s a trap. Keep kneading and folding. If the gluten isn’t tight, that fat has nothing to cling to.
Can I use a stand mixer for the entire process, or will the friction heat the dough too much and kill the yeast?
You can certainly use a stand mixer, but you must watch it like a hawk. Friction is a real beast; that mechanical energy turns into heat, and if your dough climbs above 26°C (79°F), you’re asking for trouble. Use cold milk and keep your butter chilled. If the bowl feels warm to the touch, stop immediately. Sometimes it’s better to let the machine do the heavy lifting, then finish the shaping by hand.
I don't have a thermometer; how can I tell if my milk is at the right temperature before I mix it with the yeast?
If you’ve lost your thermometer, don’t panic; we’ve all been there. Use your own skin. Dip a clean finger into the milk—it should feel like a warm bath, not a hot shower. If it makes you flinch, it’s going to kill your yeast. If it feels cool, your dough will just take its sweet time waking up. You’re looking for that gentle, soothing warmth that feels comfortable against your wrist.