Most people think that making a soft sandwich loaf requires a mountain of extra butter or a handful of chemical conditioners to get that pillowy texture, but they’ve got it entirely backward. I spent years watching people struggle with heavy, dense bricks, blaming their recipes when the real culprit was usually a lack of proper hydration or a kitchen that was far too cold. You don’t need a chemistry set to master how to make a soft sandwich loaf; you just need to understand how the flour is drinking and how much tension your hands are actually putting into the dough.
I’m not going to give you a list of fancy additives or tell you to trust a digital timer blindly. Instead, I’m going to teach you how to work with percentages and feel, so you can sense exactly when that dough has moved from being a sticky mess to a supple, elastic living thing. We are going to focus on the temperature of your water, the way you handle the bulk fermentation, and why patience is the only thing that will actually give you that tender, fine-crumbed slice you’re after.
Recipe Details
Ingredients
- 3 cups all-purpose flour
- 1 cup warm milk
- 2 tablespoons granulated sugar
- 1 packet active dry yeast
- 2 tablespoons unsalted butter, melted
- 1 teaspoon salt
- 1 large egg
Recipe Instructions
Step 1
First, we need to get our ingredients ready. For this loaf, we are working with a 65% hydration dough to ensure it stays soft enough to squish without losing its shape. You’ll need 500g of strong bread flour, 325g of lukewarm water (around 26°C/79°F), 10g of fine sea salt, 7g of instant yeast, and 50g of softened unsalted butter. Don’t just dump them in; add your flour and yeast to the bowl first, then pour in the water. I like to let the flour and water sit for about twenty minutes before I even touch it—we call this an autolyse, and it does half the work of gluten development for you while you’re busy making tea.
Step 2
Now, we begin the mixing. Add your salt and the softened butter to the shaggy mass of flour and water. If you’re using a stand mixer, keep it on low so you don’t cook the yeast, but if you’re doing this by hand—and I truly recommend it—reach into the bowl and use your fingers to squeeze the butter into the dough until it’s no longer in distinct chunks. You aren’t looking for a smooth surface yet; you’re just looking to incorporate the fat so it can coat those flour particles and keep the crumb tender.
Step 3
Once it’s a cohesive mass, it’s time to develop the strength. If you’re using a mixer, let it run for about 8 to 10 minutes until the dough pulls away from the sides of the bowl and feels elastic. If you’re working by hand, you’ll need to perform a series of stretches and folds. Reach under one side of the dough, pull it up high, and fold it over itself, rotating the bowl as you go. Do this for about 10 to 12 minutes until the dough stops feeling like a sticky mess and starts feeling like a resilient, smooth skin. It should spring back when you poke it, not just deflate like a sad balloon.
Step 4
Place your dough in a lightly oiled bowl and cover it with a damp cloth—never use plastic wrap directly on the dough if you can help it, as it can create a suffocating environment. Now, you must wait. Let it rise in a warm, draft-free spot until it has roughly doubled in size. This isn’t a race. If your kitchen is cold, it might take two hours; if it’s warm, it might take forty-five minutes. Trust the dough, not the clock. You’ll know it’s ready when it looks puffy and holds a gentle indentation when you press it lightly with a floured finger.
Step 5
Gently turn the dough out onto a lightly floured surface. Don’t be aggressive here; if you punch it too hard, you’ll knock out all the lovely air we just worked so hard to build. Fold the edges into the center to create tension, then shape it into a tight log. Place it into your greased loaf tin, smoothing the top. Let it rise again in the tin for about 45 minutes—it should reach about an inch above the rim. When you slide it into a preheated oven at 190°C (375°F), the smell will tell you everything you need to know. Once it’s a deep, golden brown, take it out and let it cool completely on a wire rack before you even think about slicing it. If you cut it while it’s hot, the steam escapes too fast and you’ll end up with a gummy interior.
Enriched Dough Techniques and the Milk vs Water Debate
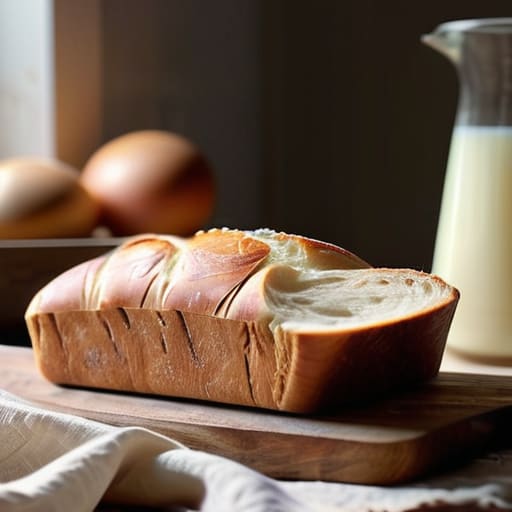
Now, if you want to really play with the soul of this loaf, you have to understand the tug-of-war between fat and hydration. When we talk about milk vs water in bread, it isn’t just about flavor; it’s about how the crumb behaves. Water gives you a clean, sharp rise and a bit more tension, but milk introduces sugars and fats that coat the flour proteins. This slows down the yeast just a touch, but in exchange, you get a velvety, tight crumb that stays soft for days. If you use milk, don’t be surprised if your dough feels a bit more “lazy” during the bulk ferment—it isn’t failing, it’s just being well-fed.
Mastering enriched dough techniques is really just a lesson in managing weight. When you add butter or milk, you’re adding heaviness that the gluten has to work twice as hard to lift. If your dough feels like it’s struggling to hold its shape, don’t panic and add more flour; that’s the quickest way to turn a cloud into a brick. Instead, give it an extra fold or two. You want to feel that tacky, elastic resistance under your palms, ensuring the structure is strong enough to support all that lovely richness.
Mastering Homemade White Bread Texture Through Patient Rising Tips
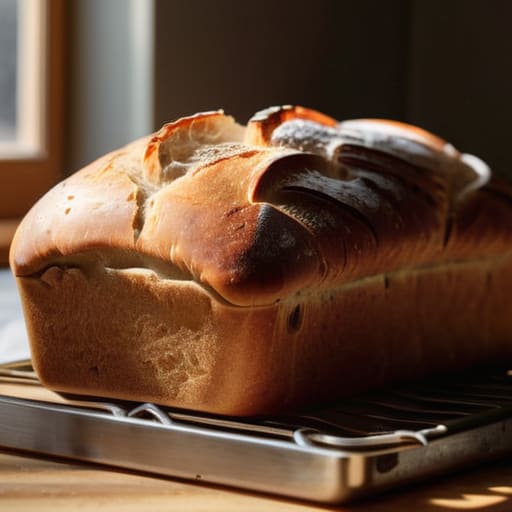
Most people think a soft crust sandwich bread is a matter of adding more sugar or fat, but they’re missing the point entirely. It’s about the gas. If you rush the proofing because you’re hungry or impatient, you’ll end up with a dense, tight crumb that feels more like a brick than a cloud. I always tell my apprentices that you don’t bake a dough; you nurture it. To get that true, pillowy homemade white bread texture, you have to watch the dough, not the clock. If your kitchen is drafty, that dough is going to take its sweet time, and you must let it.
When you’re looking for those professional-grade yeast bread rising tips, remember that temperature is your invisible hand. A warm, slightly humid environment acts like a gentle nudge, helping the yeast work without stress. Also, pay attention to your vessel; using a bread loaf pan size that is too large for your specific dough volume will result in a flat, spreading mess rather than a proud, rounded top. Don’t fight the dough—if it feels stubborn or heavy, give it another twenty minutes to find its spirit.
The Baker’s Secrets: Why Your Loaf is Acting Up

- Watch your dough, not your clock. If the recipe says two hours but your kitchen is drafty and the dough still feels heavy and dense, give it another forty-five minutes. A dough that hasn’t doubled in size is just a brick waiting to happen, no matter what the timer says.
- Stop being afraid of a little stickiness. When you’re working with an enriched dough—one with fat and sugar—it’s going to feel tacky. If you keep adding flour to stop the sticking, you’ll end up with a dry, crumbly loaf that tastes like sawdust. Use your hands to work that tackiness into strength.
- Temperature is everything, especially with milk. If you’re using milk for that soft crumb, make sure it’s lukewarm, not hot. If you scald the milk, you’ll kill the yeast before it even has a chance to breathe, and you’ll be staring at a flat, lifeless slab of dough.
- Respect the degas. When you shape that loaf into its final form, be gentle. You want to knock out the big, angry air bubbles so the crumb is fine and even, but don’t punch it like you’re angry at it. You need to keep some of that delicate gas trapped inside to ensure a soft lift.
- The final proof is where the magic happens. Once you’ve shaped the loaf into the tin, let it sit until it looks pillowy and just barely holds its shape. If you bake it too early, it’ll burst out the sides; if you wait too long, it’ll collapse. It should feel like a soft cushion under your fingertip.
Three Things to Carry With You to the Kitchen
Trust your fingertips over your eyes; a sandwich loaf shouldn’t feel like a tight, angry muscle, but rather like a soft, pillowy cushion that bounces back when you poke it gently.
Stop fighting the clock and start watching the dough; if your kitchen is drafty or your water was a touch too cold, that dough is going to take its sweet time, and you’ll be better off waiting than forcing a rise that leaves you with a dense, heavy crumb.
Remember that hydration is the soul of softness, so if you find your dough feels too stiff or unyielding during the kneading process, don’t be afraid to add a splash more liquid—it’s much easier to fix a wet dough than a dry, crumbly one.
The Secret is in the Hands, Not the Timer
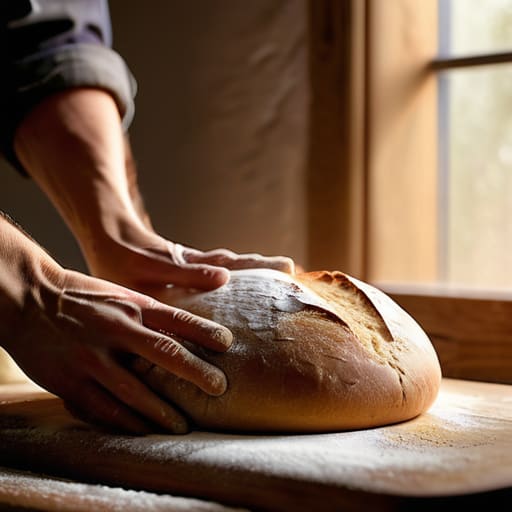
If you’ve followed along, you know that a soft sandwich loaf isn’t about following a set of rigid rules, but about understanding the relationship between your ingredients. We talked about why using milk increases that tender crumb, why we lean on percentages to keep our hydration consistent, and why you must never, ever rush the proofing stage just because you’re hungry. Remember, if your dough feels tight or stubborn, it isn’t “broken”—it’s likely just cold or needs more time to relax. The most important thing you can take away from this is that the dough will tell you when it is ready, provided you are actually listening to its texture rather than staring at the clock.
Don’t be discouraged if your first few loaves come out a bit dense or miss that perfect, pillowy spring. I spent my first decade in the bakery making mistakes that would make a grown man weep, but every failed loaf taught me something about how the air moves in my kitchen or how my hands were working the gluten. Baking is a conversation between you and the flour, and it takes a little while to learn the language. Just keep your scales accurate, keep your hands gentle, and remember that the best bread in the world is the one you had the patience to make yourself.
Frequently Asked Questions
My loaf comes out looking beautiful but feels dense and heavy like a brick; did I under-proof it or is my flour lacking the strength?
It’s rarely the flour’s fault; most modern bread flours have more strength than you know what to do with. If it looks beautiful but feels like a stone, you’ve likely under-proofed it. You’re seeing the tension of the skin holding that shape, but the internal structure hasn’t actually expanded. Stop looking at the clock and start looking at the dough. It needs to feel airy and jiggly, not tight and resistant, before it hits the heat.
I followed the hydration percentages exactly, but my dough feels much stickier than yours—should I keep adding flour or just wait for it to relax?
Put that flour bag down. If you keep adding flour to “fix” the stickiness, you’ll end up with a heavy, tight brick instead of a soft loaf. Dough is a living thing; it needs time to organize itself. That stickiness is just the gluten still waking up and getting acquainted with the water. Give it twenty minutes to rest, let the proteins relax, and try a gentle fold. If it’s still a mess after that, then we talk.
Can I swap the milk for a plant-based alternative without ruining the crumb, or will the lack of fat change how the dough handles?
You can swap it, but don’t expect a mirror image. If you use a thin almond milk, you’re losing that lovely fat content that coats the gluten strands, which might make the crumb feel a bit more “lean” and less pillowy. I’d suggest an oat milk—it has a bit more body and natural sugars to help with the crust color. Just watch your dough; if it feels too slack, you might need a dusting of flour.