I’ve spent thirty-four years watching people throw money at “specialty” ingredients and expensive gadgets, convinced that a professional-grade buttercream requires a chemistry degree or a high-end stand mixer. They see these glossy, perfect videos online and think they’re missing a secret component, but they aren’t. Most people fail because they treat frosting like a set-and-forget recipe rather than a living thing that reacts to the air in your kitchen. If you’re looking for a complete guide to buttercream that promises magic with a single click, you’ve come to the wrong place; I’m here to tell you that it’s really just a matter of mastering the relationship between fat, sugar, and the temperature of your room.
I am not going to give you a list of fancy flavorings and call it a day. Instead, I’m going to teach you how to feel when the emulsion is right and how to fix it when your butter decides to turn into a greasy soup. We will talk about ratios, the physics of aeration, and why your kitchen’s humidity matters more than the brand of sugar you buy. This is a no-nonsense roadmap designed to move you past following instructions and toward actually understanding the medium in your hands.
Choosing the Best Butter for Frosting and the Weight of Quality
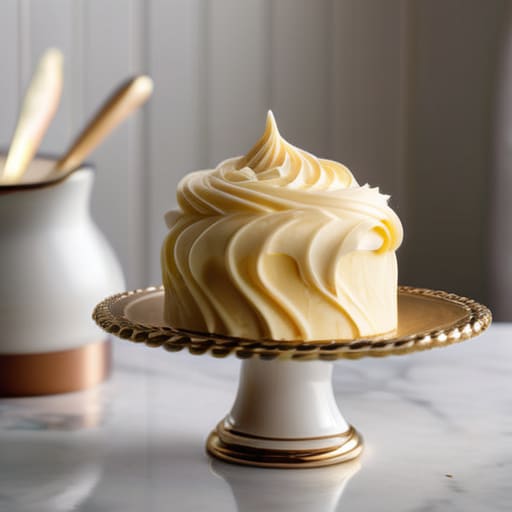
If you’re looking for the best butter for frosting, stop looking at the colorful wrappers and start looking at the water content. In my bakery, we never used those cheap, watery supermarket blocks; they’re mostly air and moisture, and that’s a recipe for disaster. You want high-fat European-style butter. Because the water content is lower, the emulsion stays stable. If you use a low-quality butter with too much water, you’ll find yourself constantly fighting buttercream texture troubleshooting mid-batch, trying to figure out why your frosting looks like curdled milk instead of silk.
I don’t care how many “cups” a recipe calls for; if you aren’t weighing your butter, you aren’t really baking. I always work with a 100% baseline for my fats, and I expect you to do the same. A standard stick of butter might look fine, but if it’s missing even ten grams of fat, your structure will collapse. When you weigh your ingredients, you aren’t just following a list—you are controlling the physics of the fat. Precision in weight is what separates a heavy, greasy smear from a frosting that actually holds its shape.
Swiss Meringue Buttercream Technique the Slow Dance of Eggs and Sugar
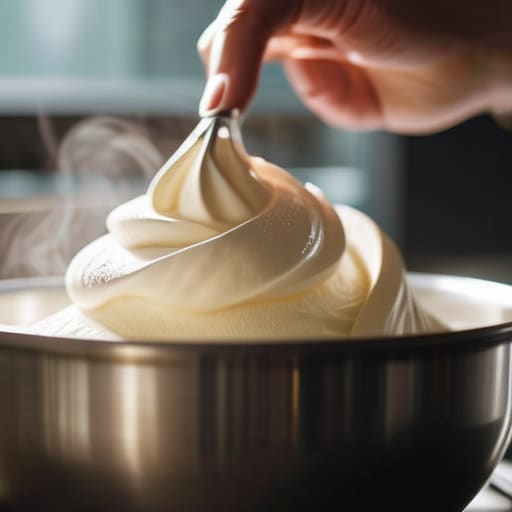
If American buttercream is a blunt instrument, Swiss meringue is a violin. While the American style is a quick fix of powdered sugar and butter, the Swiss meringue buttercream technique is a slow, deliberate process of heating egg whites and sugar together over a bain-marie until they reach exactly 71°C (160°F). You aren’t just mixing ingredients; you are creating a stable, cooked structure. If you don’t hit that temperature, you’re essentially playing with raw eggs, and your frosting will never hold the shape you need.
Once that warm syrup is whisked into a glossy, stiff meringue, you let it cool completely before introducing your butter. This is where most people lose their nerve. As you add the fat, the mixture will often look like it has completely given up—it will look curdled, grainy, or like a broken mess. Don’t panic and don’t reach for more sugar. This is just buttercream texture troubleshooting in real-time. Usually, it just needs more time for the emulsion to catch up. Keep whisking, keep being patient, and eventually, that heavy sludge will transform into a silk so smooth it feels like cheating.
Five things your thermometer and your hands will tell you
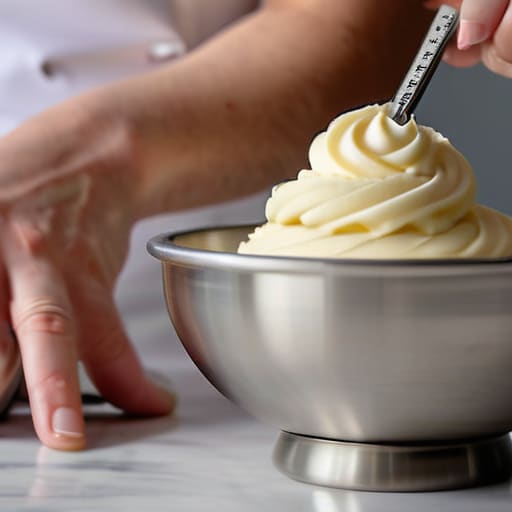
- Temperature is your master, not your servant. If your butter is too cold, you’ll be fighting a lumpy, stubborn mess that refuses to emulsify; if it’s too warm, your beautiful structure will collapse into a greasy puddle. Aim for that soft, room-temperature state where the butter yields to a gentle thumbprint without losing its shape.
- Stop using cups and start using your scale. A “cup” of butter can vary wildly depending on how much you’ve packed it or how much it has softened, but 227 grams is always 227 grams. When you’re working with fats and sugars, precision in weight is the only way to ensure your ratios stay consistent every single time.
- Watch the aeration, not the clock. Whether you are whipping a simple American buttercream or a delicate Swiss meringue, don’t just stop because a timer went off. You are looking for a change in texture—a lightness that feels like a cloud—and a color that has shifted from a heavy yellow to a pale, creamy ivory.
- Respect the emulsion. If you see your buttercream starting to look curdled or broken, don’t panic and don’t throw it away. Usually, it’s just a matter of temperature imbalance. A tiny bit of warm milk or a few more minutes of gentle whisking can often coax those fats and liquids back into a smooth, unified marriage.
- Sift your sugar, every single time. I don’t care how fine the box says it is; those tiny, stubborn clumps are the enemy of a smooth finish. If you want a frosting that looks like silk on a cake, you have to do the work of passing your sugar through a fine mesh sieve before it ever touches the butter.
The Three Pillars of a Perfect Frosting
Temperature is your master; if your butter is a fraction too cold, you’ll be fighting lumps for an hour, and if it’s too warm, you’re just making sweet soup instead of a stable cream.
Forget the measuring cups and trust the scale; a recipe written in grams or percentages allows you to control the fat-to-sugar ratio with the precision needed to keep a cake from sliding apart.
Patience is the silent ingredient—whether you are waiting for egg whites to reach a stiff peak or letting a buttercream come to room temperature, rushing the process is the fastest way to end up with a broken, grainy mess.
The Final Fold
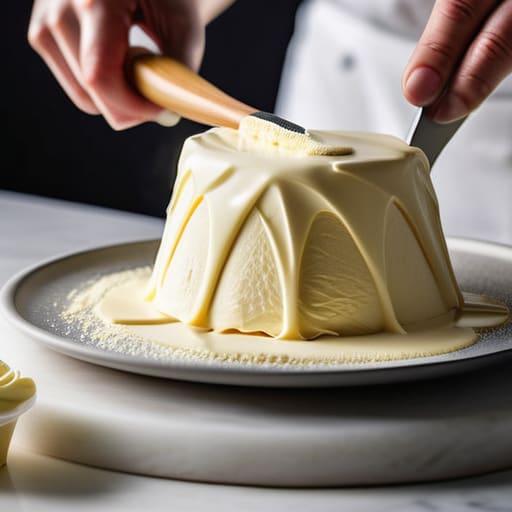
At the end of the day, buttercream is a lesson in discipline. We have talked about the necessity of weighing your butter to ensure your fat content is consistent, and we have danced through the delicate, temperature-sensitive steps of a proper Swiss meringue. If you remember nothing else, remember that temperature is your silent partner; if your kitchen is a furnace or your butter is a brick, the chemistry simply won’t cooperate. Whether you are working with a simple American style or the silken elegance of a meringue, success lives in the details—the precise weight of your sugar, the steady aeration of your fats, and the patience to let the emulsion stabilize before you even think about spreading it onto a cake.
Don’t let a broken emulsion or a grainy texture discourage you. I have spent thirty-four years seeing more failed batches than successful ones, and I can tell you that every mistake is just a way of learning how the ingredients want to behave. A bit of warmth here, a little more whisking there, and suddenly that heavy mess transforms into something sublime. Stop looking at the clock and start feeling the weight of the spatula in your hand. Baking isn’t about following a set of rigid commands; it is about listening to the dough and the cream until they tell you they are ready. Now, go get your scale, find some good butter, and get to work.
Frequently Asked Questions
My buttercream looks like it’s curdled or separated into a greasy mess; did I use the wrong butter or did I just rush the temperature?
It’s rarely the butter’s fault, though it’s the easiest thing to blame. If it looks greasy or curdled, you’ve had a temperature collision. You likely added butter that was too cold to the egg base, or your kitchen was a furnace when you should have been cooling things down. It’s a fight between fat and emulsion. Don’t toss it; just grab a warm bowl or a hair dryer. Gently nudge those temperatures back into harmony.
If I'm working in a kitchen that's particularly warm, how do I keep the frosting from turning into a puddle without ruining the texture?
If your kitchen feels like a sauna, you aren’t fighting the recipe; you’re fighting the ambient heat. Stop trying to force it. Chill your mixing bowl and your whisk in the freezer for ten minutes before you start—it buys you precious time. If the buttercream starts looking slack, don’t keep beating it; you’ll just turn it into soup. Instead, pull it aside, pop it in the fridge for fifteen minutes, and then re-whip it once it’s regained its structure.
Can I swap out the unsalted butter for something with higher fat content, or will that throw off the stability of the whole batch?
You can, but don’t go chasing high-fat European butters without adjusting your math. If you swap a standard 82% butter for something closer to 84% or 86%, you’re essentially removing water from the equation. Your buttercream will feel richer, certainly, but it’ll also be stiffer and more prone to breaking if you aren’t careful with your aeration. Just remember: more fat means less structural water, so watch your stability closely.