You can spend all afternoon scrolling through glossy recipe sites, but if you think a perfect, golden ridge depends on a fancy star-shaped nozzle or a specific brand of flour, you’ve been misled. Most people struggle with how to make churros and fried dough because they are chasing a photograph rather than listening to the oil. I remember a young apprentice in my shop who nearly cried because her dough turned out heavy and greasy; she thought the recipe was broken, but the truth was far simpler: her oil wasn’t humming with the right heat, and she was rushing the cooling process.
I’m not here to give you a list of expensive gadgets or a way to make something look pretty for a screen. I am going to teach you the actual physics of the fry—the exact temperatures, the hydration levels, and the way the dough should feel against your spatula before it ever touches the pan. We are going to focus on the sensory cues that no timer can replicate. By the time we are done, you won’t need a recipe card to tell you if you’ve succeeded; you’ll simply know.
Recipe Details
Ingredients
- 1 cup water
- 2 tablespoons granulated sugar
- 1/2 teaspoon salt
- 2 tablespoons vegetable oil
- 1 cup all-purpose flour
- 1 large egg
- 1 teaspoon vanilla extract
- 1/2 cup extra vegetable oil for frying
- 1/2 cup granulated sugar for coating
- 1 teaspoon ground cinnamon
Recipe Instructions
Step 1
First, we deal with the liquid. In a heavy-bottomed saucepan, combine 250g of water, 50g of granulated sugar, and a generous 5g of salt. If you’re feeling indulgent, throw in a pinch of cinnamon here too. Bring this to a rolling boil, but don’t walk away to check your phone. You need to watch for that exact moment when the sugar has vanished and the water is dancing aggressively against the sides of the pan. Once it’s boiling, take it off the heat immediately.
Step 2
Now, we add the flour. You’ll need 300g of all-purpose flour, sifted if you have the patience, though I never minded a few lumps. Dump the flour into the hot water all at once. This is the part where most people panic because it looks like a mess, but you must work the dough with a sturdy wooden spoon. Stir it vigorously until the flour has fully hydrated and the mixture pulls away from the sides of the pot, forming a smooth, cohesive ball. It should feel heavy and slightly tacky, but not sticky.
Step 3
Let the dough rest and cool. This is where your temperament matters. If you try to work with this dough while it’s steaming hot, you’ll scald your hands and ruin the structure. Transfer the dough to a bowl and cover it with a damp cloth. Let it sit for about 15 to 20 minutes until it reaches a comfortable warmth. If you’re adding eggs—say, two large ones at 50g each—beat them together first and add them one at a time, mixing thoroughly after each addition until the dough is glossy and holds its shape.
Step 4
Prepare your frying station. You’ll want enough neutral oil (like sunflower or vegetable) to fill a heavy pot at least halfway. We aren’t shallow frying here; we want the dough to float. Heat the oil until it reaches 190°C. If you don’t have a thermometer, drop a tiny scrap of dough into the pot; it should sink briefly and then rush to the surface with a vigorous, steady sizzle. If it turns dark brown instantly, your oil is too angry; turn it down.
Step 5
Shape and fry. Load your dough into a piping bag fitted with a large star tip—that star shape isn’t just for looks, it creates more surface area for those lovely crispy ridges. Pipe strips of dough, about 10cm long, directly into the oil. Don’t crowd the pot; if you put too many in at once, the oil temperature will plummet, and you’ll end up with greasy, heavy dough instead of light, airy churros. Fry them for about 2 to 3 minutes per side, turning them only once they have established a golden-brown crust.
Step 6
The finish. Use a slotted spoon to move the churros to a wire rack or a paper towel to drain. While they are still screamingly hot, toss them in a bowl of cinnamon sugar. If you wait until they cool, the sugar won’t stick, and you’ll just be eating plain fried dough. It’s a simple rule, but patience is everything when it comes to the perfect coating.
Spanish Churros Ingredients Respecting the Purity of the Ratio
When people ask me about the secret to a proper homemade churro recipe, they expect me to pull a jar of exotic spice from my apron. They don’t realize the magic is actually in the simplicity of the flour and water. In a traditional Spanish kitchen, you aren’t looking for complexity; you are looking for a dough that has enough structural integrity to hold its shape against the heat. I always tell my apprentices that the ratio is everything. If your hydration is even slightly off, you’ll end up with a dough that either collapses into a greasy puddle or stays stubbornly raw in the center.
You’ll notice I don’t call this a dough in the way you’d treat a sourdough; it’s more akin to a heavy choux pastry variation. Because there is no yeast to do the heavy lifting, you rely entirely on the starch and the immediate heat of the oil. When you’re prepping your spanish churros ingredients, make sure your flour is fresh and your water is boiling hot when it hits the pan. That instant gelatinization is what creates that beautiful, hollow interior that catches the sugar. Don’t rush the coating, either—wait until they are warm, but not scalding, or your cinnamon sugar will simply melt into a sad, wet sludge.
Deep Frying Techniques for Dough Why Temperature Trumps Technique
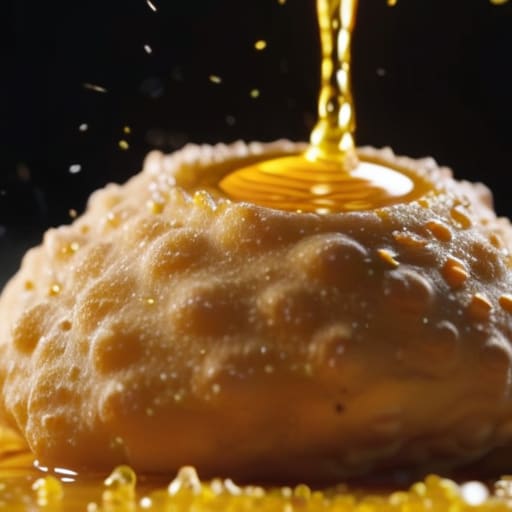
You can have the finest Spanish churros ingredients in the world, but if your oil is behaving like a lukewarm bath, you’ve already lost. I’ve seen too many beginners panic when their dough turns into a grease sponge; that isn’t a failure of the recipe, it’s a failure of the heat. When you’re practicing deep frying techniques for dough, you have to stop looking at the clock and start looking at the bubbles. You want a steady, aggressive sizzle that stays constant from the first drop to the last. If the oil temperature drops too low, the dough drinks the fat instead of sealing it, and you’ll end up with something heavy and sad rather than light and airy.
Once you’ve mastered that heat, the real magic happens in the finish. A common mistake is tossing your dough in a bowl of cinnamon sugar while it’s still soaking wet with oil. You want to drain them on a wire rack for just a heartbeat—long enough to lose the excess, but not so long that the surface dries out. You want that cinnamon sugar coating to grab onto a still-warm, slightly tacky surface. It’s a fine line between a perfect crunch and a gritty mess, but patience with the temperature will get you there every single time.
The Baker’s Instinct: Five Rules for Avoiding a Greasy Disaster
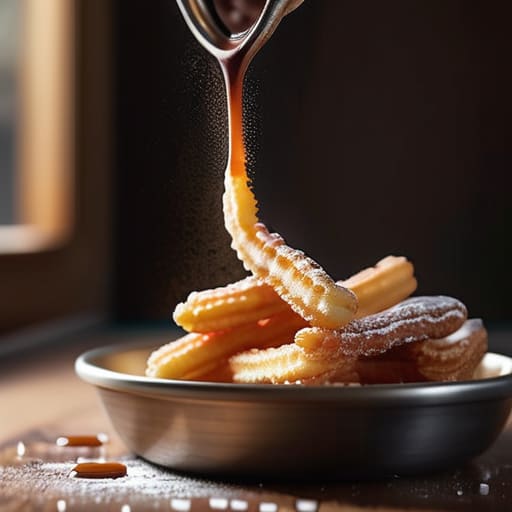
- Stop staring at the clock and start listening to the oil. A timer doesn’t know if your kitchen is drafty or if your oil has lost its bite. You want that aggressive, immediate sizzle the moment the dough hits the fat; if it just sits there bubbling quietly like a sleepy pond, your temperature is too low and you’re about to serve me a sponge soaked in grease.
- Respect the hydration of your paste. When you’re cooking your flour and water on the stove, you aren’t just making a dough; you’re building a structure. It should be thick, heavy, and hold its shape like a stubborn child. If it’s too slack, your churros will flatten into sad, oily pancakes the moment they touch the heat.
- The star tip is not just for decoration; it is a structural necessity. You need those deep ridges to increase the surface area. Those grooves are what create the crunch that contrasts with the soft center. If you use a blunt nozzle or try to shape them by hand, you’re losing the very thing that makes a churro a churro.
- Let the dough breathe before it meets the heat. I know you want to eat them immediately, but if you pipe that dough while it’s still steaming hot from the pot, you’ll trap too much moisture inside. Give it ten minutes to settle so the starches can stabilize; it makes the final texture much more predictable.
- Don’t be afraid of a little heat, but don’t go chasing a flame. If you see the oil smoking, you’ve gone too far and you’ll burn the outside while the inside remains raw dough. You want a steady, rhythmic heat that maintains itself. If the temperature drops too much after your first batch, wait. Patience is the only thing that keeps the oil from winning.
The Baker’s Essentials: Three Truths for Better Dough
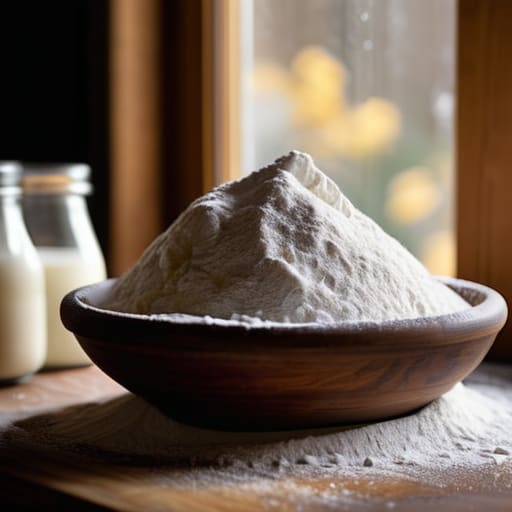
Forget the visual cues in the cookbook; your ears and your hands are your real tools. Listen for the aggressive sizzle of the oil to know your heat is right, and feel for that specific, springy resistance in the dough that tells you the starch has properly hydrated.
Precision in your ratios is non-negotiable. I don’t care how many “cups” a recipe calls for—if your hydration is off by even a small percentage, your dough will either be a heavy, oily sponge or a brittle, hollow shell.
Patience is your most vital ingredient, especially when dealing with heat. If you rush the frying or try to scoop dough that hasn’t rested, you’ll end up with a greasy mess; let the temperature do the work, and let the dough settle before you demand it perform.
The Final Proof
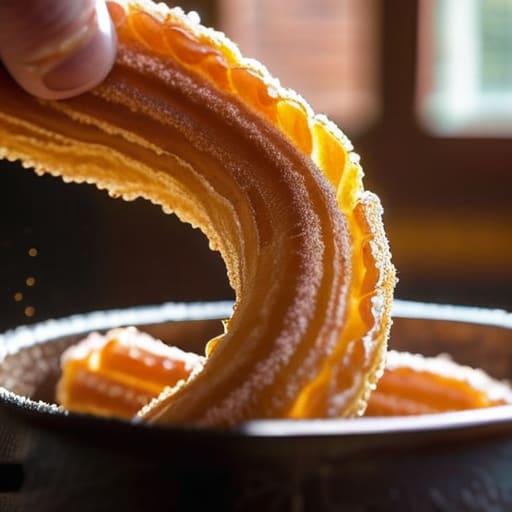
If you find yourself staring at a batch of dough that didn’t quite rise or a tray of oil that was too sluggish, don’t go reaching for a new cookbook. You didn’t fail the recipe; you likely just missed the rhythm of the heat or rushed the hydration. Remember that churros are a matter of physics as much as flavor. It comes down to that precise ratio of flour to water, the strength of your steam, and ensuring your oil is humming at the right temperature before the dough ever touches it. If they come out heavy instead of hollow, your oil was likely too cold, and if they’re greasy, you waited too long to listen to that sizzle. Trust your hands and your ears more than any digital thermometer.
At the end of the day, baking is a conversation between you and the ingredients, and sometimes the ingredients have the final say. There is a specific, quiet joy in pulling a golden, ridged pastry from the oil and watching the sugar cling to the heat. Don’t let a single burnt batch or a slightly limp dough discourage you from the craft. Mastery isn’t about perfection on the first try; it is about developing the intuition to know exactly when the dough is ready to be shaped. Now, stop reading, get your flour out, and go make a mess.
Frequently Asked Questions
My dough feels stiff and won't pipe through the star tip; did I miss the hydration or is my oil too hot?
It isn’t your oil, darling; it’s your hydration. If that dough is fighting you and refusing to flow through the star, you’ve likely under-measured your water or let it cool too much before piping. A stiff dough won’t hold those crisp, beautiful ridges. Aim for a dough that feels like a heavy, supple paste—not a ball of clay. Add a splash of hot water to the mix and work it until it yields.
Can I use a sourdough starter to add depth to the fried dough, or will the acidity mess with the fry?
You certainly can, but don’t go throwing it in like a handful of sprinkles. If you use a sourdough discard or a bit of active starter, you’re introducing acidity that softens the gluten. It won’t “mess up” the fry, but it will change the structure; expect a slightly more tender, less “snappy” crust. Just remember that the starter adds moisture, so you’ll need to adjust your hydration by a few percentage points to keep the dough from becoming a sticky mess in the pan.
Why are my churros collapsing into limp puddles as soon as they hit the cooling rack?
If your churros are collapsing, you haven’t made a pastry; you’ve made a heavy sponge. It’s almost always one of two things: your oil was too cool, or you rushed the dough. If the oil temperature drops when the dough hits, the exterior sets before the inside is cooked, leaving a steam-filled pocket that implodes once the heat leaves. Or, you didn’t cook out enough moisture during the initial fry. They need to be structural, not just golden.