If you think you need a fancy commercial fryer or a dozen expensive gadgets to master how to make doughnuts, you’ve been lied to by people who care more about kitchen aesthetics than actual crust. I spent thirty-four years watching people walk into my shop, frustrated because their home-baked rings were either heavy as stones or soaked through with grease like a sponge. The truth is, a doughnut doesn’t care about your equipment; it cares about the temperature of your oil and the gentle way you handle the dough once it’s finished its rise. If you treat the dough like it’s something to be conquered rather than something to be coaxed, you’ll never get that light, airy crumb that makes a doughnut worth waking up for.
I’m not going to give you a list of “secret ingredients” or promise you a miracle in a box. Instead, I’m going to give you the weights, the percentages, and the rhythm of the process. We’ll talk about why your dough feels too tight and how to know, by touch alone, when it’s ready for the heat. No fluff, no fancy photography—just the honest mechanics of a dough that knows exactly what it wants to be.
Recipe Details
Ingredients
- 2 1/4 teaspoons active dry yeast
- 1 cup warm milk
- 1/4 cup granulated sugar
- 1/4 cup melted butter
- 1 large egg
- 1 teaspoon vanilla extract
- 3 1/2 cups all-purpose flour
- 1/2 teaspoon salt
- 2 cups vegetable oil for frying
- 1 cup powdered sugar for coating
Recipe Instructions
Step 1
First, we need to wake up the yeast. You’ll want 500g of strong bread flour, 250g of whole milk, 75g of caster sugar, 10g of fine sea salt, 70g of unsalted butter (softened, mind you), and 7g of instant yeast. Warm that milk until it feels like a lukewarm bath—not hot, or you’ll kill the life right out of it. Mix your sugar and yeast into the milk and let it sit for ten minutes until it’s bloomed and smelling slightly sweet. If it doesn’t bubble, your milk was too hot or your yeast is old; don’t bother continuing.
Step 2
Once the yeast is lively, bring the flour and salt together in a large bowl. Pour in your milk mixture and start mixing by hand. At 65% hydration, this dough will feel quite tacky at first, which is exactly where you want it. Add your softened butter one knob at a time, working it into the dough. It will look like a mess, a real shaggy disaster, but don’t you dare reach for more flour. Just keep folding and pressing until the butter disappears and the dough begins to pull away from the sides of the bowl.
Step 3
Now comes the part where most people fail: the kneading. Turn the dough onto a clean surface and work it for about ten minutes. You aren’t fighting the dough; you’re asking it to become something. You’re looking for the development of gluten, which means the surface should transition from bumpy and uneven to smooth and elastic. If you poke it with your finger, it should spring back slowly. If it stays indented like a crater, it needs more work.
Step 4
Cover your bowl with a damp cloth—not a paper towel, they dry out too fast—and let it rise in a draft-free spot. This is where your kitchen temperature matters most. If your house is cold, give it an hour and a half; if it’s warm, it might be ready in forty-five minutes. You’re looking for the dough to double in size, feeling light and airy under your palm. If you rush this stage because you’re hungry, you’ll end up with heavy, greasy doughnuts that sit in your stomach like stones.
Step 5
Gently knock the air out of the dough—don’t punch it like a boxer, just a soft press—and roll it out on a lightly floured surface to about 2cm thickness. Use a cutter to shape your rings. Place them on a tray, cover them, and let them undergo their second rise. This is the most delicate part; they need to look puffy and almost ready to burst. When you see those little bubbles forming on the surface, they are ready for the oil.
Step 6
Heat your oil to exactly 175°C. If you don’t have a thermometer, a small piece of dough should sink and then rise to the surface within a few seconds. Drop the doughnuts in carefully. Don’t crowd the pot; if you put too many in at once, the oil temperature will plummet and your doughnuts will soak up grease like a sponge. Fry for about two minutes per side until they are a deep, golden honey color. Drain them on a wire rack, not a paper towel, or they’ll steam themselves into sogginess.
Selecting the Best Flour for Doughnuts and the Yeast Doughnut Dough Recipe

Now, before you even think about reaching for the yeast, we need to talk about the foundation. If you use a high-protein bread flour, you’ll end up with something that fights you—tough, chewy, and far too structural for a treat that should melt away. For a proper yeast doughnut dough recipe, you want a flour with moderate protein, something that provides enough strength to hold those air bubbles without becoming a rubber ball. I always lean toward a good quality all-purpose flour; it gives you that soft, pillowy crumb that makes a homemade glazed doughnut recipe actually worth the effort.
When you’re working the dough, remember that it’s a living thing. If you find yourself struggling with the rise, don’t panic and don’t turn your oven into a sauna. Most people fail because they treat the dough like a chore rather than a process. My best proofing dough tips for beginners are simple: find a spot in your kitchen that is steady and calm. If your house is drafty, the yeast will simply sit there sulking. You aren’t just mixing ingredients; you are cultivating life, and that requires a gentle hand and a bit of respect for the clock.
Mastering Proofing Dough Tips for Beginners and Precise Doughnut Frying Tec
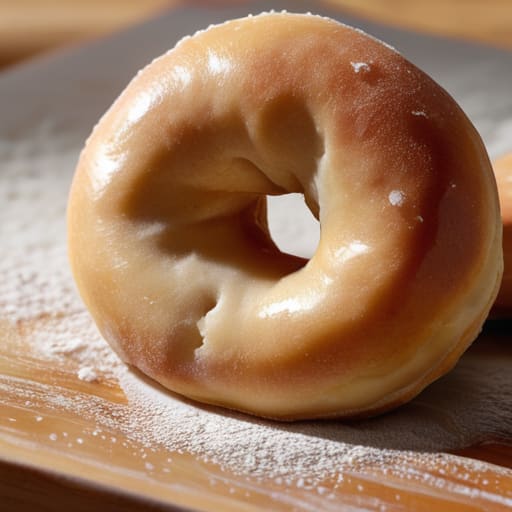
Now, let’s talk about the part where most people lose their nerve: the proof. If you’re looking for proofing dough tips for beginners, forget everything you’ve read about “doubling in size.” That’s a suggestion, not a law. I always tell my apprentices to look for the wobble. A properly proofed doughnut should feel like a soft, air-filled pillow; if you poke it gently with a finger, the indentation should spring back slowly, like it’s reluctant to leave its nap. If it snaps back instantly, it’s under-proofed and will burst in the oil. If it stays indented, it’s over-proofed and will collapse into a greasy puddle.
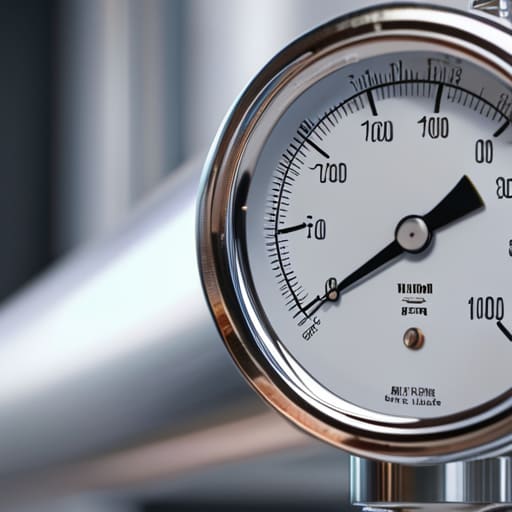
Once the dough is ready, your focus must shift entirely to the heat. You aren’t just cooking; you are managing a delicate dance of fat and air. Use a thermometer—don’t guess. A proper deep frying oil temperature guide starts at 175°C (350°F). If you’re even five degrees too low, the dough will soak up the oil like a sponge, leaving you with a heavy, sad ring. If you’re too high, you’ll have a beautiful golden crust with a raw, doughy heart. Watch the bubbles; they should be steady and fine, not violent.
Five things your recipe won't tell you about the fry

- Watch your oil temperature like a hawk, but don’t trust the dial on your thermometer alone; if the oil is too hot, you’ll have a beautiful golden crust with a raw, gummy heart, and if it’s too cool, the dough will simply drink the oil and turn into a heavy sponge.
- Stop treating your dough like a piece of fabric to be stretched; it’s a living thing, and if you handle it too roughly during the shaping stage, you’ll knock out the very air that makes a doughnut light instead of leaden.
- Respect the proof, even when you’re in a hurry; if you try to force a doughnut into the oil before it has truly doubled and felt pillowy under your finger, it will never achieve that delicate, airy crumb we’re after.
- Temperature is everything, especially when it comes to your fat; if you’re using butter in your dough, make sure your kitchen isn’t a sauna, or you’ll end up with a greasy mess instead of a structured dough.
- Don’t fear the “ugly” doughnut; a slightly uneven shape often means the dough was allowed to relax properly, whereas a perfectly uniform, factory-looking ring usually tells me someone was too impatient to let the yeast do its work.
The Baker's Truths
Forget the clock and watch the dough; a doughnut isn’t finished when the timer dings, but when it feels light enough to float and has doubled in a way that looks effortless, not forced.
Temperature is your invisible ingredient, so if your kitchen is drafty or your oil is too hot, stop what you’re doing and adjust—you can’t bully yeast into working faster than the warmth allows.
Precision is found in the scale, not the cup; stick to my percentages for flour and hydration to ensure your dough has the strength to hold its shape without becoming a heavy, greasy brick in the oil.
The Baker's Final Word
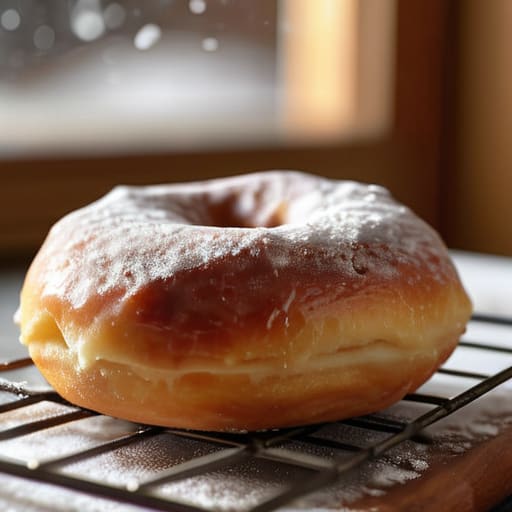
If you’ve followed the weights and kept a close eye on your oil temperature, you’re already ahead of most. Remember, a doughnut isn’t just a fried piece of dough; it is the result of how you treated that dough from the moment the flour hit the water. You must respect the hydration, watch your proofing times like a hawk, and never—under any circumstances—try to rush a dough that isn’t ready to lift. If your first batch comes out a bit heavy or the oil soaks in too much, don’t throw the whole bag of flour in the bin. It simply means your kitchen was a few degrees too cold or your hands were a bit too hurried. It’s a lesson, not a failure, and the dough will tell you exactly what it needs next time.
At the end of the day, baking is a conversation between you and the ingredients. You can have the most expensive thermometer in the world, but you still need to learn to feel the elasticity of the gluten and smell when the yeast is truly awake. Don’t get discouraged by a recipe that doesn’t look like a magazine cover on the first try; the best things in life are often a bit rustic and imperfect. Just keep your station clean, keep your scales accurate, and trust your senses above all else. Now, get them into the oil while they’re still warm, and enjoy the quiet victory of something made truly by hand.
Frequently Asked Questions
My dough feels tight and springy like a rubber band when I try to shape it; am I overworking it or is my flour just too strong?
It sounds like you’ve developed a bit too much tension. If it’s snapping back like a rubber band, you’ve either worked the gluten a touch too hard or you’re trying to shape it before it’s had a chance to relax. Give it a twenty-minute rest—no kneading, just let it sit. If it still fights you, your flour might be high-protein, but usually, it’s just a lack of patience. Let the dough breathe.
The oil temperature keeps dropping the moment the dough hits the pan, making them greasy—how do I know if my oil is actually ready for a batch?
If your doughnuts are coming out greasy, your oil is losing its battle against the cold dough. When that mass hits the fat, the temperature plunges, and the dough starts soaking up oil instead of searing. Stop guessing. Use a thermometer—aim for 175°C (347°F). If you don’t have one, drop a tiny piece of dough in; it should dance and bubble immediately. If it sinks like a stone, wait. Don’t crowd the pan, either.
If my kitchen is particularly cold today, how much should I adjust my proofing time without accidentally over-proofing the dough?
You can’t adjust the time on a clock; you have to adjust it to the dough. If your kitchen is drafty, don’t even look at the timer. Yeast is a living thing, and it won’t hurry just because you’re hungry. Instead, look for the dough to increase by about 50% in volume and feel for that pillowy, air-filled lightness. If it feels dense and stubborn, it’s still sleeping. Just wait.