Most people think the secret to a perfect lemon tart lies in a fancy offset spatula or a way more expensive brand of butter, but they’ve got it entirely wrong. They spend hours scrolling through glossy photos, wondering why their curd is either a grainy mess or a weeping puddle, when the real culprit is usually just a lack of respect for the temperature. If you are searching for how to make lemon tart that actually holds its shape without sacrificing that bright, sharp sting of citrus, you have to stop looking at the decorations and start looking at your heat source. A tart doesn’t fail because you’re a bad baker; it fails because you tried to rush the emulsification.
I’m not going to give you a list of decorative garnishes or tell you that you need a professional kitchen to get this right. Instead, I’m going to teach you how to listen to the custard as it thickens and how to handle your pastry so it stays crisp instead of turning into a soggy sponge. We are going to work with weights, not cups, and I’ll show you exactly how to balance that acid so every bite sings.
Recipe Details
Ingredients
- 1.5 cups all-purpose flour
- 0.5 cup chilled unsalted butter, cubed
- 0.25 cup powdered sugar
- 1 large egg
- 1 cup granulated sugar
- 0.5 cup fresh lemon juice
- 2 tablespoons lemon zest
- 3 large eggs
- 0.5 cup heavy cream
Recipe Instructions
Step 1
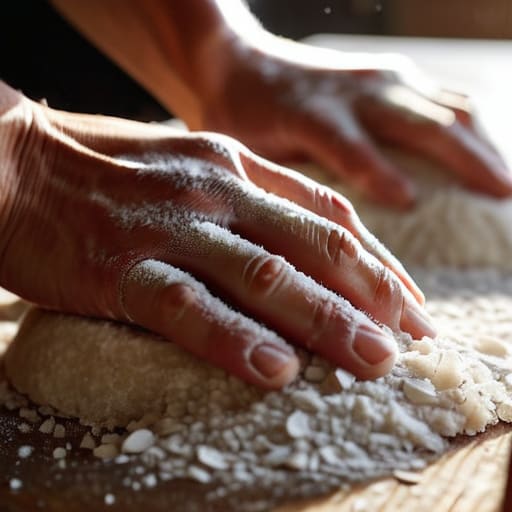
We start with the crust, because a soggy bottom is a sin that no amount of lemon zest can forgive. You’ll need 250g of plain flour and 150g of cold, unsalted butter. Don’t you dare use that pre-shredded stuff from a bag; it’s too warm. Rub the butter into the flour with your fingertips until it looks like coarse breadcrumbs, then add 50g of icing sugar and just enough cold water—about 40g to 50g—to bring it together. It should feel like damp sand that just barely holds its shape when you squeeze it. If you overwork it now, you’ll develop too much gluten and end up with a biscuit instead of a pastry. Wrap it, chill it for at least an hour, and then roll it out into your tin.
Step 2
Once your shell is blind-baked and cooled, we move to the curd. I use a ratio of roughly 75% sugar to the weight of your lemon juice to ensure the acid doesn’t bite too hard. You’ll want about 150g of lemon juice, the zest of three large lemons, 150g of caster sugar, and 4 large eggs. Throw them all into a heavy-bottomed saucepan. If you use a thin, cheap pan, you’ll end up with scrambled eggs before you’ve even realized the heat is too high.
Step 3
Now, this is where most people lose their nerve, but you must be steady. Whisk the mixture constantly over a medium-low heat. You aren’t looking for a specific visual cue as much as you are feeling the texture change. You’ll feel the resistance increase as the eggs thicken the liquid. Keep going until it coats the back of a spoon thickly. If you see tiny lumps forming, don’t panic; just pass the whole mess through a fine-mesh sieve immediately to smooth it out. It’s the only way to ensure that silky mouthfeel we’re after.
Step 4
While that curd is still warm, stir in 100g of unsalted butter, cut into small cubes. Do this one piece at a time. This isn’t just for flavor; the fat emulsifies with the lemon and egg to create a stable structure. If you rush this, the curd might weep liquid later, and we want a tart that holds its shape when you slice it. The butter should melt into the lemon until the mixture looks glossy and bright.
Step 5
Pour that liquid gold into your pre-baked shell and level it off. Now comes the hardest part for anyone used to the modern world: you must wait. Put it in the fridge for at least four hours, though I’d prefer you leave it overnight. The chill allows the fats to set and the flavors to marry. If you try to cut into it while it’s still lukewarm, it will slump like a tired baker at the end of a double shift, and you’ll have nothing but a puddle on your plate.
The Weight of Truth a Shortcrust Pastry Recipe
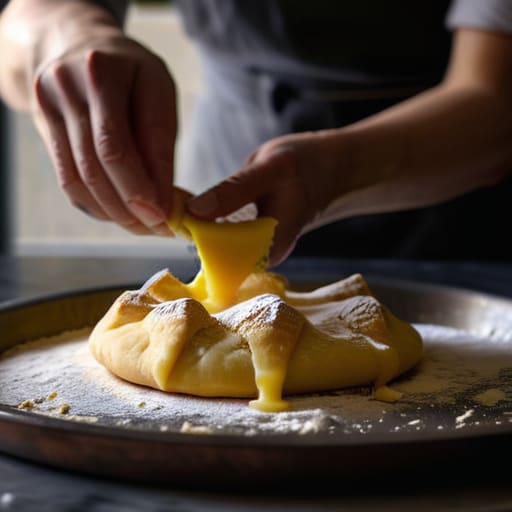
If you want a perfectly crisp tart shell, you have to stop treating your butter like an enemy and start treating it like a guest. Most people fail their shortcrust pastry recipe because they work the dough until it’s warm and elastic, but shortcrust isn’t bread; it doesn’t want to be worked, it wants to be broken. You want those little pebbles of fat to stay intact so they create steam in the oven, creating those microscopic layers of crunch. If your kitchen is sweltering, put your flour in the freezer for twenty minutes before you start. It sounds like a fuss, but in thirty years, I’ve never seen a limp, greasy crust come from a cold start.
Once you have that shell blind-baked and sturdy, you can focus on the soul of the thing: the filling. Achieving the right citrus curd consistency is less about following a timer and more about watching how the liquid clings to your spoon. If it’s running like water, you haven’t given it enough time over the heat; if it’s clumping, you’ve been too aggressive. Whether you finish with a simple slice or a toasted lemon meringue topping, remember that the pastry is the foundation. If the base isn’t sound, the rest is just sugar and air.
Mastering Citrus Curd Consistency Through Slow Heat
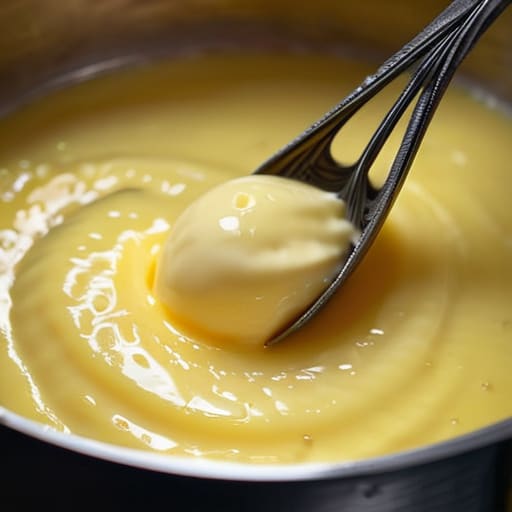
Now, let’s talk about the heart of the matter: the curd. Most people approach a lemon filling like they’re trying to win a race, cranking up the heat to get it thick as quickly as possible. That is a mistake. If you rush the eggs, you’ll end up with something that tastes more like a sweet omelet than a bright, elegant dessert. To achieve that true, silken citrus curd consistency, you must treat the stovetop like a slow conversation. Use a heavy-bottomed pan—something that holds heat instead of spiking it—and keep your whisk moving. You aren’t just mixing; you are teaching the proteins to hold onto the acid and fat without seizing up.
If you find your filling is too thin, don’t panic and don’t turn the flame to high. It likely just needs more time to reach its proper temperature. Once it coats the back of a spoon, pull it from the heat immediately. For those who like a bit more drama, a light lemon meringue topping can add a lovely textural contrast, but even without it, a well-made curd should feel substantial. Remember, the goal is a filling that stays proud and set atop your perfectly crisp tart shell, not one that runs like water the moment a knife touches it.
Five Things the Recipe Won't Tell You
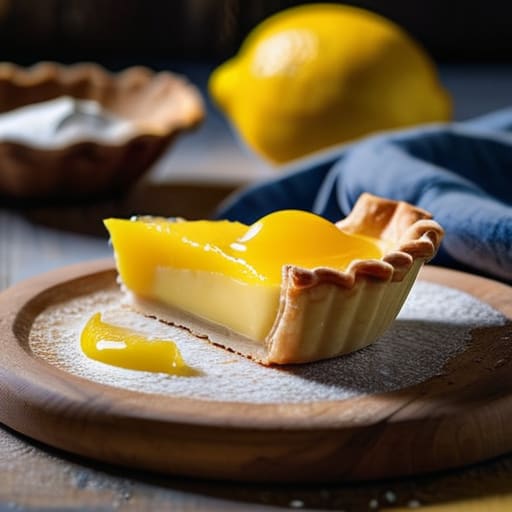
- Stop looking at the clock and start looking at the temperature. If your curd is thick but still feels grainy, you’ve rushed the heat or didn’t whisk enough; it should be smooth as silk and heavy enough to coat the back of a wooden spoon before you even think about taking it off the flame.
- Your pastry doesn’t care about your schedule. If the dough feels tacky or soft when you’re trying to roll it, it’s because your hands are warm or your kitchen is too humid—put it back in the fridge for twenty minutes and stop trying to force it, or you’ll end up with a crust that shrinks like a cheap sweater.
- Weigh your lemons, don’t just count them. One lemon might be a juicy little thing and the next might be a dry, pithy disappointment; by weighing your juice and zest, you ensure the acidity is exactly where it needs to be to cut through that rich butter.
- Blind baking isn’t a suggestion, it’s a necessity. If you pour that liquid gold into a raw, soft base, you’ll end up with a soggy mess that no amount of sugar can fix; the shell needs to be fully set and slightly par-baked so it can stand up to the weight of the curd.
- Give the tart time to find itself. I know it’s tempting to slice into it while it’s still warm, but a lemon tart needs to settle in the cold to let those fats and pectins bond; if you cut it too soon, the curd will weep and run, and we aren’t making soup, are we?
The Baker’s Essentials: Three Things to Carry With You
Forget the visual cues in the cookbook; a lemon tart is won or lost on the temperature of your fat and the patience of your heat. If your pastry is tough, you worked the dough too much; if your curd is grainy, you rushed the stove.
Precision is your only defense against a soggy bottom. Weigh your flour and your sugar to the gram, and never trust a “medium” lemon—taste them, weigh the juice, and adjust your hydration accordingly.
Respect the resting periods. A tart needs time to settle, both in the fridge and on the counter, because rushing the cooling process is the quickest way to turn a beautiful curd into a weeping, structural mess.
The Final Proof
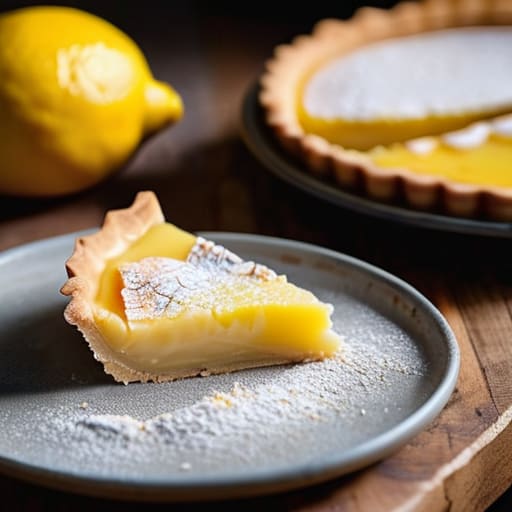
If you’ve done this right, you haven’t just followed a list of instructions; you’ve managed a series of delicate transitions. You’ve kept your pastry short and sandy by resisting the urge to overwork it, and you’ve coaxed that curd into a silky, stable state by respecting the gentle heat rather than fighting it with high flames. Remember, if your crust felt a bit tough or your curd looks slightly grainy, it isn’t a failure of the ingredients. It’s almost certainly a matter of temperature and timing. If the pastry was too warm when it hit the oven, or if the eggs felt the sting of a pan that was too hot, you’ll know for next time. Trust your hands and your thermometer more than any glossy magazine photo.
At the end of the day, a lemon tart is a lesson in restraint. It asks you to slow down, to weigh your components with precision, and to wait for the chemistry to happen on its own terms. Don’t be discouraged by a crack in the surface or a slightly slumped edge; those are just the marks of a kitchen that is actually being used. Baking is a living thing, and even after thirty-four years, I still find myself learning something new from the way a citrus curd sets. So, slice it up, serve it with a bit of pride, and remember that patience is the secret ingredient that no shop can ever stock.
Frequently Asked Questions
My curd set up like a thick jelly instead of a creamy custard; did I cook it too long or is my lemon juice too acidic?
It wasn’t the acidity, dear; it was the heat. If your curd has gone from a silky custard to a rubbery jelly, you’ve essentially made lemon-flavored gelatin. You likely pushed the temperature too high or let it boil. Eggs are delicate proteins; once they tighten too much, there’s no going back. Next time, pull it off the heat just a hair before you think it’s done. The residual heat will finish the job gently.
The shortcrust pastry shrank down the sides of the tin after I blind-baked it; how do I stop the dough from losing its shape?
That’s the dough fighting you, isn’t it? It’s not a recipe failure; it’s tension. You likely rolled it too thin or didn’t let it rest long enough in the cold. If the gluten hasn’t relaxed, it’ll spring right back like a rubber band the moment it hits the heat. Chill that pastry twice—once after mixing and again once it’s in the tin. And for heaven’s sake, don’t skip the weights; uneven fat distribution is just as troublesome.
I noticed my pastry was quite tough and crumbly rather than melting in the mouth; was my hydration off or did I handle the dough too much?
It sounds like you’ve overworked the gluten, dear. If your pastry is tough rather than melting, you’ve likely handled it too much or used water that was too warm. When you knead or press that dough with heavy hands, you’re developing structure where you want tenderness. It’s not a hydration issue; it’s a friction issue. Keep your hands light, your fat cold, and let the dough rest long enough to relax.