Stop looking for the “perfect” recipe for fruit pie; you won’t find it in a glossy cookbook or a list of thirty-seven precise measurements for a single apple. Most people think learning how to make a fruit pie is about mastering a specific ratio of sugar to fruit, but they’ve got it backward. The secret isn’t in the pantry; it’s in the temperature of your fingertips and the way the fruit yields when you press it. I spent thirty-four years watching people ruin perfectly good seasonal berries because they were too busy reading a screen and not busy enough watching the steam escape the crust.
I’m not here to give you a list of instructions that ignore the reality of a warm kitchen or a bruised peach. Instead, I’m going to show you how to listen to your dough and respect the fruit you’ve chosen. We are going to talk about the physics of the crust and why your fruit filling is likely too watery because you rushed the maceration. If you want a pie that actually holds its shape and tastes like the orchard rather than a sugar factory, you’ll need to put down the measuring cups and start using your senses.
Recipe Instructions
Step 1
Before you even touch a piece of fruit, you must attend to the pastry. I don’t care what the box says; you are making a 55% fat-to-flour ratio crust if you want it to actually flake. Use 300g of flour and 165g of cold, unsalted butter, cubed small. Rub the butter into the flour with your fingertips until it looks like coarse sand, but don’t let your body heat turn it into a paste. You want those distinct little pebbles of fat still visible; they are what create the steam that lifts the dough in the oven. Once you add your ice-cold water—about 120g, though you’ll likely use a few grams more or less depending on the humidity—gather it into a disk, wrap it, and let it rest in the fridge for at least an hour. If the dough is fighting you, it’s because it’s too warm.
Step 2
Now, we look at the fruit. If you’re using apples, don’t just grab whatever is sitting in the bowl; you need something with enough acidity to stand up to the sugar. For a standard deep-dish, I aim for about 800g of fruit. Slice them thin, but not paper-thin, or they’ll turn to mush. Toss them with 50g of sugar and a pinch of salt, but here is the secret: let them sit in a bowl for twenty minutes before you put them in the crust. You’ll see a pool of juice forming at the bottom. Drain that liquid into a small saucepan and boil it down until it’s a thick syrup. If you pour all that raw juice straight into the pie, you’ll end up with a soggy bottom, and nobody wants a soggy bottom.
Step 3
Roll out your first disk of dough on a surface that isn’t too floured—too much flour makes the crust tough, and toughness is the enemy of pastry. Lay it into your tin, leaving a bit of overhang. Now, pile in your fruit and drizzle that reduced syrup back over the top. If you’re adding spices like cinnamon or nutmeg, do it now, but don’t go overboard; you want to taste the fruit, not a spice cabinet. The goal is a filling that is tight and cohesive, not a loose heap of fruit that will slide out when you take your first bite.
Step 4
For the top, you can go with a full crust or a lattice, but if you’re a beginner, a simple top crust with some vent holes is your best friend. Roll out your second disk, place it over the fruit, and crimp the edges tightly with your thumb to seal it against the bottom crust. You must cut at least three or four large slits in the top. This isn’t just for decoration; it’s so the steam can escape. If you don’t let the steam out, the pressure will build up and blow your beautiful crust apart from the inside.
Step 5
Finally, the bake. Don’t just slide it into a lukewarm oven. Preheat it to 200°C, then drop it to 180°C the moment the pie goes in. You’re looking for two things: the crust should be a deep, golden brown, and the fruit juices should be bubbling thick and slow through those vents you cut. If the edges start looking a bit too dark before the middle is set, don’t panic; just tent a bit of foil over them. Most importantly, you must let it cool for at least two hours before you even think about cutting into it. If you cut it while it’s hot, the juices will run everywhere like a broken dam. It needs that time to set, just like a good sourdough needs its rest.
A Fruit Pie Pastry Dough Recipe Built on Precision
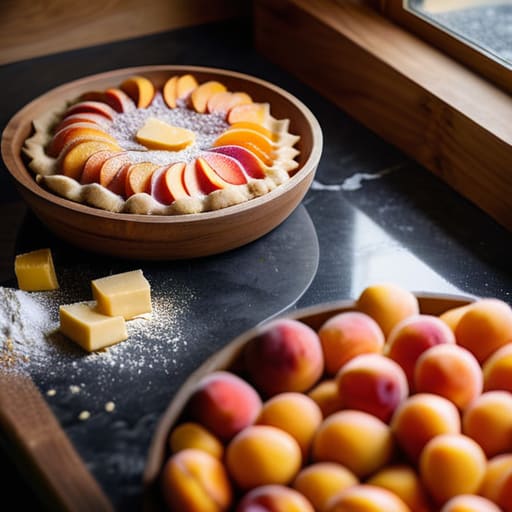
If you’re looking for a fruit pie pastry dough recipe that actually holds up, you have to stop thinking about “fluff” and start thinking about fat. I always tell my apprentices that the secret isn’t in how much flour you use, but in how much you protect the butter. If your kitchen is warm—and heaven help you if it is—your fat will melt into the flour before it ever hits the oven. You want those little pebbles of butter to stay distinct; that is what creates the steam that lifts the crust. If you find yourself struggling with preventing soggy pie crust, it’s usually because you let the fruit juices run wild or you didn’t chill the dough long enough to settle the structure.
Now, once you have that crust, you have to manage the heart of the matter: the filling. A common mistake is over-relying on cornstarch, which can turn a beautiful filling into a gummy, translucent mess. While cornstarch is fine, I often prefer a bit of arrowroot or even a touch of flour for a more natural, jammy set. You also can’t ignore the chemistry of the fruit itself. If you’re using particularly sweet berries, you must focus on balancing acidity in fruit pies with a pinch of extra lemon zest or a splash of juice. It’s about making the fruit sing, not just making it sweet.
Preventing Soggy Pie Crust Through Temperature and Patience
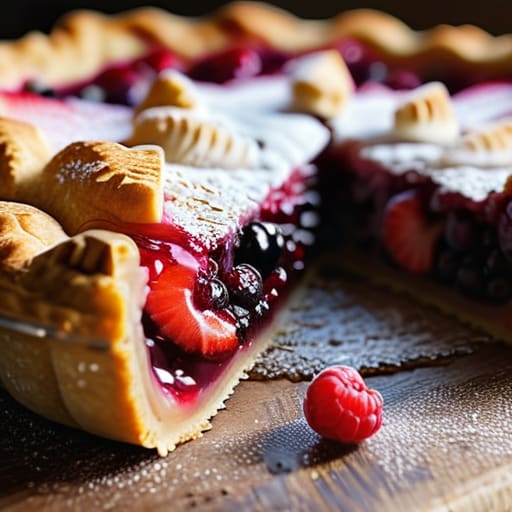
The biggest mistake I see people making isn’t the flour or the fat; it’s treating the fruit like it isn’t alive. Fruit is mostly water, and once you hit that heat, it wants to release all of it at once. If you don’t manage that moisture, you end up with a puddle at the bottom of a limp crust. To master preventing soggy pie crust, you have to understand the marriage between the fruit and its stabilizer. I always tell my apprentices that the best thickeners for fruit filling aren’t just about making it gloopy; they are about creating a structure that holds the juice in suspension. A little cornstarch or even a handful of fine breadcrumbs at the bottom of the dish can act as a sponge, catching those first few rogue juices before they can soak into your pastry.
Don’t be afraid of a little heat, either. You want a high enough baking temperature for fruit pies to set that starch quickly, creating a barrier before the steam can turn your crust into mush. If your berries are particularly juicy, try macerating them first and draining the excess liquid. It feels like a chore, but patience is what separates a professional bake from a kitchen disaster.
Five things your recipe won't tell you about the fruit
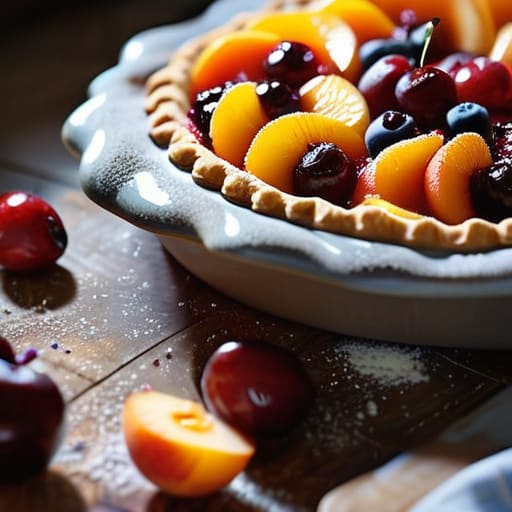
- Stop counting pieces of fruit and start feeling them; a recipe might call for six apples, but if they are mealy or small, you’ll need more weight to fill that crust properly.
- Don’t be afraid of a little cornstarch or flour in the center of your filling, but remember it’s there to catch the juices, not to turn your pie into a thick, gummy paste.
- If your kitchen is running hot, put your fruit filling in the fridge for twenty minutes before you crimp the edges; you want that fruit cold so it doesn’t melt your pastry before it ever hits the oven.
- Watch the steam, not the clock; if your crust is browning too fast but the fruit hasn’t started bubbling through the vents, tent it with foil and give it the time it actually needs.
- Let the pie sit. I know it smells divine, but if you cut into a hot fruit pie the moment it leaves the oven, the juices will run all over your plate like water instead of setting into a beautiful, glossy syrup.
What to remember when the oven door is closed
Stop looking at the clock and start looking at the crust; a pie isn’t done when the timer dings, it’s done when the juices are bubbling thick like lava through the vents and the pastry has turned that deep, honest golden-brown.
If your dough feels like it’s fighting you, stop. It’s likely too warm. Wrap it, put it in the fridge, and give it the time it needs to relax; a stressed dough will never give you a flaky crust, no matter how hard you work it.
Don’t be afraid of the mess or the uneven edges. A pie that looks like a photograph is often a pie that was handled too much; I’d much rather serve a rustic, slightly wonky crust that actually tastes of butter than a perfect-looking one that’s tough as leather.
The Final Proof
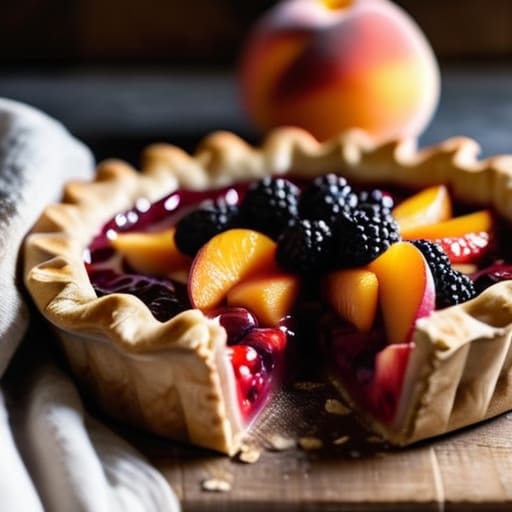
If you’ve followed the weights and kept your butter cold, you’ve already done the hard part. Remember that a successful pie isn’t about following a list of instructions like a robot; it is about respecting the relationship between temperature and fat. You don’t want a uniform paste; you want those little shards of butter to remain intact so they can create steam in the oven. If your crust looks a bit uneven or your fruit juices are running a little thick, don’t panic. It means you were paying attention to the fruit’s moisture and the dough’s tension rather than staring at a screen. As long as you prioritized the chill of the dough and gave the fruit time to macerate, you aren’t just making a dessert—you are managing a chemical reaction.
At the end of the day, your kitchen won’t always be a laboratory, and your hands might be a little flour-dusted and tired. That is perfectly fine. I’ve spent thirty-four years watching dough rise and pies brown, and I can tell you that the most beautiful crusts are rarely the ones that look like a magazine cover. They are the ones that taste of patience and honest, unhurried work. So, take that first slice, let it cool just long enough so you don’t burn your tongue, and remember that the best recipes are the ones you eventually learn to feel in your bones.
Frequently Asked Questions
My crust is coming out hard and cracker-like instead of flaky; did I overwork the dough or is my fat too warm?
It’s likely a bit of both, but let’s look at the fat first. If your butter or lard was too warm when it hit the flour, it didn’t stay in distinct chunks; it coated the flour like a film, which gives you a short, cracker-like texture instead of those lovely, steam-lifted flakes. However, if you were heavy-handed during the mix, you developed too much gluten. You want to handle it like a secret, not a wrestling match.
The fruit filling is still too runny after the pie has cooled completely—how do I fix the ratio of starch to juice next time?
If your filling is running like soup, you didn’t account for the fruit’s own water content. Next time, look at your fruit’s juice-to-solids ratio. I usually aim for a 10% cornstarch or arrowroot weight relative to the total fruit weight, but if you’re using juicy berries, bump that starch up to 12% or 13%. Don’t just dump it in, either; whisk it with a bit of your sugar first so you don’t end up with white lumps in your beautiful fruit.
Can I use frozen fruit straight from the freezer, or will the sudden temperature drop ruin the pastry's structure?
You can use them, but don’t just dump a frozen mass into your crust and hope for the best. If the fruit is a solid block, it’ll melt your fat before the oven even gets hot, leaving you with a greasy, limp mess. Thaw them first, but drain the excess liquid—that juice is a thief that steals your crispness. If you use them frozen, toss them in a bit of extra starch to catch the moisture.