If you’ve spent any time scrolling through those glossy recipe sites, you’ve likely been told that learning how to make flatbreads requires a specialized stone oven, a mountain of exotic spices, or some high-tech gadget that costs more than my first delivery van. It’s nonsense. Most of those recipes treat flatbread like a delicate science experiment rather than what it actually is: a simple, rhythmic dance between flour and heat. I spent thirty-four years watching people overcomplicate the simplest things, thinking that if they just bought the right equipment, the bread would magically rise to meet them. But a piece of cast iron and a hot pan will do more for you than any expensive imported stone ever could.
I’m not here to give you a list of instructions that assumes you’re reading a textbook; I’m here to teach you how to listen to the dough. We are going to work with weights, not those deceptive little cups, and I’ll show you exactly how to feel for that tacky, supple tension that signals a perfect hydration level. By the time we’re done, you won’t be following a script—you’ll be mastering the rhythm of the bake.
Choosing Your Flour Types for Flatbread and Beyond
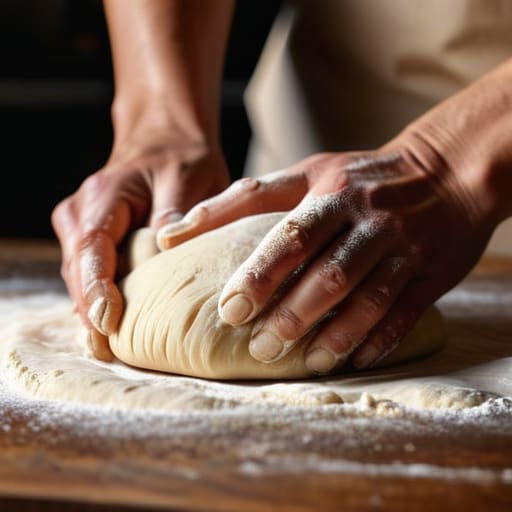
Now, don’t go reaching for that high-protein bread flour you use for your sourdough boules; it’ll make your flatbread as tough as a leather boot. For a proper, soft and pliable flatbread, you want something with a bit more gentleness. An all-purpose flour is your reliable workhorse here, but if you can find a lower-protein pastry flour, you’ll find the dough behaves much more gracefully under your palms. I always tell my students that the protein content dictates the “snap”—and for flatbread, we want a sigh, not a crack.
If you are looking for the simplest of easy unleavened bread methods, your choice of flour will determine if you’re making a snack or a meal. A whole wheat flour will give you a lovely, nutty depth, but be warned: it drinks water like a thirsty traveler. You’ll need to adjust your hydration upward to compensate for that extra thirst. I prefer to stick to a blend; it gives you that rustic character without making the dough feel like it’s fighting you every time you try to roll it out.
Mastering Easy Unleavened Bread Methods Without Rushing
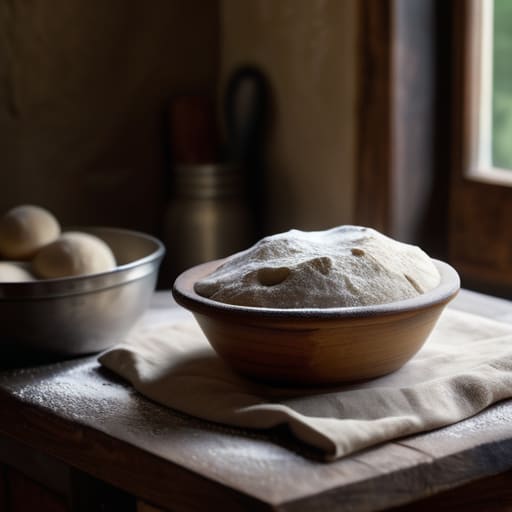
The trouble with most people approaching a no yeast flatbread recipe is that they treat it like a race. They see “unleavened” and think “instant.” If you rush the hydration, you’ll end up with a disc of leather that’s about as pleasant to chew as a roof shingle. Even without a starter to do the heavy lifting, the flour needs time to drink. I always tell my students to let the dough rest for at least twenty minutes after the initial mix; this allows the gluten to relax and the water to fully saturate the starch. If you try to roll out a dough that hasn’t had its quiet moment, it will just spring back at you like a stubborn child, and you’ll find yourself fighting the bench instead of working with the grain.
Once you’ve mastered that patience, the heat becomes your best friend. For the best results, I swear by cast iron skillet bread cooking. You want a pan that holds its heat steady—no dipping or fluctuating temperatures that catch you off guard. When the dough hits the iron, listen for that immediate, sharp sizzle. That’s the sound of moisture turning to steam, which is exactly what keeps your finished product from turning into a cracker. Keep your heat medium-high and don’t be afraid to let those beautiful, dark charred spots develop; they provide the flavor that a timid cook misses.
Five Things the Recipe Won't Tell You
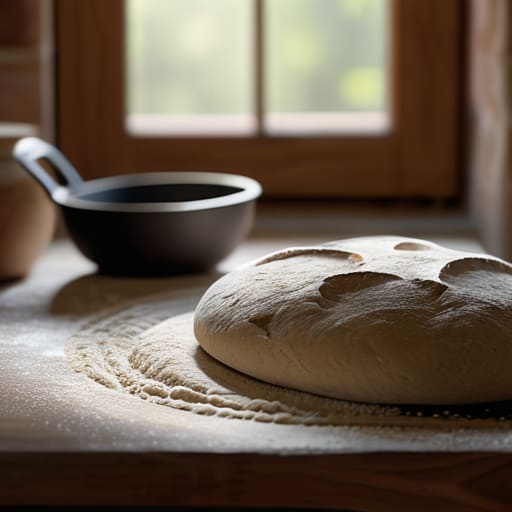
- Watch your water temperature like a hawk. If you’re using a stone countertop or a drafty kitchen, your water needs to be a bit warmer than you think to keep that dough from seizing up and becoming a stubborn, lifeless lump.
- Stop measuring by volume and start weighing. A cup of flour can vary by twenty grams depending on how tightly you pack it, and in a 65% hydration dough, those twenty grams are the difference between a soft wrap and a piece of cardboard.
- Let the gluten relax or pay the price. If you try to roll out a dough that’s still fighting you, it’ll just snap back like a rubber band; give it ten minutes under a damp cloth to stop the tension and let it behave.
- Listen to the pan. You aren’t looking for a specific color, you’re looking for that rhythmic puff and the sound of the dough releasing from the heat—if it’s sticking, your pan isn’t hot enough or you’ve been too heavy-handed with the oil.
- Trust your fingertips over your eyes. A flatbread shouldn’t just look smooth; it should feel supple and spring back slightly when you poke it, telling you the hydration is balanced and the structure is ready for the heat.
Three Things to Carry in Your Mind Before You Touch the Flour
Trust your fingertips over a timer; a flatbread is ready when the dough feels supple and alive, not just because a clock told you it was time to move on.
Stop measuring by volume and start thinking in hydration percentages, because a cup of flour can be packed tight or aerated loose, and that’s how you end up with a brick instead of a bread.
Respect the heat of your pan and the warmth of your kitchen, for if you rush the cook or fight a cold surface, no amount of technique will save a dough that hasn’t been given the grace of time.
The Rhythm of the Dough
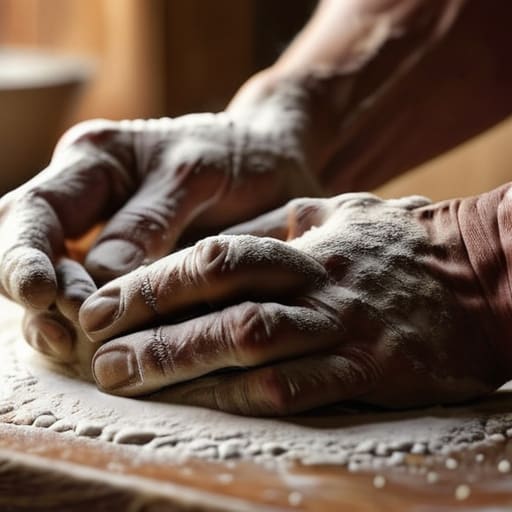
At the end of the day, making a proper flatbread isn’t about following a list of instructions like you’re assembling furniture; it’s about understanding the relationship between your flour, your water, and the heat of your pan. Remember that we aren’t chasing a picture in a magazine, we are chasing tension and temperature. If your dough feels too stiff, don’t panic—just add a splash of water and work it in until it relaxes. If it’s sticking to everything, you might have pushed the hydration a bit too far for the flour you’re using. Keep your weights precise, watch your heat closely, and most importantly, trust your hands over your eyes. The dough will tell you exactly when it is ready to hit the heat if you are quiet enough to listen.
I spent three decades waking up before the sun just to see how a different humidity level might change the way a crust shattered. I can tell you from experience that your first few attempts might be a bit uneven, or perhaps a little charred, and that is perfectly alright. Baking is a conversation between you and the ingredients, and sometimes you just have to learn the language through a few mistakes. Don’t be afraid to get your hands messy or to try a different hydration percentage next time. Once you stop worrying about the perfect shape and start focusing on the feel of the dough, you’ll find that the most delicious bread is the kind made with a bit of patience and a lot of heart.
Frequently Asked Questions
My flatbreads are coming out stiff and cracker-like instead of soft; am I using too much flour or is my pan too hot?
It’s likely a bit of both, but let’s look at the dough first. If your hydration is too low—meaning you’ve leaned too heavily on the flour—there isn’t enough moisture to turn into steam, which is what creates that soft, pillowy interior. But if your pan is screaming hot, you’re searing the outside before the middle can cook, locking that moisture in and leaving you with a cracker. Aim for a medium-high heat and a dough that feels tacky, not dry.
If I want to use my sourdough starter to make these instead of just water and salt, how much do I need to adjust my hydration?
If you’re pulling from your starter, you have to account for the water and flour already living in that jar. Most starters are 100% hydration—equal parts flour and water by weight. If you add 100g of starter, you’re actually adding 50g of flour and 50g of water to your dough. To keep your target hydration steady, subtract that 50g of water from your main liquid addition. Don’t just eyeball it; the math keeps the dough predictable.
I can't seem to get those beautiful charred bubbles on the surface; should I be changing my heat management or is my dough lacking tension?
It’s usually a bit of both, but let’s start with the heat. If your pan isn’t screaming hot, the dough just dries out into a cracker instead of puffing up. You need that instant steam to create the bubble. However, if your dough is slack and won’t hold a shape, it won’t trap that steam. Tighten your tension during the final roll; you want a skin that’s taut enough to push back.