I remember the first time I truly understood sugar; I was nineteen, standing over a copper pot in my aunt’s kitchen, watching a batch of amber liquid turn into a black, acrid sludge in the blink of an eye. Most people think they need fancy thermometers, expensive stabilizers, or a degree in food science to master this, but that’s nonsense. They’ll sell you a thousand gadgets, yet they won’t tell you that caramel is really just heat, sugar, and an unforgiving clock. If you are looking for a “complete guide to caramel” that promises perfection through a magic ingredient or a high-tech tool, you’ve come to the wrong place.
I’m not here to give you a list of complicated steps that fail the moment your kitchen gets a draft. Instead, I’m going to teach you how to listen to the sugar—to see the color change and feel the shift in the air before the burn happens. We will talk about temperatures and timing without the fluff, focusing on why the sugar behaves the way it does so you can trust your own eyes rather than a digital readout.
The Sugar Caramelization Process Is a Lesson in Patience
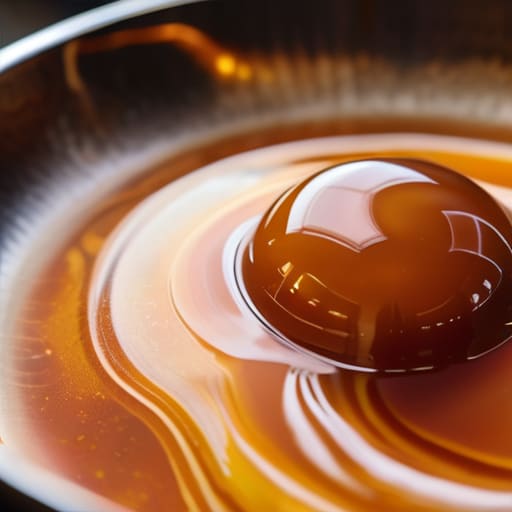
You can’t bully sugar into behaving; you have to wait for it to decide it’s ready. Whether you choose the dry vs wet caramel method—and I’ve always found the wet method a bit more forgiving for beginners because the water helps distribute that heat—the physics remains the same. You are watching a molecular transformation, not just melting granules. At first, it’s just a slushy syrup, then it turns clear, and then, quite suddenly, the color begins to shift.
This is the moment where most people lose their nerve and turn the heat up too high. Don’t. If you rush it, you’ll miss the delicate, nutty notes and jump straight to a bitter, acrid mess. You need to watch for those caramel flavor profiles to deepen from pale straw to a rich, translucent amber. If you see tiny crystals starting to form around the edges of your pan, don’t panic; that’s just the sugar trying to revert to its old self. A quick brush of a wet pastry brush around the rim is usually enough for preventing sugar crystallization and keeping your syrup smooth.
Dry vs Wet Caramel Method Choosing Your Discipline
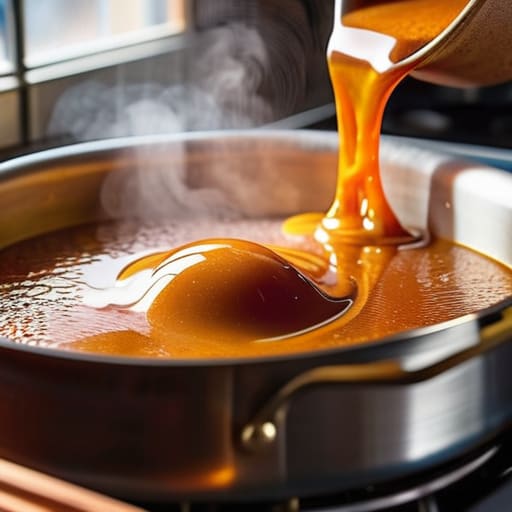
Now, you have to decide how you want to approach this. In my shop, we didn’t have the luxury of choosing a method based on “aesthetic”—we chose based on how much time we had before the morning rush. The dry vs wet caramel method is essentially a choice between controlled chaos and a steady hand.
The dry method is pure: you put your sugar straight into the pan and let it melt. It’s faster, and you get a cleaner, more intense flavor because there’s no extra moisture to contend with. But it’s unforgiving. The sugar can go from a beautiful amber to a bitter, black mess in the time it takes you to sneeze.
The wet method, where you dissolve the sugar in a bit of water first, is much more forgiving for beginners. That water acts as a buffer, helping you manage the heat more evenly. However, you have to be vigilant about preventing sugar crystallization; if a single stray grain of undissolved sugar falls from the side of the pot back into the syrup, it can trigger a chain reaction that turns your entire batch into a gritty, sandy disaster.
Five ways to keep your caramel from turning into a disaster
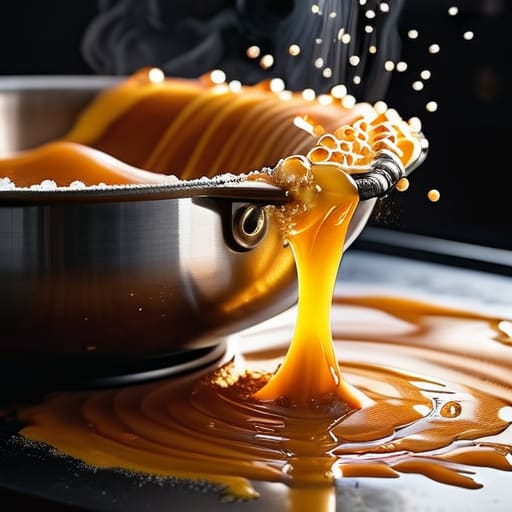
- Watch the color, not the clock. I’ve seen timers fail and ovens lie, but the sugar will tell you exactly when it’s ready by the shade it throws. You are looking for a deep, warm amber—the color of an old violin. If it looks like pale straw, it hasn’t even begun to transform; if it looks like dark mahogany, you’ve already lost it to bitterness.
- Temperature is everything, especially when you’re adding liquid. If you’re making a sauce and you dump cold cream into a pot of molten sugar, you’ll get a violent, spitting mess that can burn you worse than a hot stove. Warm your dairy first; it’s a small bit of extra work that saves your eyebrows and your sanity.
- Don’t go stirring like a madwoman. If you’re using the wet method, once the sugar has dissolved and the crystals start to melt, leave it alone. Stirring too early or too often can cause recrystallization—those tiny, gritty grains that ruin the silky texture of a proper sauce. Let the heat do the heavy lifting.
- Use a heavy-bottomed pot, always. In my bakery, we never used thin pans because they create hot spots. A thin pan will cook the sugar in one corner while the rest is still sitting idle, and before you can grab the handle, you’ll have burnt patches mixed with raw syrup. You want even, steady heat that respects the sugar.
- Keep a clean workspace and a clean pot. Sugar is a magnet for dust and stray crumbs, and once those hit the melting mass, they become part of the texture. If you see a stray crystal clinging to the side of the pan, use a pastry brush dipped in water to wash it down into the melt so it doesn’t burn and ruin the whole batch.
Lessons from the sugar pot
Forget the timer; watch the color. Sugar doesn’t care what your clock says, it only cares about the heat, so you must stay present from the moment the crystals melt until they reach that perfect amber.
Choose your method based on your nerves. The wet method is more forgiving for a beginner because the water regulates the temperature, while the dry method is faster but demands you respect the speed at which it turns from gold to burnt.
Temperature is everything. If you pull your sugar off the heat a second too late, the residual heat in the pan will continue to cook it, turning your beautiful caramel into something bitter and useless.
Respecting the Heat
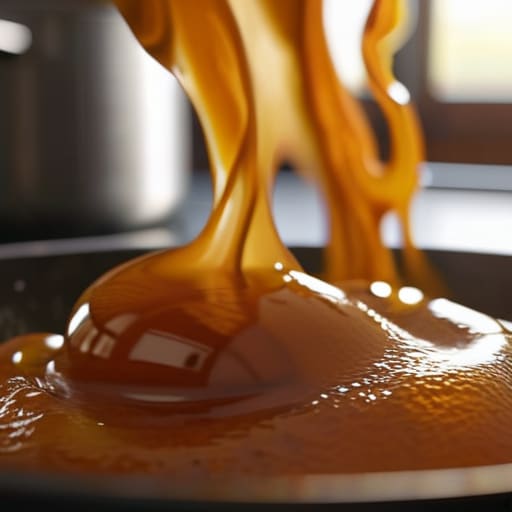
If you’ve followed me this far, you know that caramel isn’t just a topping; it is a transformation of state. Whether you chose the steady, predictable path of the wet method or the brisk, high-stakes dance of the dry method, the principles remain the same. You must watch the color as closely as you watch the clock, because that window between perfect amber and burnt bitterness is thinner than a baker’s fingernail. Remember that your equipment matters—a heavy-bottomed pan distributes heat far more kindly than a thin sheet of aluminum—and your temperature control is your only true guide. If the sugar begins to crystallize or the color turns too dark, don’t panic; just step back, breathe, and remember that you are the one in control of the pan, not the other way around.
At the end of the day, don’t let the fear of a ruined batch keep you from the stove. I’ve spent thirty-four years seeing dough rise and sugar scorch, and I can tell you that even a “failed” caramel teaches you something about how heat moves through a kitchen. Every time you burn a batch, you are simply learning exactly where the line is drawn. Cooking is a sensory dialogue, a way of listening to the ingredients with more than just your ears. So, pick up your spoon, keep your eyes on the bubbles, and trust your instincts more than any timer. The best caramel isn’t found in a textbook; it’s found in the moment you stop overthinking and start feeling the heat.
Frequently Asked Questions
If my caramel suddenly turns dark and smells like smoke, is there any way to save it or should I just start over?
If it smells like smoke, it’s gone. I’ve seen many a beginner try to “fix” a burnt caramel by adding cream or butter, hoping to mask the bitterness, but you can’t sweeten away a mistake that has reached the ash stage. That bitter, acrid scent is the sugar’s soul dying. Clean your pot thoroughly—sugar clings like a grudge—and start again. This time, stay by the stove. Caramel doesn’t wait for you to check your phone.
How do I stop the sugar from turning into a hard, glass-like brick the moment it touches a cold bowl?
That glass-like snap happens because you’ve shocked the sugar. You’re essentially flash-freezing a molten state. If you’re pouring hot caramel into a cold bowl, stop. It’s like throwing a stone into a frozen pond; it’s going to shatter. Warm your bowls in a low oven first, or at least rinse them with hot water and dry them thoroughly. You want the vessel to respect the heat you’ve worked so hard to build.
Can I use a different type of sugar, like brown or muscovado, if I want a deeper flavor, or will the moisture content ruin the cook?
You can certainly use them, but you’re changing the physics of the pan, not just the flavor. Brown and muscovado sugars are packed with molasses and moisture; that water is an intruder when you’re trying to reach high temperatures. If you use them, expect a slower, more temperamental melt. They won’t give you that clear, glass-like amber of white sugar, but they’ll provide a rich, dark depth that white sugar simply can’t mimic.