I’ve spent thirty-four years watching people throw expensive thermometers and fancy marble slabs at a problem that doesn’t require a bank loan, just a bit of respect for the physics of it. Most people will hand you a “complete guide to chocolate work” that reads like a chemistry textbook, filled with jargon meant to make you feel small while you struggle to get a decent shine. They tell you that you need a laboratory to temper properly, but they forget to mention that chocolate is a living, temperamental thing that reacts to the slightest draft or a heavy-handed stir. If your ganache has split or your shards look dull and dusty, it isn’t because you lack the “correct” equipment; it’s because you rushed the cooling or let your hands dictate the temperature.
I’m not here to sell you a dream or a complicated gadget. My promise is simpler: I will teach you to listen to the chocolate, to feel when the crystals have set, and to understand the why behind the melt. We are going to skip the fluff and focus on the actual mechanics of heat, fat, and timing. By the time we’re done, you won’t need a manual to tell you if you’ve succeeded—you’ll hear it in the snap.
Mastering Cocoa Butter Crystallization Through Precision
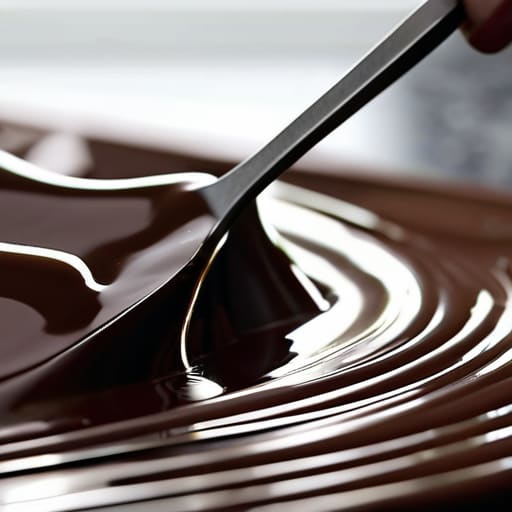
You have to understand that chocolate isn’t a passive ingredient; it’s a living, temperamental thing. When we talk about cocoa butter crystallization, we aren’t just talking about melting a bar; we are talking about coaxing those tiny fat molecules into a specific, orderly structure. If you rush the process or let your heat wander, those crystals will scramble, and you’ll end up with a dull, gray mess. Most people think they’ve failed a recipe, but really, they just failed to respect the physics of the fat.
When you are working with couverture chocolate, you have a higher percentage of cocoa butter to play with, which is a gift if you have the patience, but a curse if you are clumsy. You’ll want to use a double boiler chocolate method—but for heaven’s sake, keep the steam away from the bowl. Water is the enemy of a smooth temper. I always tell my apprentices that if you don’t hit your specific chocolate tempering temperatures with precision, you are simply inviting chocolate bloom to ruin your hard work. It’s not about the thermometer alone; it’s about knowing when the liquid has truly surrendered to the heat.
Why Working With Couverture Chocolate Demands Respect
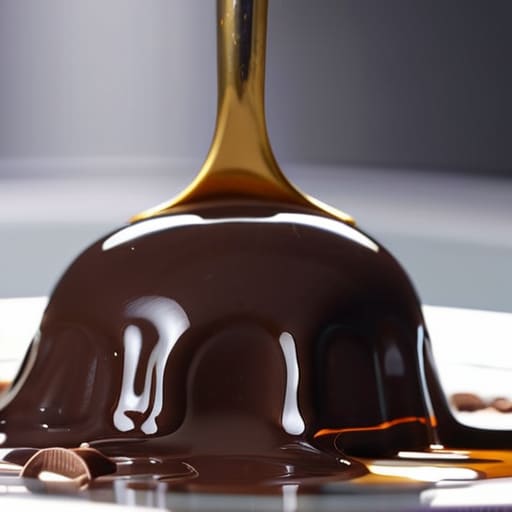
If you’ve spent your life working with supermarket chocolate bars, the first time you try working with couverture chocolate, you’re going to feel like you’ve stepped into a different world. It isn’t like the waxy, stabilized stuff meant for quick cookies; couverture is a living thing, loaded with a high percentage of cocoa butter. That extra fat is exactly what gives a professional truffle its melt-in-the-mouth silkiness, but it’s also what makes it so temperamental. It doesn’t just sit there waiting to be melted; it reacts to every draft in your kitchen and every degree of heat in your bowl.
You have to treat it with a certain level of reverence. If you approach it with heavy hands or rush the cooling, you’ll end up with a dull, greyish mess—what we call chocolate bloom. That’s not mold, thank goodness, but it is a sign that your cocoa butter crystals have gone rogue because you didn’t respect the process. To get that mirror-like shine and that sharp, audible snap, you have to master the specific chocolate tempering temperatures required for your specific type of chocolate. It takes a bit of discipline, but once you feel that snap, you’ll realize it was worth the effort.
Five Things the Chocolate Won't Tell You
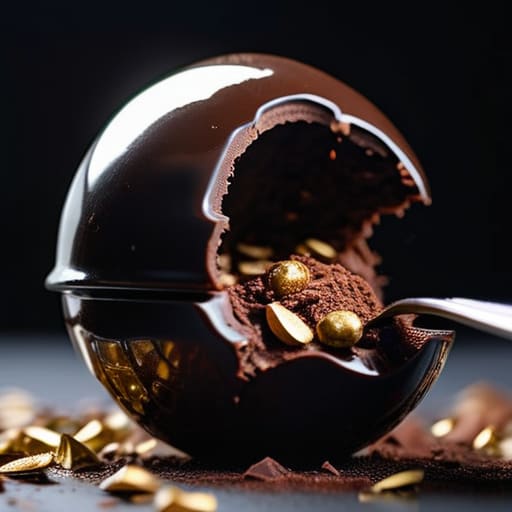
- Stop looking at the clock and start looking at the bowl. Chocolate doesn’t care if it’s been five minutes or ten; it cares about the state of its crystals. If you try to force a temperature because your timer went off, you’ll end up with a dull, grey mess that streaks your fingers. Watch the movement of the liquid instead—it should look glossy and move with a certain heavy, silken grace.
- Moisture is the enemy of everything we do here. I’ve seen a perfectly tempered batch seize into a gritty, lifeless paste just because someone used a spoon that had a single drop of water clinging to it. Keep your bowls bone-dry, your spatulas clean, and for heaven’s sake, keep the steam from your boiling water pot away from the chocolate bowl. One stray droplet and the party is over.
- Your hands are your best tools, but they are also your biggest liability. If you’re working with small amounts of chocolate, the heat from your palms will drive the temperature up faster than you can react. I always prefer a bench scraper or a sturdy spatula to keep that thermal transfer under control. If you must use your hands, work quickly and keep your cool.
- Don’t be afraid of a little “seeding.” If you’re working with high-quality couverture, you aren’t just melting fat; you’re introducing structure. Adding finely chopped, tempered chocolate into your melted base is the most reliable way to teach the new chocolate how to behave. It’s much easier to teach a student by example than by shouting instructions, and chocolate is no different.
- If it doesn’t snap, you didn’t wait long enough. When you pull a finished piece from the mold, it should release itself with a clean, sharp sound. If it’s sticking or looks soft, your kitchen is likely too warm or your crystallization was rushed. Don’t try to force it out of the mold; give it the time it needs to set properly, or you’ll spend the afternoon picking up shards of broken dreams.
Three Things to Carry in Your Pocket
Forget the thermometers for a second and learn the snap; if your chocolate doesn’t break with a sharp, clean sound under your knife, you didn’t respect the cooling curve.
Precision isn’t just for the scale—if your room is too humid or a draft hits your marble slab, the chocolate will seize regardless of how well you followed the math.
Patience is your primary tool, because rushing the melt is the fastest way to burn the solids and turn a beautiful couverture into a grainy, useless mess.
The Final Temper
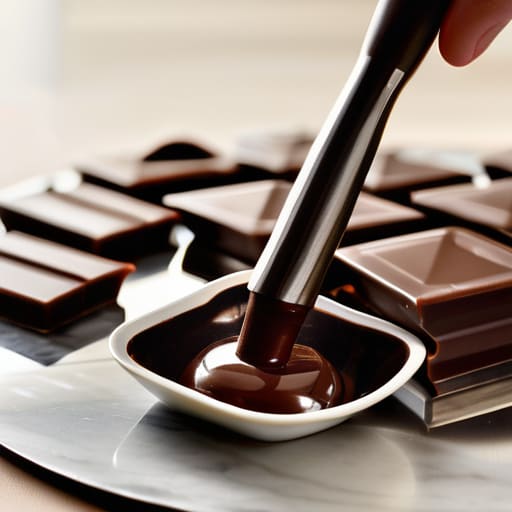
At the end of the day, mastering chocolate isn’t about memorizing a dozen different decimal points on a thermometer, though I’ll be the first to tell you that precision is your only safeguard against a grainy, dull mess. It is about understanding that you are working with a living, temperamental substance. You’ve learned that couverture is the gold standard for a reason, and you’ve seen how the invisible dance of cocoa butter crystals dictates whether your finished piece has that professional shine or looks like something pulled from a dusty pantry shelf. If your chocolate blooms or refuses to snap, don’t go blaming the brand; look back at your temperature control and your patience.
I spent thirty-four years watching dough rise in the dark, and I can tell you that the most important lesson in any kitchen is the same: respect the process. Chocolate will not be bullied, and it certainly won’t be rushed. You might lose a few batches to a drafty kitchen or a hand that moved too quickly, but that is just the price of admission. Don’t let a failed ganache or a dull glaze sour your spirit. Instead, treat it like a conversation. Listen to how the chocolate melts, feel the change in its viscosity, and remember that true mastery is found in the steady hands of someone who isn’t afraid to start over.
Frequently Asked Questions
My chocolate looks dull and streaky even though I followed the temperature guide; did I miss a step or is my kitchen too humid?
If your chocolate is dull and streaky, you’ve likely lost the battle to humidity or a rushed cooling. Chocolate is temperamental; if your kitchen feels heavy and damp, that moisture is settling into the surface, preventing those crystals from locking in properly. Even if your thermometer says you’re on target, if you’re working in a humid room, the chocolate won’t set with that clean, professional snap. Slow down, dry out the air, and give it more time.
If I've accidentally seized my chocolate by getting a drop of water in the bowl, is there any way to salvage it or should I start over?
Oh, the dreaded seize. It’s a heartbreak, isn’t it? One stray droplet and suddenly your silky melt turns into a gritty, clumped mess. If it’s just a little stubborn, you can sometimes force it back by adding a teaspoon of cocoa butter or vegetable oil and whisking like your life depends on it—but it won’t be tempering chocolate anymore. Honestly? If you were aiming for a snap, let it go. Start over. Don’t try to cheat a disaster.
How can I tell if my chocolate is actually tempered just by the feel and sound, rather than relying solely on a digital thermometer?
You don’t need a digital readout to tell you if you’ve done the work; you need your senses. Dip a palette knife and wait. If it sets firm and matte within three minutes without looking greasy or streaky, you’ve caught the crystals. Then, snap a piece. A proper temper gives a sharp, clean crack that echoes—not a dull thud. If it feels tacky against your thumb, you rushed the cooling. Listen to the snap.