You can buy all the expensive couverture in the world and still end up with a dull, streaky mess that melts the second a warm finger touches it. Most people think they need a miracle or a laboratory to master this, but the truth is that learning how to temper chocolate isn’t about magic; it is about understanding the stubborn physics of fat and temperature. I remember my first decade in the bakery, standing over a bain-marie at five in the morning, cursing a batch of dark chocolate that had turned into a grainy, grey sludge simply because I had been too impatient with the cooling stage. I thought I was doing everything right, but I wasn’t listening to what the chocolate was telling me.
In this guide, I am going to strip away the fluff and tell you exactly what is happening inside that bowl. We aren’t going to rely on guesswork or “eye-balling” it; we are going to use precise temperatures and a bit of discipline. I will show you how to recognize the true snap of a well-tempered bar and how to fix your mistakes when the room is too humid or your thermometer is acting up. No fancy gadgets required—just your senses and a little bit of patience.
Guide Overview
Tools & Supplies
- Digital thermometer for precise temperature tracking
- Double boiler or heat-proof bowl for gentle melting
- Spatula for constant stirring and aeration prevention
- High-quality couverture chocolate 1lb
- Parchment paper for setting the chocolate
Step-by-Step Instructions
- 1. First, you must weigh your chocolate. I don’t care how much it looks like it does in the bag; if you use a measuring cup, you have already lost. For a standard batch, aim for a 100% weight of chocolate, but if you are working with dark, you might want a tiny bit more cocoa butter to help the flow. Chop it finely—and I mean finely—with a sharp knife. If you leave large chunks, the heat will distribute unevenly, and you’ll end up scorching the bits at the bottom while the top remains stubbornly solid.
- 2. Set up your bain-marie, but listen to me: do not let a single drop of steam touch that chocolate. Steam is the enemy of temper; it introduces moisture, and moisture turns your beautiful chocolate into a grainy, clumpy mess that no amount of stirring can fix. Melt your chocolate slowly over simmering water, keeping the bowl high enough so the bottom doesn’t touch the heat. You are looking for a temperature of about 45°C to 50°C for dark chocolate. It should feel like warm bathwater, not a hot skillet.
- 3. Now we begin the work of seeding. This is where we teach the cocoa butter how to behave. Take your melted chocolate off the heat and start adding small pieces of unmelted, finely chopped chocolate—your “seed”—into the warm pool. Stir constantly. You aren’t just mixing; you are manually guiding the crystals to form a stable structure. It will look a bit messy and thick at first, but keep going until that seed has completely vanished and the mixture is smooth again.
- 4. You must watch the thermometer like a hawk during this stage. For dark chocolate, you want to bring that temperature down to roughly 31°C or 32°C. If you find yourself dropping too fast, add a tiny bit more seed; if you are stuck, you might need to place the bowl over very warm water for just a few seconds. The goal is to find that sweet spot where the chocolate is fluid but holds its integrity. If you overshoot and it gets too hot, you’ll have to start the whole dance over from the beginning.
- 5. Before you go decorating anything, perform the test. Dip the tip of a knife or a piece of parchment paper into the chocolate and set it on the counter. If it sets within a few minutes with a dull, matte finish or a slight sheen, you’ve done it. If it stays tacky, or if it looks greasy and soft, your temperature is wrong. Don’t panic; just gently reheat it to 45°C and begin the seeding process again. It’s not a failure, it’s just the chocolate telling you it isn’t ready yet.
- 6. Once you know it’s tempered, work quickly but don’t rush the movement. Keep your bowl in a spot that isn’t drafty—a cold kitchen counter is a thief that will steal your heat before the crystals can set properly. If the chocolate starts to thicken too much while you are working, you can give it a tiny, controlled nudge of heat, but less is always more here. You want to maintain that temperature window, not chase it.
The Alchemy of Beta Crystals Formation and Cocoa Butter Crystal Structure
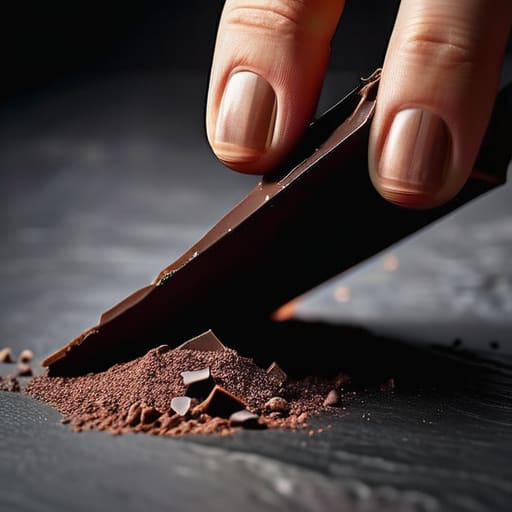
Now, don’t let the science talk frighten you; you don’t need a laboratory coat to understand what’s happening in your bowl. When we talk about beta crystals formation, we are really just talking about discipline. Cocoa butter is a temperamental fat that wants to settle into many different shapes, most of them quite ugly and soft. If you don’t guide it, you’ll end up with chocolate that’s dull, streaky, and melts the second you touch it. We are looking for those stable, tight-knit structures that give you that satisfying snap when you break a piece.
The easiest way to achieve this without losing your mind is through the seeding method chocolate enthusiasts swear by. By adding solid, tempered pieces into your melted mass, you are essentially teaching the liquid fat how to behave. You are introducing those “good” crystals to the chaos, forcing the entire batch to mimic their orderly structure. It isn’t magic, it’s just physics—you’re providing the blueprint so the cocoa butter doesn’t have to guess. Just keep a close eye on your thermometer; if you overshoot your target, you’ll have to start the whole dance over again.
Mastering the Seeding Method Chocolate and the Double Boiler Chocolate Tech
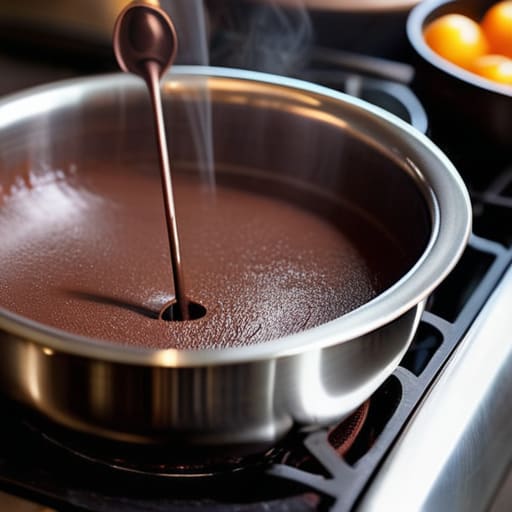
Now, let’s talk about how you actually get the job done. Most of my apprentices used to reach for the double boiler chocolate technique because it felt safer, but you have to be careful. If that bowl sits too close to the steam, or if even a single bead of water escapes into your melted mass, you’ve ruined it. You won’t get that snap or that glossy chocolate finish you’re after; you’ll just have a grainy, dull mess. If you use a bain-marie, keep the water simmering, not boiling, and never let the bottom of your bowl actually touch the water.
If you want more control, I prefer the seeding method chocolate approach. It’s cleaner and much more forgiving if you have a steady hand. You melt your base, then gradually stir in finely chopped, unworked chocolate—your “seeds”—which are already packed with those stable crystals we talked about. As the temperature drops, those seeds act as a blueprint, teaching the rest of the liquid how to behave. It requires a bit more muscle and a lot of constant stirring, but it is the surest way to ensure your cocoa butter crystal structure is exactly where it needs to be.
Five things the thermometer won't tell you
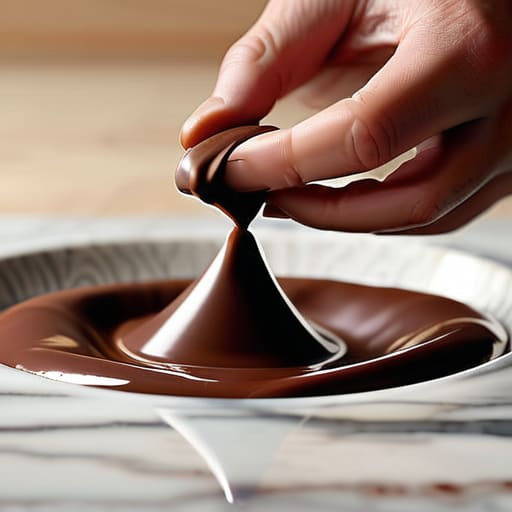
- Keep your workspace bone-dry, because even a single stray droplet of water in your melting bowl will turn your expensive chocolate into a gritty, seized mess that no amount of stirring will ever fix.
- Don’t trust your eyes when the chocolate looks glossy; trust the thermometer and your patience, because if you rush the cooling, the crystals won’t set and you’ll be left with nothing but dull, grey streaks.
- Stop stirring like you’re trying to whip cream; you want movement to distribute the heat, but if you are too aggressive, you’ll introduce too much air and disrupt the very crystals you’re trying to build.
- If your kitchen is drafty, your tempering will fail every single time, so find a warm, still corner of the house where the temperature doesn’t jump ten degrees every time someone opens a window.
- Learn to feel the resistance of the chocolate as it thickens; you aren’t just looking for a number on a dial, you are looking for that specific, heavy silkiness that tells you the cocoa butter has finally behaved itself.
What to remember when the chocolate is in your hands
Forget what the recipe says about “melting” and focus entirely on temperature; if you let that chocolate climb even a few degrees past its limit, you aren’t just warming it, you’re breaking the very structure you’re trying to build.
Stop looking for a specific “look” and start feeling for the snap and the shine, because a thermometer will tell you the truth long before your eyes do, and your eyes are prone to being fooled by a glossy surface that’s actually unstable.
Respect the cooling time as much as the heating time, because rushing the set is the quickest way to end up with dull, grey streaks that no amount of stirring can fix.
The Final Snap
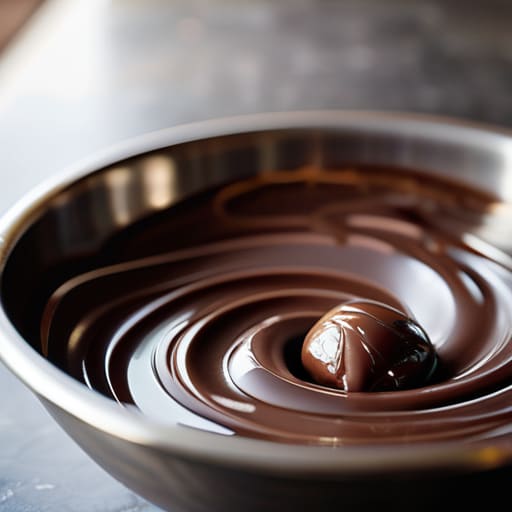
If you have followed the temperatures and kept your hands steady, you should now have a bowl of chocolate that is glossy, stable, and ready to work. Remember that tempering is not a matter of following a list of numbers, but of respecting the physics of the cocoa butter. You have learned that whether you choose the seeding method or the double boiler, the goal remains the same: controlling the way those tiny crystals align. If your chocolate comes out dull or streaks of grey appear, do not throw it in the bin in a fit of frustration. Most of the time, it simply means your kitchen was a fraction too cold or you moved a little too fast. Just melt it back down and start the dance again; the chocolate doesn’t hold a grudge, even if you do.
At the end of the day, tempering is a lesson in temperament. It is easy to get impatient when you want to see the finished truffles or the decorated bars, but the chocolate will always tell you when it is ready, and it will never lie to you. You cannot force a snap, and you cannot rush a shine. Once you stop fighting the medium and start listening to how it moves against your spatula, you will find that true mastery comes from a quiet kitchen and a steady hand. Now, get out there, trust your thermometer, and enjoy the sound of that perfect, clean break.
Frequently Asked Questions
I followed the temperatures perfectly, but my chocolate still looks dull and streaky instead of glossy—did I do something wrong with the movement?
If your temperatures were spot on, then your hands or your spatula were likely the culprits. Tempering isn’t just a math problem; it’s a physical one. If you stir too vigorously or too unevenly, you’re disrupting the crystal formation you worked so hard to build. You need constant, gentle movement to distribute those stable beta crystals throughout the mass. If you’re too frantic, you’ll break the structure and end up with those dull, grey streaks.
Can I use a microwave to melt the chocolate, or is that just a shortcut that's going to ruin my crystal structure?
You can use a microwave, but don’t call it a shortcut; call it a gamble. If you do it, you must work in short, thirty-second bursts and stir like your life depends on it between each interval. The danger isn’t the microwave itself, it’s the hot spots. If one pocket of chocolate hits 120°F (49°C) while the rest is still solid, you’ll scorch the proteins and ruin the temper before you’ve even begun.
If my chocolate seizes and turns into a gritty paste, is it gone for good, or can I save it for something else?
If it has seized into a gritty, lifeless paste, you cannot turn it back into tempered chocolate—that ship has sailed, and the crystals have lost their way. But don’t you dare throw it out. It’s just chocolate that’s had a bad day. Melt it down with a splash of heavy cream or a bit of butter, and you’ve got a lovely ganache or a rich sauce for a cake. It’s not a disaster; it’s just a change of plans.