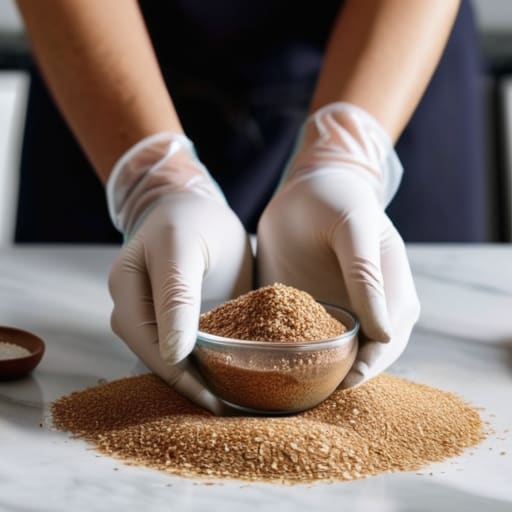
I remember standing in my shop at four in the morning, thirty years ago, staring at a sack of flour that looked exactly like the last one but behaved like a different animal entirely. My dough wouldn’t hold its shape; it felt slack, almost disobedient, despite me following my usual hydration. That was the day I realized that a brand name on a bag is nothing more than a suggestion, not a guarantee. Most people think you need a laboratory or a fancy protein analysis to figure out what you’re working with, but they’re wrong. Learning how to test a new flour isn’t about expensive equipment; it’s about knowing how to use your own hands and a bit of intuition to see if that grain has the backbone to support your bake.
I’m not going to give you a checklist of scientific metrics that won’t mean a lick of difference when your crust is thin or your crumb is tight. Instead, I’m going to show you how to listen to the dough through a few simple, practical trials. We’ll look at how it absorbs water, how it handles a bit of tension, and how it behaves when the heat hits it. By the time we’re done, you won’t need a manual—you’ll just know the flour by the way it feels under your palms.
Measuring Flour Absorption Rate to Find Optimal Hydration Levels
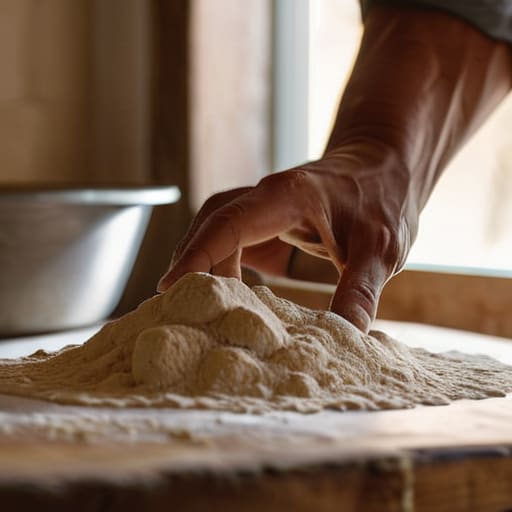
Once you’ve felt the grit of the flour, you need to see how much it can actually drink. I never cared for those fancy laboratory reports; I prefer to find the optimal hydration levels for bread by simply watching how the dough behaves in my own kitchen. Take a small batch—say, 500g of your new flour—and start with a base of 65% water. If the dough feels like a tight, stubborn ball that fights your every move, don’t panic and don’t dump more water in all at once. It just means the flour is thirsty or the protein is hungry.
Slowly increase your water by 2% increments, feeling for that moment where the dough stops being a lump and starts becoming a living thing. You are looking for the sweet spot where you achieve maximum dough elasticity and extensibility without the structure collapsing into a puddle. When you can stretch a piece of dough thin enough to see light through it without it tearing immediately, you’ve found its limit. That is your true hydration number, not whatever some printed bag claims it to be.
Flour Protein Content Testing Beyond the Labels Promise
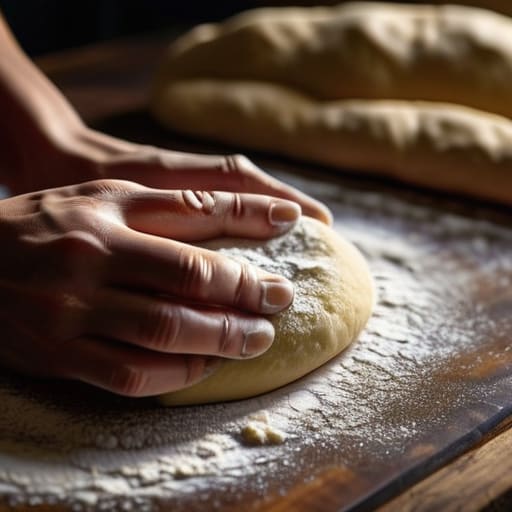
The labels on the bag are a polite suggestion at best, and often a lie at worst. You can read “high protein” all day, but until you see how that flour behaves under your palms, you don’t actually know what you’re working with. To get a real sense of its strength, I suggest a simple gluten development test. Take a small amount of flour and water, mix it until it’s a rough ball, and then try to stretch it. You aren’t looking for a perfect windowpane immediately; you are feeling for the tension. If it snaps back like a rubber band the moment you pull, it has high elasticity but lacks the extensibility needed to expand in the oven. If it just slumps into a puddle, that protein promise was nothing but marketing.
I always look for that sweet spot where the dough feels alive and supple, rather than stubborn or weak. A truly good flour will allow you to stretch the dough thin without it tearing under the weight of its own structure. This is the heart of baking flour performance evaluation—understanding whether the grain has the backbone to hold the gases you’re working so hard to create.
Five Ways to Get to Know Your Flour Before the Oven Is Hot
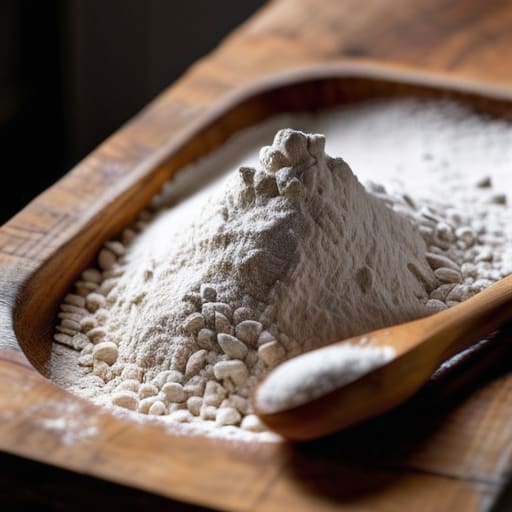
- Stop trusting the protein percentage on the bag and start a small-scale hydration test. Take 100g of your new flour and add water in 1g increments until you find the “sweet spot” where the dough holds its shape without feeling like a stiff lump of clay. Every flour has a different thirst, and if you don’t find that number first, you’ll spend the whole bake fighting a dough that’s either a puddle or a brick.
- Perform a “windowpane” test with a small scrap of dough to see how the gluten actually behaves. It isn’t enough to know the protein is high; you need to know if the structure is elastic or if it snaps like a dry twig. Stretch a small piece of dough between your fingers—if it thins out until it’s translucent without tearing, you’ve got the strength you need for a good rise.
- Watch how the flour reacts to a long, slow ferment in a cool spot. Some flours look grand when they’re fresh and tight, but they lose their backbone after six or eight hours. If your dough turns into a soupy mess halfway through the night, that flour lacks the structural integrity to handle the time you’re trying to give it.
- Feel the “grit” and the weight of the flour in your hands. High-quality flour should feel fine but substantial, not dusty and hollow. If it feels strangely coarse or lacks that certain heaviness, it might be heavily processed or lacking the bran and germ content that gives a loaf its soul and its color.
- Keep a notebook, not a camera. A photograph of a beautiful loaf won’t tell you why the crumb was tight or why the crust was pale. Write down the ambient temperature of your kitchen, the water temperature you used, and the exact hydration percentage. When the loaf comes out, you need to know if it was the flour that failed you, or if you simply rushed the proofing because the house was too cold.
The Baker’s Bottom Line
Stop trusting the percentages on the bag and start trusting your hands; every flour has a different thirst, so test your hydration with a small batch before you commit your whole pantry to a recipe.
Protein content is only half the story, as the way a flour handles water and time tells you more about its true strength than any label ever could.
If a loaf fails, don’t blame the recipe—look back at your flour tests to see if you misjudged the absorption or if the temperature of your kitchen betrayed your timing.
Trusting Your Hands, Not the Label
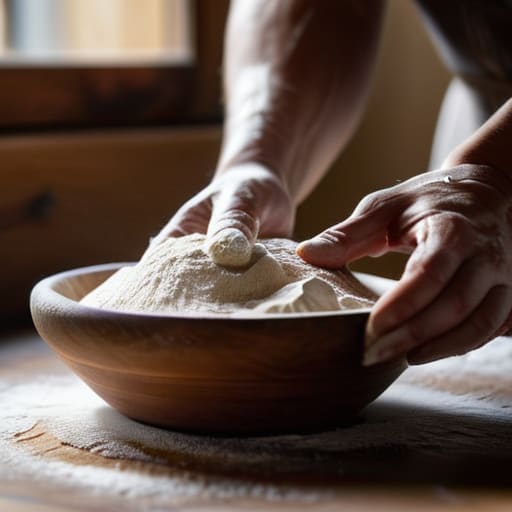
At the end of the day, testing your flour isn’t about turning your kitchen into a laboratory; it’s about learning the language of your ingredients. You’ve looked at the protein, you’ve played with the hydration percentages, and you’ve felt how much water that specific grain is actually willing to swallow. Remember that a bag might claim to be high-protein, but if it lacks the structural integrity to hold a long fermentation, no amount of reading the label will save your crumb. You have to find that sweet spot where the absorption meets your technique, ensuring you aren’t fighting the dough just to get it to shape.
Don’t let a single stubborn loaf discourage you from experimenting with a new mill or a different blend. Every time a dough feels too slack or a crust comes out unexpectedly pale, you aren’t failing—you are simply calibrating your intuition. Flour is a living thing, influenced by the soil it grew in and the mill that ground it, and it deserves your attention. So, put away the measuring cups, trust the weights you’ve calculated, and most importantly, trust your hands. Once you stop looking for perfection in a photograph and start feeling the life in the dough, you’ll realize that the best recipes aren’t written on paper, but held in your palms.
Frequently Asked Questions
If I find that this new flour absorbs much more water than my usual brand, should I adjust my entire recipe's hydration or just add water until it feels right?
Don’t you dare just start tossing water in blindly. If you change the hydration mid-stream without a plan, you’ll lose the rhythm of the dough. Always adjust your formula first. If your new flour is thirstier, recalculate your total hydration percentage so your ratios remain stable. I’d rather see a written adjustment than a dough that’s been bullied into submission. Adjust the math, then use your hands to find that final, perfect tension.
How can I tell if a flour is too weak for my sourdough starter without actually committing to a full, long fermentation?
Don’t go through the heartache of a collapsed loaf just to find out your flour is lazy. Instead, mix a tiny “test batch”—just 100g of flour and about 70g of water—and let it sit for an hour. If it turns into a puddle of soup that won’t hold any shape, or if it feels slack and lifeless under your fingers, it lacks the protein strength to support your starter’s gas. If it stays stiff and structural, you’re good to go.
When I'm testing a new bag, do I need to account for the humidity in my kitchen, or should I keep my testing environment exactly the same every time?
You can’t fight the air in your kitchen, so don’t try to. If it’s a muggy Tuesday, your flour is already holding onto moisture before you even weigh it out. Don’t aim for a sterile laboratory; aim for consistency in your process. If the humidity jumps, you’ll likely need to shave a touch off your water percentage. Watch how the dough responds to your touch—if it feels tacky earlier than usual, trust your hands, not the scale.