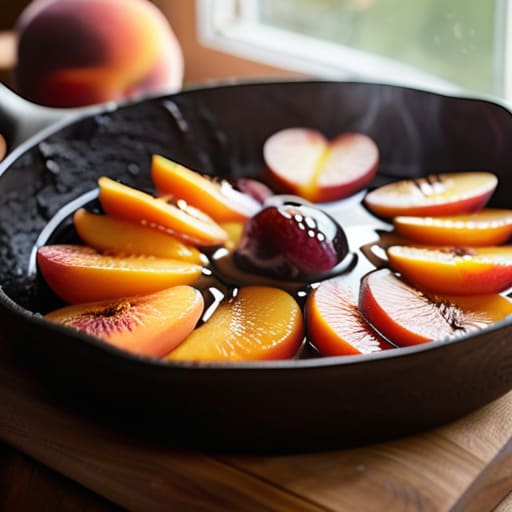
I remember standing in my kitchen at five in the morning, thirty years ago, surrounded by crates of peaches so ripe they practically bruised if you looked at them too hard. Back then, there were no fancy vacuum sealers or expensive gadgetry to save the harvest; there was just the heat of the stove, the scent of bubbling sugar, and the heavy weight of the fruit. People today make it far too complicated, buying all sorts of contraptions when they should be focusing on the fruit itself. If you want to learn how to preserve fruit for later, you don’t need a laboratory; you need to understand that fruit is a living thing that demands respect for its timing.
I’m not here to sell you on a complicated system or a kitchen gadget that will sit in your drawer gathering dust. I’m going to show you how to work with the seasons, using nothing more than heat, sugar, and a bit of patience. We will talk about the importance of fruit ripeness and the temperatures that actually matter, skipping the fluff and getting straight to the methods that have stood the test of time. I’ll tell you when to push and when to wait, because if you rush the process, you’ll end up with nothing but mush.
Mastering Fruit Canning Techniques Without Rushing the Heat
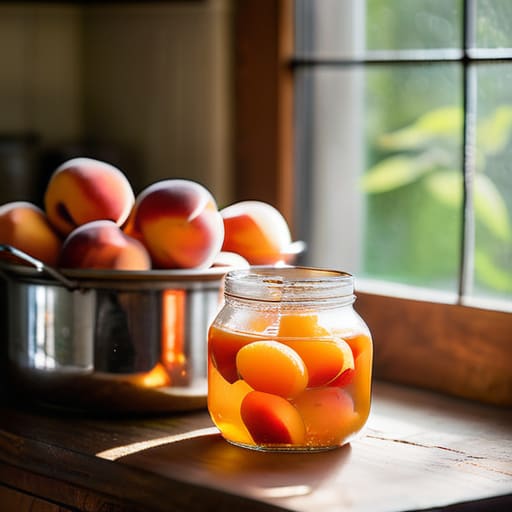
The biggest mistake I see people make is treating a boiling water bath like a race to the finish line. They crank the heat, thinking they’re “locking in” the goodness, but all they’re doing is bruising the fruit. When you rush the temperature, you end up with a jar of mush instead of something that holds its shape. Proper fruit canning techniques require you to respect the thermal climb; you want the heat to penetrate the center of the fruit steadily so the vacuum forms naturally. If you force it, you lose the texture that makes a preserve worth eating in the middle of February.
You also have to keep a sharp eye on the sugar content in fruit preserves. If your fruit is a bit tart or underripe, you can’t just hope for the best; you need to adjust your syrup to ensure the acidity is high enough for safety. It’s a delicate balance between sweetness and stability. I always tell my neighbors that if the fruit looks dull or grey before it even hits the pot, you’ve failed at preventing fruit oxidation early on. Treat the fruit with a gentle hand, and it will reward you.
Preventing Fruit Oxidation to Keep the Color Honest
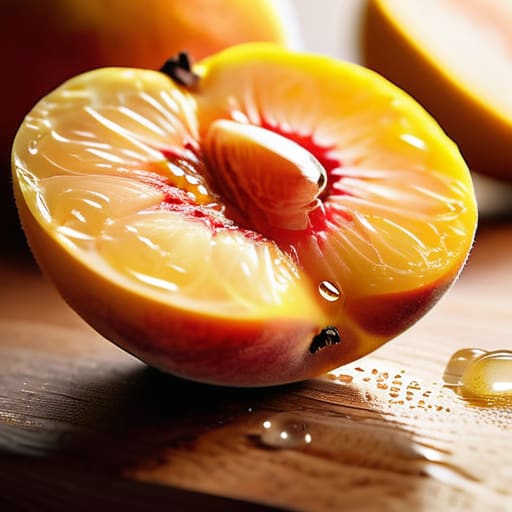
There is nothing quite as disheartening as slicing into a beautiful peach only to find it has turned the color of a bruised cloud. People think oxidation is a mystery of nature, but it’s really just a conversation between the fruit and the air, and right now, the air is winning. If you want to keep that vibrant, sunset hue, you have to interrupt that conversation immediately. I’ve always found that a quick dip in a citric acid bath—or even just a squeeze of lemon—works wonders. It isn’t about masking the flavor; it’s about preventing fruit oxidation before the enzymes have a chance to start their work.
You also have to consider how you handle the fruit once it’s sliced. If you let a bowl of apples sit on the counter while you finish your tea, you’ve already lost the battle. I tell my neighbors to work in small batches; don’t slice the whole harvest at once. If you are moving toward dehydrating fruit for snacks, this step is even more vital. If the color isn’t honest when it goes into the dehydrator, it will look like old leather when it comes out. Keep it wet, keep it acidic, and keep it moving.
Five things you must respect if you want your fruit to taste like summer in January
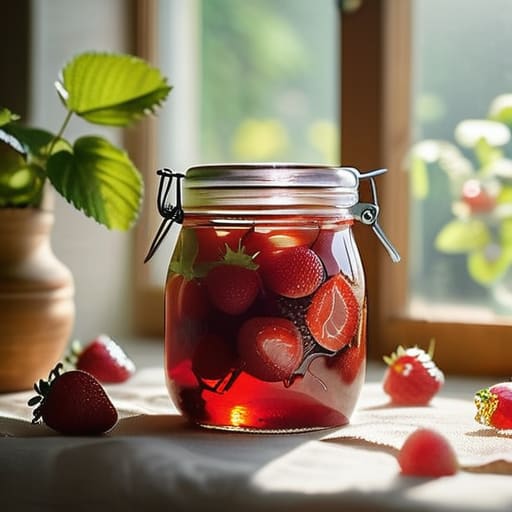
- Listen to the fruit, not the clock; a peach that’s been picked too green will never find its soul in a jar, no matter how much sugar you drown it in, so wait for that slight give under your thumb before you even think about reaching for a knife.
- Keep your workspace cool and your hands steady, because if you let a mountain of sliced apples sit out in a warm kitchen while you’re busy with something else, you’ve already lost the fight against the browning.
- Don’t be stingy with the acid; a splash of lemon juice isn’t just a flavor addition, it’s a shield that keeps the brightness alive while the fruit sits in its own juices.
- Watch your sugar ratios like you watch your sourdough hydration—too much will turn your fruit into a heavy, cloying syrup that hides the actual flavor, and too little means you’re fighting a losing battle with spoilage.
- Respect the seal and the silence; once those jars are in the water bath, leave them be, and once they’re out, don’t go poking at them to see if they’re done—let the temperature drop naturally and let the vacuum do the work it was meant to do.
Three things to remember before you reach for the jars
Respect the heat and the clock; if you try to boil the life out of your fruit just to make it go faster, you’ll end up with a jar of grey mush instead of something that tastes like summer.
Treat your fruit like a living thing, not a math problem; watch how it softens and how the scent changes, because your senses will always be more reliable than a timer set too early.
Keep your workspace cool and your hands steady, because if you let the fruit sit out in a warm kitchen while you’re faffing about with labels, the fermentation starts before the lid even goes on.
The Patience of the Harvest
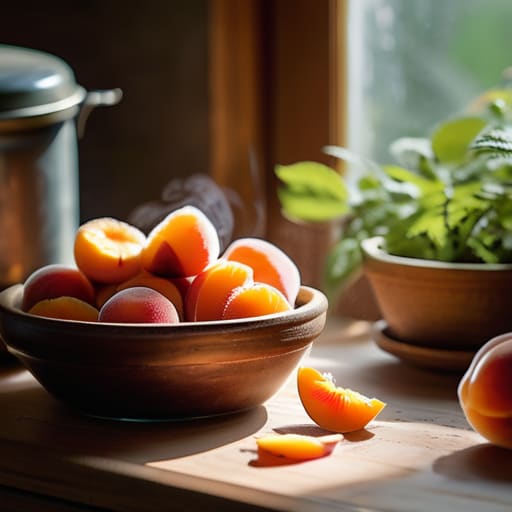
At the end of the day, preserving fruit isn’t about mastering a complex mechanical process; it is about understanding the rhythm of the fruit itself. Whether you are carefully managing the heat during a water bath to ensure those seals hold true, or using a bit of acid to keep the peaches from turning a bruised, unappetizing brown, you are simply acting as a steward for what the season provided. Remember that temperature and timing are your real tools here, not just the jars on your counter. If you respect the sugar levels and don’t try to rush the cooling process, you aren’t just storing food—you are capturing a moment in time that would otherwise have vanished with the first frost.
I spent decades watching dough rise in the quiet, dark hours before dawn, and I learned that the best things in life require a certain level of stillness. Preserving fruit is much the same. It is a slow, rhythmic labor that asks nothing of you but your attention and a bit of your time. Don’t be discouraged if your first batch isn’t perfect or if a jar fails to seal; even a broken seal is just a lesson in how the fruit reacts to the air. Treat your kitchen like a sanctuary, not a factory, and you will find that true nourishment comes from the patience you put into the work.
Frequently Asked Questions
My fruit turned a muddy brown even though I used a lemon bath; did I miss a step or was the fruit just too old to save?
Lemon juice is a fine shield, but it isn’t magic. If your fruit turned muddy, you likely let it sit too long before the acid hit the flesh, or your fruit was already past its prime. Once the cell walls start to collapse, the enzymes are already working from the inside out. You can’t fix old fruit with a bath; you have to catch it while it’s still firm and the sugars are bright.
If I'm canning in a kitchen that's particularly cold, do I need to adjust my processing times to make sure the heat actually reaches the center of the jar?
You don’t change the processing time, but you absolutely must watch your water temperature. If your kitchen is drafty and cold, that water in the canner will lose heat faster than you’d think. The clock only starts when the water returns to a full, rolling boil. If you’re rushing to start the timer because you’re chilly, you’ll end up with fruit that’s still warm and unsafe in the middle. Patience, remember?
How can I tell if my fruit is actually ripe enough to preserve, rather than just looking pretty on the outside?
You can’t trust a shiny skin; fruit is a bit like dough, it tells you its truth through touch and scent. Give it a gentle squeeze—not a squeeze, mind you, but a press. It should give just a hair under your thumb, feeling supple rather than hard as a stone or mushy like a bruise. And smell it. If it doesn’t perfume the air around it, it hasn’t finished its work.