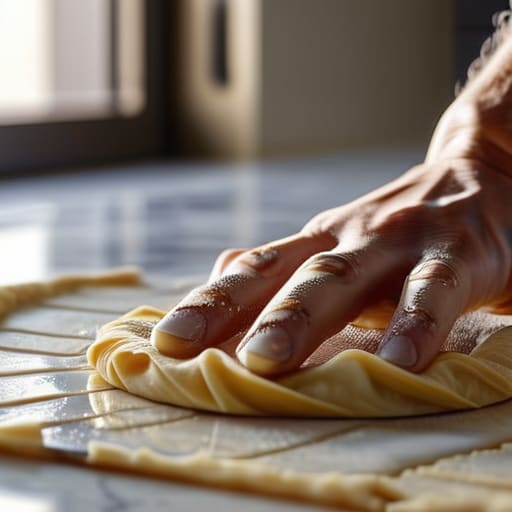
I’ve spent thirty-four years watching people treat a slightly stiff baguette like a personal tragedy, often reaching for expensive “bread revitalizers” or, heaven forbid, tossing a perfectly good loaf into the bin because it’s lost its suppleness. It’s a ridiculous waste of flour and effort. Most people think they need a miracle to fix a hard crust, but learning how to refresh day old bread isn’t about magic or fancy gadgets; it’s about understanding that bread is a living thing that simply loses its moisture to the air. If you’ve ever stared at a sourdough boule that feels more like a brick than a breakfast, I want you to stop feeling guilty and start looking at your kitchen environment instead.
I’m not going to give you a list of complicated culinary tricks that require a chemistry degree. Instead, I’m going to show you how to use a little bit of heat and a careful hand to bring that crumb back to life. We are going to talk about the relationship between steam, temperature, and timing—the real reasons bread goes stale in the first place. I’ll show you how to respect the grain and restore the soul of your bake without needing a single expensive tool.
Reheating Sourdough in Oven Restoring Life Through Heat
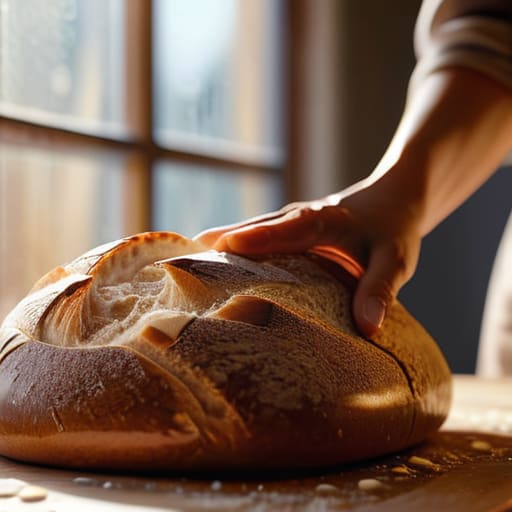
If you’ve got a loaf that’s gone a bit stubborn, don’t go reaching for the microwave; that’s the quickest way to turn a beautiful sourdough into a piece of rubber. When I’m reheating sourdough in oven at home, I treat it like it’s still in the proofing stage. First, you must give it a proper drink. I don’t care for measuring spoons; just take a spray bottle or run your hands under the tap and give the crust a generous, even misting. You aren’t trying to soak it—you’re just introducing enough moisture to turn that starch back into something supple.
Slide that damp loaf into a preheated oven at about 175°C. If you’re reheating a baguette in oven, keep a close eye on it; those thin crusts can turn from “crisp” to “charred” in the blink of an eye. You’re looking for that moment when the aroma hits you—that smell of toasted grain that tells you the heat has finally reached the center. The goal is to let the steam trapped inside the crust soften the crumb while the heat restores the shatter-crisp texture we all work so hard to achieve.
How to Use Water to Soften Bread Without Ruin
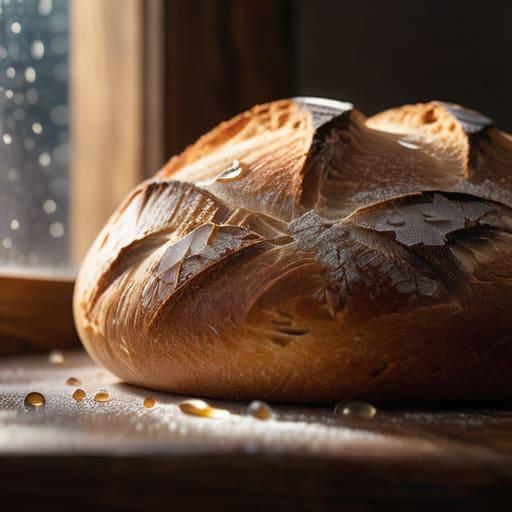
Now, if your loaf has turned into something resembling a doorstop, you might be tempted to just douse it. Don’t do that. You aren’t washing dishes; you’re trying to reintroduce moisture to the starch. The trick to how to use water to soften bread without turning it into a soggy, gummy mess is all about the delivery. I always tell my apprentices: a mist is better than a flood. If you have a spray bottle, give the crust a light, even fogging. If you don’t, just run your hands under a tap and flick the droplets over the surface. You want the skin to feel damp, not wet.
Once that moisture is there, it needs a reason to move from the crust into the center of the crumb. This is where the heat comes back in. If you are reheating a baguette in oven or any other crusty boule, that thin layer of water will turn to steam, driving itself deep into the heart of the bread. It’s the only way to truly soften the interior while keeping the outside from becoming a leathery disaster. Just remember, once that water hits the heat, you have a very short window before it turns from a miracle into a mistake.
Five Ways to Salvage What the Air Has Stolen
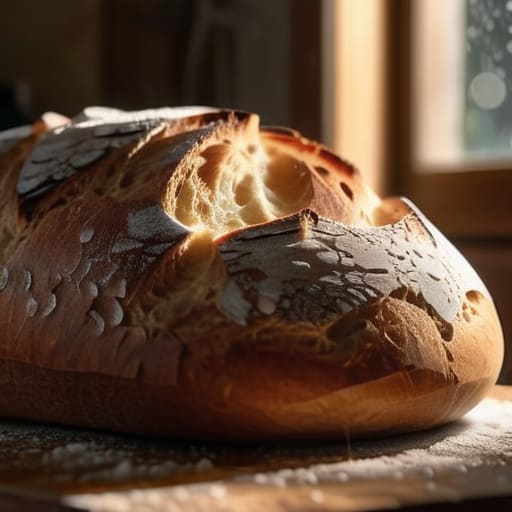
- Stop treating a dry loaf like a lost cause; if it’s just a bit firm, a quick spray of water and a few minutes in a 180°C oven will wake the starch back up, but don’t leave it in too long or you’ll turn a baguette into a weapon.
- If your bread has gone truly stubborn and hard, don’t fight it with heat alone—submerge it briefly in water or milk before baking to force moisture back into the very heart of the crumb.
- Use your senses, not a timer; you’ll know the bread is ready when the crust sounds hollow when tapped and smells like a bakery again, not when a digital clock tells you so.
- For those slices that are too tired to be toast, turn them into a savory bread pudding; the high hydration of the custard will forgive almost any amount of staleness in the bread.
- If you find yourself with bread that is past the point of resurrection, don’t let it go to waste—grate it into coarse crumbs, toss it with a little olive oil and salt, and bake it until it’s golden for a crunch that no store-bought bread can match.
The Baker’s Final Word on Salvaging Your Loaf
Stop treating bread like a piece of furniture; it is a living thing that needs moisture and warmth to wake up, not just a dry slab to be nuked in a microwave.
Temperature and timing are your true tools, so if the crust feels like stone, give it a splash of water and a short, hot bath in the oven rather than rushing the process.
Never blame the recipe for a stale loaf, because most of the time, you simply didn’t account for the air in your kitchen or the way the humidity stole the softness away.
A Final Word from the Bench
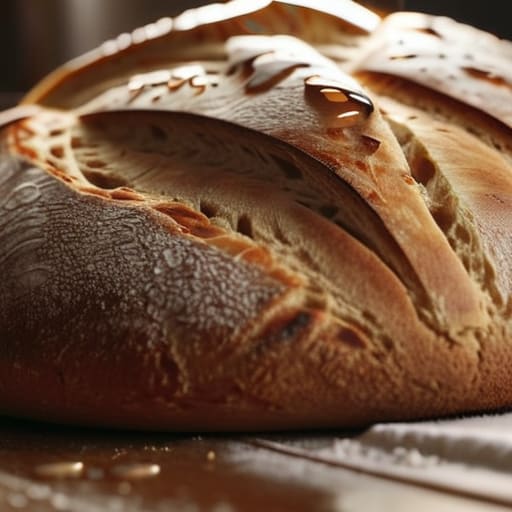
At the end of the day, whether you are using a quick splash of water to soften a crust or leaning on the steady, dry heat of the oven to revive a sourdough, the principle remains the same: you are simply managing moisture and temperature. We have looked at how to coax the life back into a loaf without turning it into a gummy mess, and how to respect the structure of the crumb while softening the exterior. Remember, if the bread feels like a stone, it usually just needs a bit of steam and warmth to remind it of its former self. Don’t be afraid to experiment with how much water you use; if you go too heavy, you’ll lose the shape, but if you’re too timid, you’ll just end up with warm, hard bread. It is all about listening to the texture under your fingertips.
I spent three decades watching dough rise and fall, and if there is one thing I learned before my shoulders decided they had had enough, it is that nothing in a kitchen is truly wasted. A stale loaf isn’t a mistake or a sign of a bad bake; it is simply a piece of bread that has reached a different stage of its journey. Treat it with a bit of care, give it the time it requires, and you will find that resurrection is often easier than most people think. Baking is a conversation between you and the grain, and sometimes, the best parts of that conversation happen even after the oven has been turned off.
Frequently Asked Questions
If I'm refreshing a loaf that’s gone rock-hard, how much water is too much before I turn the crust into a gummy mess?
You’re thinking about it like a science experiment, but you need to think about it like a sponge. If you’re using a spray bottle, aim for a 5% to 10% hydration increase on the surface—just enough to dampen the crust, not soak the crumb. If the loaf feels heavy or wet to the touch, you’ve gone too far. You want a mist, not a bath; we’re waking the starch up, not drowning it.
Does it matter if I’m using a toaster versus the oven, or will the toaster just dry it out even further?
A toaster is a fine tool for a slice of sandwich bread, but if you’re dealing with a proper crusty boule, it’s a bit too aggressive. It’s a dry heat that hits the surface fast, and unless you’ve been generous with your water splash, you’ll end up with something harder than a stone. Use the oven. It allows the moisture to travel through the crumb before the crust seals shut, giving you life rather than just more crunch.
Can I use these same tricks for a crusty baguette, or will the higher hydration of a sourdough make it behave differently in the heat?
You can certainly use the same principles, but a baguette is a bit more temperamental. Because a baguette has a much lower hydration—usually sitting around 65 to 70%—it lacks the internal moisture reservoir a sourdough holds onto. It’ll dry out and turn into a literal rock if you aren’t careful. A quick misting of water is even more vital here; you aren’t just softening the crust, you’re creating the steam needed to keep the crumb from seizing.