I can still see that first tart I ever pulled from the oven—a soggy, weeping mess that looked more like a puddle than a pastry. I had followed every “expert” tip online, using expensive silicone mats and fancy specialized tools, yet the bottom was as limp as wet paper. It’s a common frustration because most people treat blind baking like a magic trick rather than a lesson in physics. They think if they buy the right gadget, they’ve mastered the art, but they forget that knowing how to blind bake properly is actually about managing heat and moisture, not collecting more kitchen clutter.
I’m not going to waste your time with complicated gadgets or “hacks” that only serve to clutter your cupboards. Instead, I’m going to tell you what’s actually happening to that fat and flour when the heat hits it. We are going to talk about weight, temperature, and the crucial timing of when to pull those weights out. My promise to you is simple: I will give you the honest, tactile reality of a successful crust, because once you understand the why behind the bake, you won’t need a recipe to tell you when it’s done.
Why Pie Crust Weight Methods Outweigh Every Cup
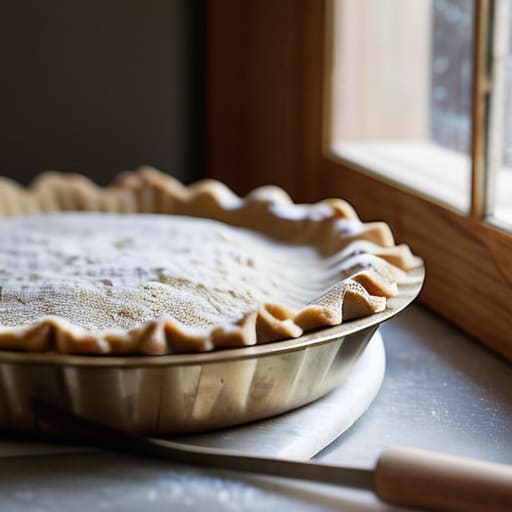
If you come to me with a measuring cup, I’m going to tell you that you’re playing a dangerous game with your butter. I’ve seen too many beginners ruin a beautiful shortcrust because they thought a “cup of flour” was a constant. It isn’t. Depending on how hard you pack that cup or how much humidity is in your kitchen, you could be adding twenty percent more flour than the recipe intended. When you’re pre-baking tart shells, that extra flour turns a delicate, flaky crust into something that feels more like a biscuit—tough, dry, and utterly unforgiving.
This is why I insist on using a scale for every single gram. When you use precise pie crust weight methods, you aren’t just following a number; you are controlling the hydration. If your dough is too dry because of a heavy hand with the cup, it will crack and pull away from the sides of the tin during the heat of the oven. By weighing your ingredients, you ensure the fat and flour are in perfect harmony, which is the only real way to succeed at preventing pastry shrinkage once those weights come out.
Preventing Pastry Shrinkage Through Discipline and Time
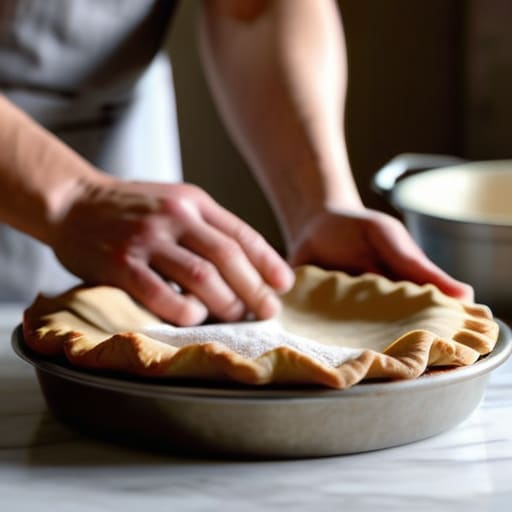
If you’ve ever pulled a tart from the oven only to find the sides have slumped or retreated toward the center like a frightened child, you haven’t failed at the recipe; you’ve failed at the rest. Most people think preventing pastry shrinkage is about the ingredients, but it is actually about the tension in the dough and the discipline of the chill. When you roll out that pastry, you are stretching gluten fibers. If you don’t give those fibers a chance to relax in the fridge before they hit the heat, they will snap back the moment they feel the warmth of the oven.
I always tell my apprentices that the dough needs to be cold enough to fight back. Before you even think about pre-baking tart shells, you must dock the bottom with a fork and let that crust rest, chilled, for at least thirty minutes. When it comes to the weight itself, I don’t care if you use professional ceramic beads or a handful of dried beans from the pantry, but you must ensure the weight is distributed evenly. If the weight shifts, the crust buckles. Patience in the chilling stage is what ensures your walls stay upright and your base stays flat.
Five Rules for a Crust That Holds Its Ground
- Don’t bother with those flimsy little metal pie weights if you can avoid them; use dried beans or even ceramic beads that actually have the heft to press the dough down. If your weights are too light, the heat will just push the pastry up the sides of the tin, and you’ll end up with a crust that looks like a flared skirt instead of a sturdy wall.
- Chill your dough until it’s firm, not just cold. If you take a pastry out of the fridge and immediately start blind baking, the fat is still too soft, and it will melt into the flour before the structure even has a chance to set. I want that dough feeling nearly stiff before it ever sees the oven.
- Watch your temperature like a hawk. You want a hot oven to set the edges quickly, but if you rush it with a blast of heat that’s too high, you’ll get puffery and bubbles that no amount of weighting can flatten out. It’s about a steady, disciplined heat that coaxes the shape rather than forcing it.
- Prick the bottom—what the French call docking—but do it thoroughly. Use a fork or a dough docker to create plenty of little escape routes for steam. If that steam gets trapped under the bottom crust, it’ll lift the whole thing right off your weights, leaving you with a soggy, uneven mess.
- Trust the resting period. Once you pull the crust out after the first bake, don’t immediately pour in your cold filling. Let the shell sit for a few minutes to settle; if the dough is still too warm and agitated from the heat, the weight of the filling will cause it to slump or crack before it can stabilize.
The Baker’s Truth: What Actually Matters
Stop chasing the perfect photograph and start watching your temperature; a crust that collapses isn’t a failure of the recipe, it’s a failure to weigh down the dough properly while the heat settles.
Trust your hands and your scale over a measuring cup every single time, because if your flour-to-fat ratio is off by even a few grams, no amount of blind baking will save a soggy bottom.
Patience is your most vital tool—give your pastry the time it needs to chill and the weight it needs to hold its shape, or you’ll spend your afternoon fighting a dough that refuses to behave.
The Final Proof
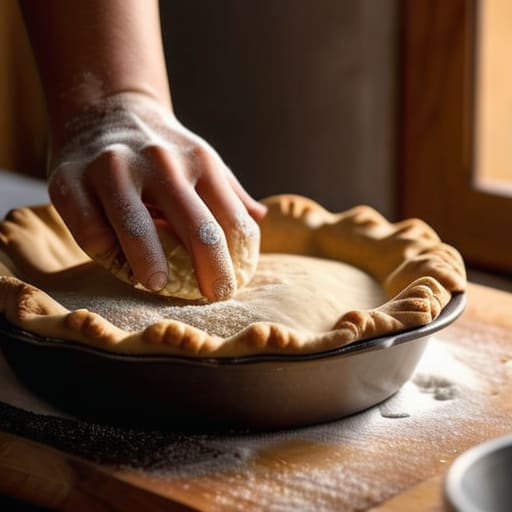
At the end of the day, blind baking isn’t some arcane ritual designed to make your life difficult; it is simply the art of managing heat and tension. If you have used weights to keep the bottom from bubbling, chilled your dough long enough to settle the gluten, and respected the temperature of your oven, you have already done the hard work. Remember that a soggy bottom is rarely a fault of the recipe, but usually a sign that the crust was rushed or the weights were too light to fight the steam. Stick to your weights, keep your dough cold, and trust the process over any fancy gadgetry you might see in a glossy magazine.
I know it feels like a lot of extra steps when you just want to get to the filling and the eating, but baking is a conversation between you and the ingredients. Sometimes the dough resists, and sometimes the heat behaves unexpectedly, but that is where the real learning happens. Don’t be discouraged if your first few attempts aren’t perfect; even after thirty-four years, I still find myself adjusting my timing based on the humidity in the air. Just keep your hands steady, your measurements exact, and remember that patience is your best tool. A perfect tart shell is worth the wait, I promise you that.
Frequently Asked Questions
If my kitchen is particularly cold, should I increase the initial oven temperature to compensate for the weight of the beans, or will that just scorch the bottom?
Don’t go turning up the heat just because the air is chilly. If you crank the oven to fight a cold room, you’ll end up with a scorched bottom and a crust that hasn’t actually set. A cold kitchen just means your fats will take longer to melt and your dough will be more stubborn. Keep the temperature steady; give the pastry the extra time it needs to find its footing instead of forcing it.
I've noticed my crust still puffs up like a little pillow even with weights; am I not letting the dough rest long enough before it hits the heat?
It’s rarely just about the resting time, though that’s a piece of the puzzle. If your crust is puffing like a pillow, you’ve trapped air or steam under that weight. It means your dough was likely too warm when you docked it, or you didn’t prick the bottom enough to let the steam escape. Give it a proper chill—at least an hour—and make sure you’re piercing the base thoroughly before the weights go in.
When you say to use weights, does it actually matter if I use heavy ceramic beads versus something lighter like dried chickpeas, or is it all just about the pressure?
It’s about the physics of the dough, not just the pressure. If you use something light like chickpeas, they tend to shift or settle unevenly as the crust expands, leaving little pockets of air that let the pastry puff up where it shouldn’t. Ceramic beads are heavy and consistent; they sit dead-still. You want a weight that stays stubborn against the heat, not something that dances around the pan while the butter is melting.