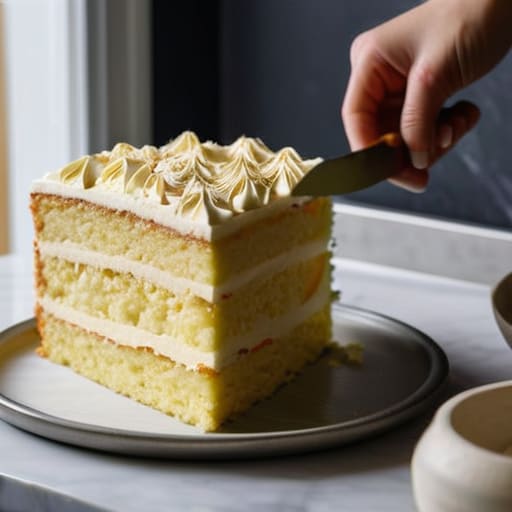
I’ve spent forty years watching people walk into my shop, eyes wide at a glossy magazine photo of a towering, airy sponge, only to go home and produce something that looks more like a heavy, yellow brick. They follow every “complete guide to sponge cakes” they find online, obsessing over expensive extracts or specialized silicone molds, yet they still end up with a crumb that’s dense enough to hold up a building. The truth is, your sponge isn’t failing because you lack fancy equipment; it’s failing because you aren’t paying attention to the temperature of your eggs or the way you’re treating the air you just spent ten minutes whisking into the batter.
I’m not here to sell you a dream or a list of boutique ingredients you’ll only use once. Instead, I’m going to give you the honest, unvarnished mechanics of how a sponge actually lives and breathes. We’re going to talk about ratios, the physics of aeration, and why your kitchen’s humidity matters more than any “secret” tip you’ve read. By the time we’re done, you won’t need a photograph to tell you if your cake is ready; you’ll be able to feel it in the weight of the bowl.
Egg Based Cake Science and the Essential Sponge Cake Ingredients
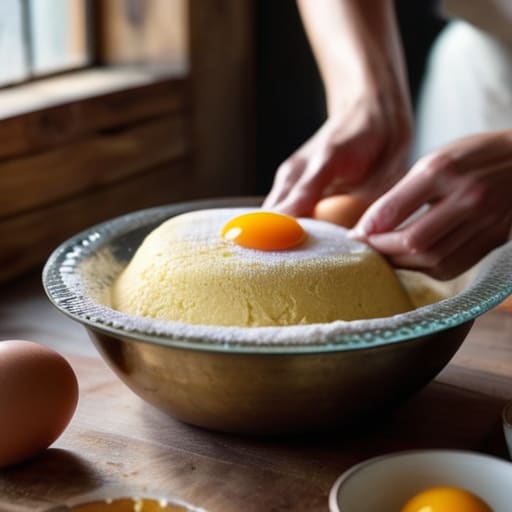
You can’t talk about a sponge without talking about the eggs. In most breads, flour and water do the heavy lifting, but in a sponge, the eggs are the entire architecture. We aren’t just looking for flavor here; we are looking for structural integrity. When we discuss egg-based cake science, we’re really talking about how protein and air play together. If your eggs are cold straight from the fridge, they won’t hold that air, and your cake will end up dense and sad. Room temperature is non-negotiable—it’s the difference between a lift that lasts and a collapse.
Then there is the matter of how you actually get that air into the batter. You’ll hear people argue about the difference between creaming and whisking methods, but for a true sponge, you need to understand what you’re trying to achieve. Creaming is about fat and sugar, while whisking is about pure aeration. If you’re using the whisking method, you are looking for a ribbon stage—where the batter falls from the whisk in a thick, slow trail that sits on the surface for a second before vanishing. If it disappears instantly, you haven’t built enough strength yet.
The Difference Between Creaming and Whisking Methods
Now, this is where most people trip up, and it isn’t because they can’t follow a list of instructions; it’s because they don’t understand what they are asking the air to do. When we talk about the difference between creaming and whisking methods, we are really talking about how you build your structure. Creaming is the old reliable—you’re beating fat and sugar together until they look pale and feel like soft velvet. It’s a sturdy, dependable way to build a crumb, but if you overwork it, you’ll end up with a heavy, greasy mess rather than a lift.
Whisking, on the other hand, is a more delicate dance. You aren’t relying on fat to hold the weight; you are using the proteins in the eggs to trap air. It’s much more temperamental. If your bowl is even slightly greasy, or if you’re too heavy-handed when folding in your flour, you’ll deflate those tiny bubbles and end up with a pancake. Understanding these aeration techniques for baking is the difference between a cake that stands proud and one that collapses under its own sadness. Pay attention to the resistance in your whisk; that’s your real guide.
The Things the Recipe Won't Tell You
- Temperature is your silent partner. If you pull your eggs straight from the fridge, you’re fighting a losing battle; cold eggs won’t hold the air you’re trying to whip into them, and a cold batter means a heavy, dense crumb. Let them sit out until they feel like the room, or better yet, use a warm water bath to coax them to life.
- Stop measuring by volume and start using your scale. A “cup” of flour can vary by twenty grams depending on how tightly you’ve packed it, and in a sponge, twenty grams is the difference between a cloud and a brick. I work in percentages for a reason—if your flour is 100%, your sugar should be sitting right around 100% to 120% for that classic structure, and you’ll never have to guess again.
- Respect the fold. When you’re incorporating your flour into those precious aerated eggs, don’t treat it like you’re stirring a soup. You aren’t looking for “smooth”; you’re looking to marry the two together without popping the bubbles you spent ten minutes building. Use a large metal spoon or a wide spatula, and move in a sweeping motion—if you’re heavy-handed, you’ll end up with a pancake instead of a sponge.
- Watch the oven, not the clock. Every kitchen has its own temperament, and a timer is just a suggestion. I’ve seen a dozen “perfect” sponges go wrong because the baker trusted the dial instead of their senses. You’re looking for a springy resistance when you press the center lightly, and a slight pull away from the sides of the tin. If it looks pale and feels soft, leave it be; it’s not ready to face the air yet.
- Patience during the cooling stage is non-negotiable. I know the smell is driving you mad, but if you try to turn that cake out of the tin while it’s still steaming, the structure will collapse under its own weight. Let it rest. A sponge needs that moment of quiet to set its crumb, much like a person needs a sit-down after a long shift.
The Three Truths of a Successful Sponge
Stop trusting your eyes and start trusting your scale; a sponge lives or dies by its ratios, so always use weights to ensure your flour-to-egg percentage is exact every single time.
Temperature is your silent partner, not an afterthought—if your eggs are cold from the fridge or your kitchen is drafty, you’ll never get the aeration required to lift that delicate crumb.
Respect the fold and resist the urge to rush; once you’ve built that beautiful air into your eggs, treating the batter with heavy hands is the quickest way to turn a cloud into a brick.
Beyond the Recipe Card
At the end of the day, a sponge cake isn’t a math problem to be solved; it is a series of tiny, living decisions. You have learned that the difference between a collapsed mess and a cloud-like crumb lies in the temperature of your eggs, the precision of your weights, and whether you chose the structural stability of the creaming method or the airy lift of a whisked foam. If your cake comes out dense, don’t go hunting for a new recipe in a glossy magazine. Look back at your hands—did you overwork the flour? Look at your kitchen—was there a draft that chilled the batter too quickly? Remember that consistency is born from observation, not just following instructions.
I spent three decades watching people walk into my shop, often disappointed because their home bakes didn’t look like the airbrushed images in their books. But there is a quiet, profound joy in a cake that tastes of nothing but real butter, honest eggs, and the time you were willing to give it. Stop chasing the perfect photograph and start chasing the feeling of the batter between your fingers and the smell of a warm oven. Baking is a conversation between you and the ingredients, and once you learn to listen to what the dough is telling you, you’ll realize that patience is the most important tool in your kitchen.
Frequently Asked Questions
My sponge always feels heavy and dense like a brick; am I over-mixing the flour or is my oven temperature lying to me?
It’s likely a bit of both, but let’s look at your hands first. If you’re folding that flour in like you’re trying to stir a heavy stew, you’ve knocked the air out and developed the gluten—that’s your brick right there. You want to fold until the streaks vanish, nothing more. But if the top is pale and the middle is gummy, your oven is lying. A sponge needs that initial heat to spring.
If I'm using a whisking method, how can I tell if I've actually achieved enough aeration without just relying on the volume in the bowl?
Stop looking at the bowl and start looking at the whisk. If you’re whisking by hand or machine, you aren’t just looking for “big”; you’re looking for stability. Lift the whisk—the batter should fall in thick, heavy ribbons that hold their shape on the surface for a few seconds before slowly melting back in. If it runs like water, you haven’t trapped enough air. It should feel substantial, like a heavy cloud, not a liquid.
Why does my cake sink in the middle every single time, even when I follow the weights and measurements exactly?
It’s never the measurements; it’s the timing. If your cake collapses, you’ve likely pulled it from the oven before the structure was set, or you’ve opened that oven door too early to “peek.” That sudden drop in temperature shocks the air bubbles, and they deflate before the crumb can hold them. Trust the heat, keep the door shut, and let the cake settle in its own warmth before you even think about touching it.